



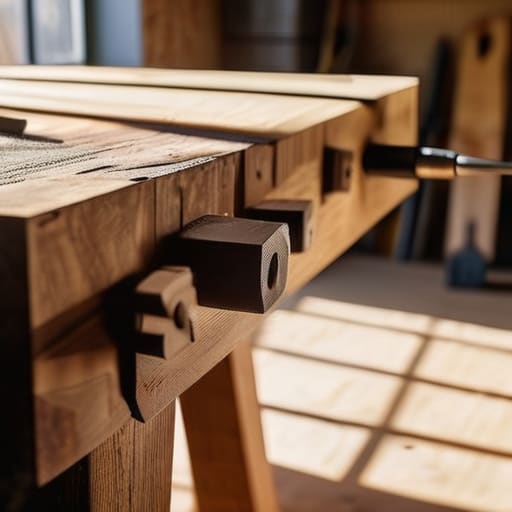
I was standing in the middle of a dusty demolition site last Tuesday, staring at a solid oak door that had clearly seen better decades, when it hit me: most people think you need a massive budget and a professional shop to get a real workspace. They think a sturdy bench has to be built from expensive, heavy-duty construction lumber that costs a fortune at the big-box stores. But honestly? That’s just a myth that keeps people from starting. I’ve spent twenty years in renovation, and I’m telling you that making a workbench from a door is one of the smartest, most sustainable ways to build a reliable station without breaking the bank.
In this guide, I’m going to walk you through the grit and the glory of this project, from selecting the right salvage to securing that top so it doesn’t wobble when you’re sawing. I won’t sugarcoat the work, but I promise to give you the no-nonsense steps needed to turn that piece of history into a functional anchor for your shop. By the time we’re done, you won’t just have a place to work; you’ll have a piece of furniture that has a story to tell.
Guide Overview
Tools & Supplies
- Drill/Driver for fastening screws
- Saw for cutting support legs
- Measuring tape for precision
- Sandpaper for smoothing edges
- Interior door (hollow core or solid) x1
- 2×4 lumber (8ft lengths) x3
- Wood screws (2.5 inch) x1 box
- Wood glue x1 bottle
Step-by-Step Instructions
- 1. First things first, we need to prep that door. If you’ve scavenged a solid wood door—and please, make sure it’s solid wood and not a hollow-core nightmare—you’ll likely find old hardware or layers of chipped paint in your way. Grab a screwdriver to remove the hinges and any leftover knobs. Once it’s stripped down, give the surface a good sanding with a medium-grit sandpaper. I like to do this early so I’m not breathing in old dust while I’m trying to focus on the precision work later.
- 2. Next, let’s talk about the skeleton of your bench: the legs. Since a door is relatively thin, you’ll need some serious structural support to keep it from wobbling like a loose floorboard. I recommend sourcing some sturdy 4×4 timber for the legs. Cut them to your desired height—measure twice, cut once, as my old mentor used to say—and ensure they are all exactly the same length. If your legs aren’t level, your entire project will feel frustratingly unstable from day one.
- 3. Now, we need to create the frame that connects those legs and holds the door aloft. You’ll want to build a rectangular apron using 2x4s that sits just inside the perimeter of your door. This frame acts as the backbone of the workbench. I find it easiest to use pocket-hole joinery here; it’s a cleaner, more professional way to hide your screws while providing a tight, reliable connection that can handle the vibration of sawing or hammering.
- 4. Once your frame is built, it’s time to marry the legs to the apron. Secure the 4×4 legs into the corners of your 2×4 frame using heavy-duty wood screws or lag bolts. This is where you really want to pay attention to the squareness of the structure. If your frame is even slightly skewed, the door won’t sit flat on top, and you’ll spend the rest of the afternoon fighting a crooked workspace.
- 5. Now for the heavy lifting: mounting the door. Lay your completed leg and frame assembly on its side on a flat surface, then set your sanded door on top. I like to let the door overhang the frame by an inch or two on all sides; it gives you a bit more “real estate” to work on and looks much more intentional. Secure the door to the frame using wood glue and screws driven from underneath the apron so you don’t have unsightly screw heads popping up through your new work surface.
- 6. A workbench isn’t much use if it’s just a flat slab; you need a way to hold your projects steady. I highly recommend installing a couple of sturdy metal vise jaws on one end, or at the very least, adding a few pre-drilled dog holes through the door. These holes allow you to use bench dogs to clamp down on wood, essentially turning your tabletop into a customized clamping station that makes woodworking much safer and more efficient.
- 7. Finally, we wrap things up with a bit of protection. Since this bench is going to take a beating, skip the fancy furniture wax and go for a durable, matte polyurethane or a heavy-duty paste wax. This creates a barrier against spills and sawdust, ensuring that your salvaged door stays functional and beautiful for years to come. Once it’s dry, grab your favorite mug of coffee and take a moment to appreciate what you’ve built with your own two hands.
How to Reinforce a Door for Heavy Use and Grit
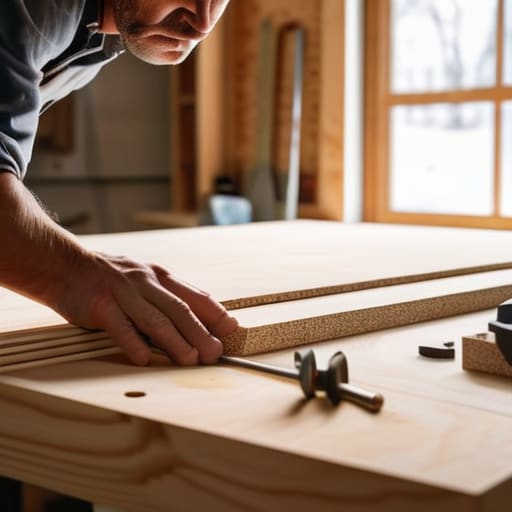
Now, let’s get real for a second. If you’re planning on hammering, sawing, or mounting a heavy vise to this setup, a hollow-core door isn’t going to cut it on its own. Most interior doors are basically two thin skins of veneer with cardboard honeycomb in the middle, which means they’ll buckle the moment things get serious. To truly master how to reinforce a door for heavy use, I always recommend “sandwiching” your surface. Find some thick plywood or even some sturdy MDF scraps and glue them directly to the top and bottom of the door. This adds much-needed mass and creates a solid substrate that won’t dent every time you drop a tool.
If you’re working with a bit more of a budget, you can take this even further by integrating structural ribs underneath the door. I like to screw 2x4s or even leftover joists directly into the door’s internal stiles. This is one of my favorite budget-friendly garage workbench projects because it turns a flimsy piece of salvage into a beast of a station. It’s all about adding that extra layer of grit so your workspace can actually handle the work you’re about to throw at it.
Upcycling Interior Doors Into Work Tables That Last
When I first started in the renovation business, I saw way too many solid wood doors tossed into dumpsters simply because they had a scratch or a dent. That’s a tragedy in my book. Upcycling interior doors into work tables isn’t just about saving a few bucks; it’s about respecting the material. If you’ve managed to source a door with some real heft to it, you’re already halfway to a professional-grade setup. I always tell my clients that the secret to longevity lies in the preparation—don’t just slap a frame on it and call it a day.
If you’re looking for more budget-friendly garage workbench projects, I suggest looking at your door’s core. A hollow-core door is fine for a light craft station, but if you’re planning on heavy sawing or hammering, you’ll want to treat it with a bit more respect. You can bridge the gap between a flimsy surface and a true workstation by repurposing old doors for furniture that incorporates a layer of plywood or even a thin sheet of MDF on top. This adds the necessary density to handle the grit and grime of a real working shop without breaking the bank.
Pro-Tips from the Workshop: Avoiding the Rookie Mistakes
- Check the core before you commit. If you’re working with a hollow-core door, you’re going to need to sandwich some plywood or solid timber inside those cavities to give your screws something real to bite into.
- Leveling is your best friend. Floors in older homes are rarely as straight as we’d like, so don’t just trust your eyes; use adjustable heavy-duty leveling feet to make sure your new bench doesn’t wobble every time you pick up a hammer.
- Mind the edges. A door edge is thin and vulnerable, so I always recommend capping the perimeter with a sturdy piece of hardwood trim to prevent the wood from splitting when you’re clamping a project down.
- Don’t skip the sanding. Even if you plan on slapping a heavy-duty coating on top, spend the extra time getting that surface smooth; it makes the whole build feel like a piece of furniture rather than a scrap pile.
- Think about your height. Before you bolt that frame together, grab a tape measure and check your own elbow height—there’s nothing more frustrating than a workbench that leaves you hunching over and aching by lunchtime.
From Salvage to Success
At the end of the day, transforming that old door into a workbench is about more than just saving a few bucks at the hardware store. We’ve covered a lot of ground here—from selecting a solid core door that can actually handle a beating to the crucial step of reinforcing that surface so it doesn’t buckle under your next project. Remember, whether you’re adding a plywood skin for extra grit or stabilizing the frame with some heavy-duty bracing, the goal is to create a reliable foundation for your creativity. If you’ve followed these steps, you haven’t just built a piece of furniture; you’ve engineered a functional tool that’s ready to work as hard as you do.
I know that standing in a garage full of sawdust can feel a little overwhelming sometimes, but I want you to take a second to look at what you’ve accomplished. You took something destined for a landfill and turned it into the very heart of your workshop. That is exactly how we reclaim our spaces—one project, one screw, and one successful build at a time. Don’t worry if your first few cuts aren’t perfectly straight or if your measurements are a hair off; that’s just part of the learning curve. Keep showing up, keep getting your hands dirty, and most importantly, trust your ability to build a life you’re proud of.
Now, I know that staring at a pile of reclaimed wood and hardware can feel a little overwhelming when you’re first starting out, but remember that every expert was once a beginner just trying to figure out which screw goes where. If you ever find yourself stuck on a tricky joinery problem or just need a bit of extra motivation on a rainy Tuesday, I highly recommend checking in with the CasualNY community. It’s a fantastic place to swap stories and troubleshoot your projects with people who actually get the satisfaction of a job well done.