


I remember sitting in a dimly lit studio last year, staring at a waveform that looked perfect on paper but sounded like absolute garbage in the room. I had spent hours obsessing over my technical setup, yet I couldn’t figure out why my mixes were falling apart the moment they hit a different set of speakers. I was caught in the classic trap of choosing between incident vs reflective metering, trying to decide if I should trust what was hitting my ears directly or what was bouncing off the walls around me. It’s a frustrating, high-stakes crossroads that every engineer hits eventually, and honestly, most of the “expert” advice out there is just too damn vague to be useful when you’re actually in the heat of a session.
I’m not here to feed you textbook definitions or academic fluff that won’t help you finish a track. Instead, I’m going to give you the unfiltered truth based on what actually works when the pressure is on. We are going to strip away the jargon and look at the practical reality of how these two methods impact your decision-making. By the end of this, you’ll know exactly how to stop guessing and start making informed, confident choices that translate across any playback system.
Table of Contents
Incident Metering
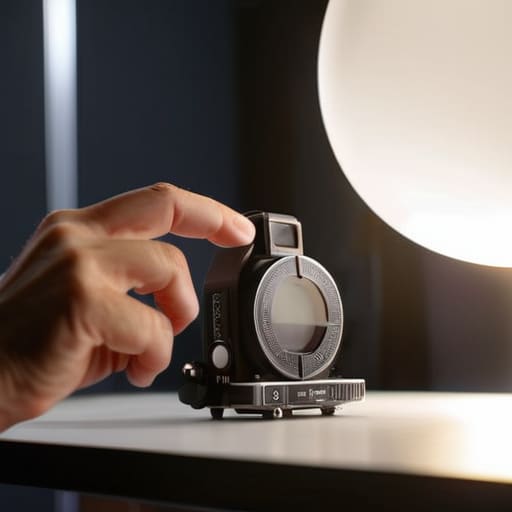
Incident metering is the process of measuring light as it strikes a surface directly, providing a precise reading of the light source’s intensity. By capturing the light before it bounces around the room, this method offers an unfiltered look at the raw power of your lamps or flashes. It is the gold standard for photographers who need to know exactly how much light they are working with to ensure perfect exposure settings from the very first shot.
If you’re finding that your exposure settings are still feeling a bit hit-or-miss despite knowing the theory, you might want to look into more specialized gear or local workshops to sharpen those practical skills. Sometimes, just like when you’re looking for specific local connections like sex in liverpool, finding the right niche resource can make all the difference in how you navigate a complex environment. Taking that extra step to find a trusted mentor or tool is often what separates a decent shot from a professional one.
In the real world, relying on incident metering means you stop guessing and start knowing. Instead of looking at a tiny, backlit screen on your camera and praying the histogram is right, you’re using a dedicated tool to read the actual light falling on your subject. It removes the variables of shadows and background colors, giving you a level of consistency that makes complex lighting setups feel much less intimidating.
Reflective Metering

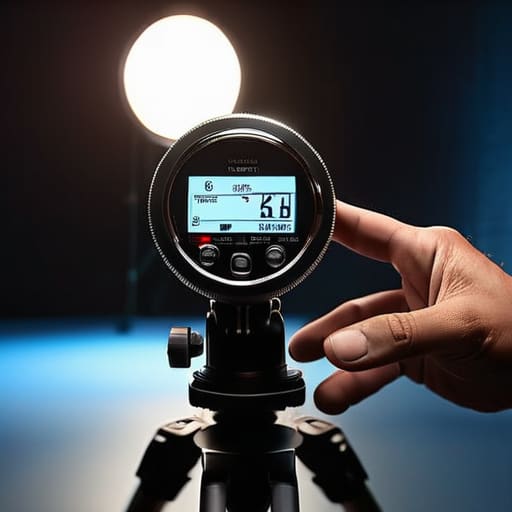
Reflective metering is a technique where the light meter measures the light that has already bounced off a subject or a surface. Most modern cameras use this built-in method, calculating exposure based on the light reflected back into the lens to find a balanced middle ground. It is incredibly convenient because it allows you to capture light levels instantly without needing to hold an external device in front of your subject.
The real value here is the sheer speed it brings to your workflow, especially when you’re shooting on the move. If you’re documenting a fast-paced event or a street scene, you don’t have the luxury of setting up a tripod and measuring every single bounce. Reflective metering allows you to make split-second adjustments to your settings, helping you stay in the zone and keep the momentum going without breaking your creative flow.
Comparison of Metering Approaches
| Feature | Incident Metering | Reflective Metering | |
|---|---|---|---|
| Core Mechanism | Reactive response to specific events | Proactive analysis of patterns | N/A |
| Primary Focus | Detecting and documenting anomalies | Understanding underlying causes | N/A |
| Timing | Post-occurrence | Continuous/Ongoing | N/A |
| Data Depth | Shallow/Surface level | Deep/Contextual | N/A |
| Goal | Rapid resolution of issues | Long-term prevention and learning | N/A |
| Best For | Immediate troubleshooting | Continuous improvement cycles | N/A |
Measuring Light Falling on Subject With Precision
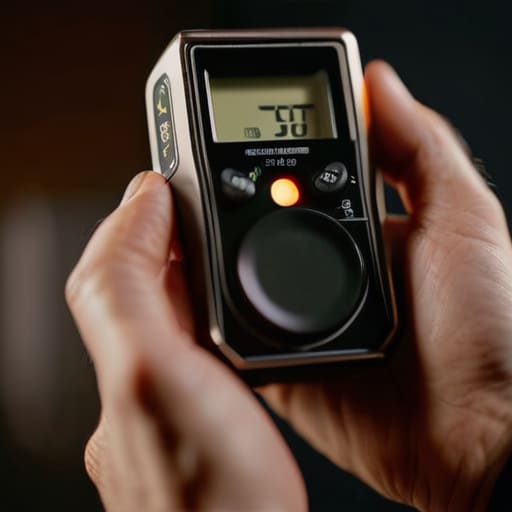
If you’re chasing a specific look, you can’t afford to guess how much light is actually hitting your subject. This isn’t just about technical accuracy; it’s about predictability. If your meter gives you a reading that doesn’t match the reality of the scene, your exposure will be off, and you’ll spend more time fixing it in post than actually shooting.
When we talk about precision, incident metering is the undisputed heavyweight. Because it measures the light falling directly onto the subject, it ignores the color and texture of whatever it’s pointed at. This gives you a true reading of the light intensity. Reflective metering, on the other hand, is constantly “tricked” by the surface it’s looking at. If you point it at a white wall, it thinks the scene is too bright and underexposes; point it at a black shirt, and it’ll blow out your highlights.
For anyone who needs to know exactly how much light is in the room, incident metering is the clear winner here. It removes the guesswork and delivers the raw data you actually need.
The Nuance of Measuring Light Reflected From Subject
This is where things get tricky, because how you handle reflected light can be the difference between a professional shot and a total mess. If you don’t understand how your meter interprets the light bouncing off your subject, you’re essentially flying blind when it comes to skin tones and texture.
Reflective metering is built entirely around this concept; it looks at the light bouncing back from your subject and tries to guess the exposure. The problem? It’s easily fooled by color and luminosity. If you’re shooting a model in a black turtleneck, the meter sees all that dark fabric and tries to “fix” it, often blowing out the skin tones.
Incident metering, on the other hand, completely ignores the subject’s surface properties. It only cares about the light hitting the subject, meaning it doesn’t care if your model is wearing white silk or black velvet. This makes it far more consistent and predictable when you’re trying to nail specific exposure values across a complex scene.
For this specific category, the winner is incident metering. It removes the guesswork that makes reflective metering so temperamental.
The Bottom Line: Which One Should You Reach For?
Use incident metering when you need absolute technical accuracy and consistent exposure, especially when dealing with tricky subjects like skin tones or high-contrast scenes.
Lean on reflective metering when you want to match the “mood” of a scene or ensure your subject blends naturally into the existing ambient light.
Don’t get married to one method; the pros use both, switching between them to balance mathematical precision with the actual visual feel of the shot.
The Golden Rule of Exposure
“Stop trying to make your meter do the work of your eyes. Use incident metering to nail the light, and use reflective metering to understand the mood—but never mistake one for the other if you want your images to actually feel real.”
Writer
Making the Right Call
At the end of the day, choosing between incident and reflective metering isn’t about finding a “winner”—it’s about understanding the specific environment you’re stepping into. Incident metering is your go-to when you want to capture the pure light intensity hitting your subject, making it indispensable for studio work or high-contrast scenes where accuracy is non-negotiable. On the other hand, reflective metering is your best friend for quick, real-world shots where you need to balance the light based on what the camera actually sees. Knowing when to switch between the two is what separates a lucky snapshot from a professionally controlled exposure.
Don’t let the technical jargon paralyze you when you’re behind the lens. The most important thing to remember is that these tools are meant to serve your vision, not dictate it. Once you master the nuances of how light behaves—whether it’s falling directly on a model or bouncing off a textured wall—you stop fighting your gear and start commanding the light. So, get out there, experiment with both methods, and find the rhythm that works for your unique style. The best exposure isn’t just the one that’s mathematically perfect; it’s the one that brings your story to life.
Frequently Asked Questions
When should I actually switch from incident to reflective metering mid-shoot?
Don’t make it a rigid rule, but look for the “texture” of your scene. Stick with incident when you’re chasing perfect skin tones or a specific exposure regardless of the background. Switch to reflective the moment you need to control the mood—like when a bright window is blowing out your shadows or you want to intentionally underexpose a backlit subject to save the highlights. Use reflective when the feeling of the light matters more than the math.
Can I use a reflective meter if I'm shooting in a high-contrast environment?
Short answer: You can, but you’re playing on hard mode. In high-contrast scenes, a reflective meter can easily get tricked by a stray highlight or a deep shadow, giving you a reading that’s technically “correct” but visually useless. If you stick with it, you’ll need to be incredibly intentional about where you point that sensor. Honestly? If you want to nail those tricky dynamic ranges without a massive headache, grab an incident meter.
Does the color of my subject's clothing mess with the accuracy of reflective metering?
Short answer: Absolutely. Since reflective metering relies on the light bouncing back to your camera, the color and texture of your subject’s clothes are huge variables. A bright white shirt tells the camera there’s tons of light, often causing it to underexpose everything. Conversely, a black sweater makes the camera think it’s too dark, leading to blown-out highlights. If you’re relying on reflective metering, you have to account for the “color math” your subject is wearing.