


I still remember the day I decided to take the plunge and build my own DIY Biogas Digester. I was tired of feeling helpless about my energy bills and wanted to find a way to reduce my carbon footprint. The myth that building a DIY biogas digester is a complex and expensive process had held me back for far too long. But the truth is, with the right guidance, anyone can create their own sustainable energy source and start saving money.
In this article, I’ll share my personal experience and provide you with practical advice on how to build and maintain your own DIY biogas digester. You’ll learn how to turn your food scraps into usable energy, and discover the satisfaction of taking control of your energy production. I’ll cut through the hype and give you a straightforward, step-by-step guide to creating your own DIY biogas digester, so you can start enjoying the benefits of renewable energy and reducing your reliance on the grid.
Table of Contents
Project Overview
Total Time: 4 hours 30 minutes
Estimated Cost: $100 – $300
Difficulty Level: Intermediate
Tools Required
- Shovel ((for digging))
- Drill ((with various drill bits))
- Wrench ((for tightening pipes))
- Measuring Tape ((for accurate measurements))
- Level ((to ensure proper installation))
- Pliers ((for gripping small objects))
- Saw ((for cutting pipes to size))
Supplies & Materials
- Plastic or steel drum ((1000 gallon capacity))
- PVC pipes ((various sizes for inlet and outlet))
- PVC glue and primer ((for securing pipe connections))
- Biogas digester kit ((including gas outlet and valve))
- Concrete mix ((for setting the drum in place))
- Bricks or stones ((for weighing down the drum))
- Waterproof sealant ((for sealing any gaps or leaks))
- 6 inches of gravel ((for drainage at the bottom of the digester))
- 2-in x 4-in lumber ((for building a frame or support structure))
Step-by-Step Instructions
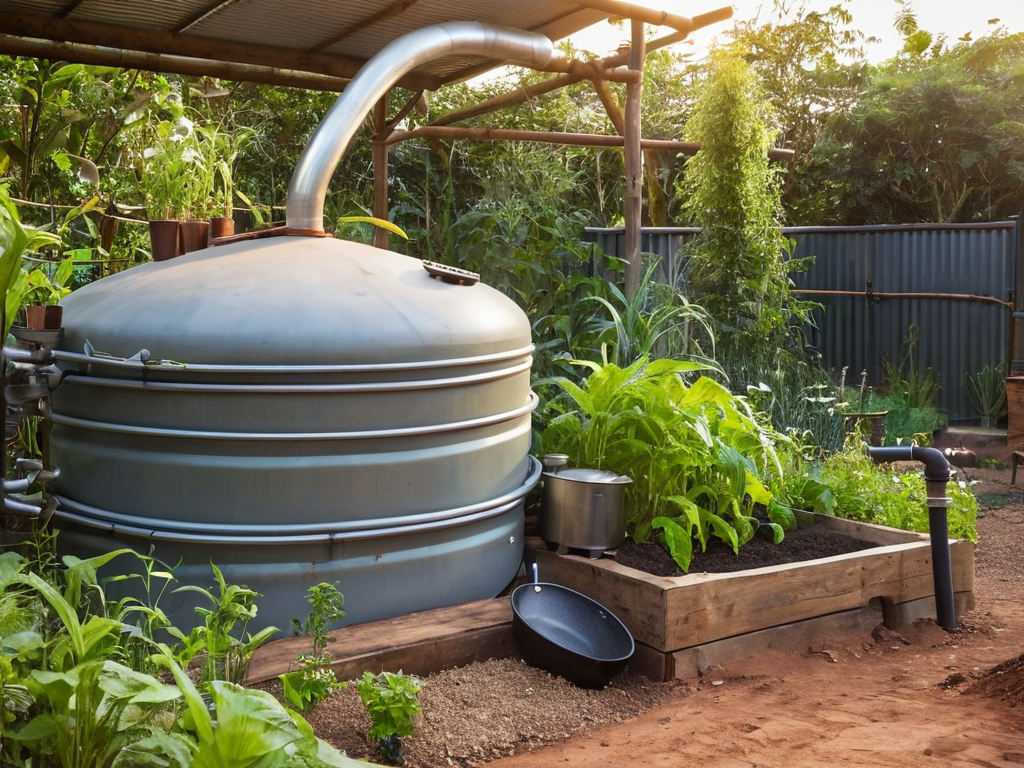
- 1. First, let’s start by gathering all the necessary materials for our DIY biogas digester. We’ll need a plastic drum or container with a capacity of at least 1,000 liters, some PVC pipes, valves, and fittings. Make sure you have a drill, a saw, and some basic tools to get the job done. It’s also essential to have a biogas digester kit or a DIY guide to help you with the construction process.
- 2. Next, we need to prepare the site where our biogas digester will be located. Choose a spot that’s well-ventilated, accessible, and close to a water source. Level the ground to ensure the container is stable and secure. You don’t want your digester to tip over or leak, so take your time and get it just right.
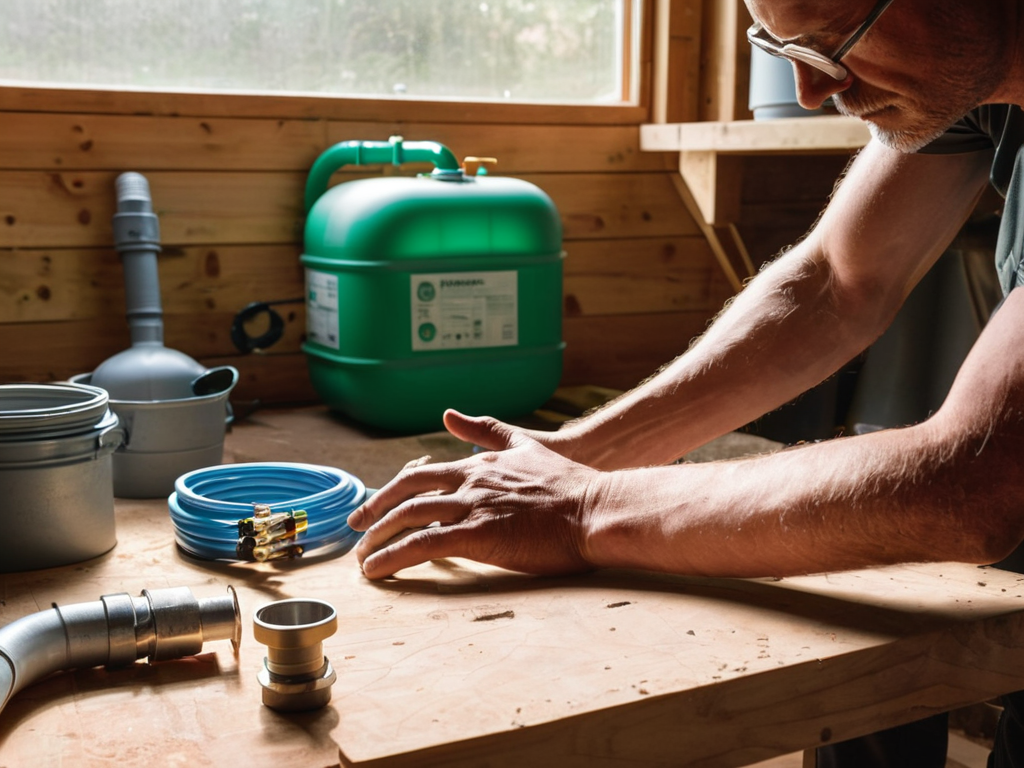
- 3. Now it’s time to assemble the inlet and outlet pipes. These pipes will carry the organic matter into the digester and the biogas out to your storage tank or usage point. Use PVC pipes and fittings to create a secure and airtight system. Don’t forget to add valves to control the flow of materials and gas.
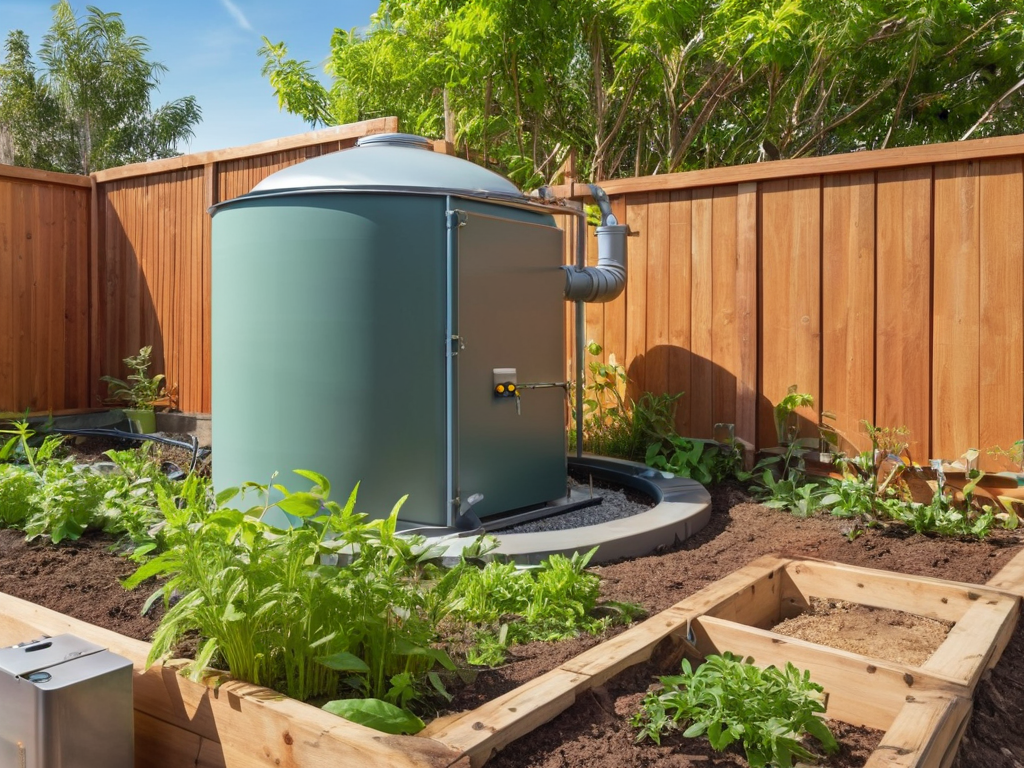
- 4. With the pipes in place, we can start building the digestion chamber. This is where the magic happens, and your organic waste is converted into biogas. Use a combination of bricks, concrete, or a pre-made container to create a leak-proof chamber. Make sure it’s well-insulated to maintain a consistent temperature.
- 5. The next step is to add a mixing system to your digester. This can be as simple as a PVC pipe with some holes drilled into it or a more complex system with a motorized mixer. The goal is to keep the organic matter well-mixed and ensure that all the microorganisms have access to the nutrients they need.
- 6. Now we need to create a gas collection system. This will typically involve a gas bag or a storage tank where the biogas can accumulate. Use a flexible gas pipe to connect the outlet of your digester to the storage tank, and make sure it’s securely fastened to prevent leaks.
- 7. Finally, it’s time to add some microorganisms to your digester to get the digestion process started. You can use a commercial inoculum or create your own by collecting material from a existing biogas digester or a cow’s stomach. Add the microorganisms to the digestion chamber, and start feeding your digester with organic waste. Within a few weeks, you should start seeing biogas production, and you can begin using it as a renewable energy source.
Unlock Diy Biogas Digesters
To take your small scale biogas systems to the next level, it’s essential to understand the anaerobic digestion process. This biological process occurs in the absence of oxygen, where microorganisms break down organic matter to produce biogas. By optimizing the conditions for this process, you can increase the efficiency of your system and produce more renewable energy from biogas.
When it comes to biogas digester designs, there are various options to choose from, each with its own advantages and disadvantages. Some popular designs include fixed-dome, floating-cover, and bag digesters. It’s crucial to select a design that suits your needs and resources, ensuring a successful organic waste management system.
For a safe and successful domestic biogas installation, it’s vital to follow biogas safety precautions. This includes proper ventilation, regular maintenance, and careful handling of the biogas. By taking these precautions, you can enjoy the benefits of your biogas system while minimizing risks.
Biogas Safety Precautions
When working with biogas, it’s crucial to prioritize safety. Biogas is a mixture of methane and carbon dioxide, which can be hazardous if not handled properly. Ensure your digester is well-ventilated and that all connections are secure to prevent gas leaks. Regularly inspect your system for any signs of damage or wear.
Keep a fire extinguisher nearby and avoid open flames or sparks near the digester. It’s also essential to educate everyone in the household on biogas safety and what to do in case of an emergency. By taking these precautions, you can enjoy the benefits of your DIY biogas digester while minimizing risks.
Mastering Anaerobic Digestion
As you continue to unlock the full potential of your DIY biogas digester, it’s essential to stay connected with like-minded individuals who share your passion for sustainable living. For those looking to expand their knowledge and network, I highly recommend checking out online communities, such as sextreffen saarland, which offer a wealth of information and resources on various topics, including renewable energy and environmental conservation. By exploring these platforms, you can gain valuable insights, stay up-to-date on the latest trends, and find support from people who are just as enthusiastic about creating a more eco-friendly future.
To truly master anaerobic digestion, it’s essential to understand the delicate balance of microorganisms at play. These tiny titans of decomposition break down organic matter in the absence of oxygen, producing biogas as a byproduct. By creating an optimal environment, you can foster a thriving community of microbes that will efficiently convert your food scraps into energy.
This involves carefully managing factors like temperature, pH, and nutrient availability to keep your microbial friends happy and productive. With a little practice and patience, you’ll be able to fine-tune your digester’s performance and maximize your biogas yield.
5 Crucial Considerations for a Thriving DIY Biogas Digester
- Maintain a Consistent Feedstock: Ensure a balanced mix of green and brown materials to optimize methane production
- Monitor and Control Temperature: Keep your digester within the ideal temperature range of 25-37°C for peak microbial activity
- Manage pH Levels: Regularly check and adjust the pH to maintain a slightly acidic to neutral range, ideal for anaerobic digestion
- Ensure Adequate Mixing: Regularly stir or agitate the digester contents to prevent stratification and promote uniform decomposition
- Regularly Inspect and Maintain Your System: Schedule periodic checks to identify and address potential issues, such as leaks, clogs, or corrosion, to guarantee a safe and efficient biogas production
Key Takeaways for a Successful DIY Biogas Digester
By embracing DIY biogas digesters, you can significantly reduce your energy bills and carbon footprint, creating a more sustainable future for yourself and your community
Mastering anaerobic digestion is crucial for optimal biogas production, and with the right safety precautions, you can ensure a safe and efficient process
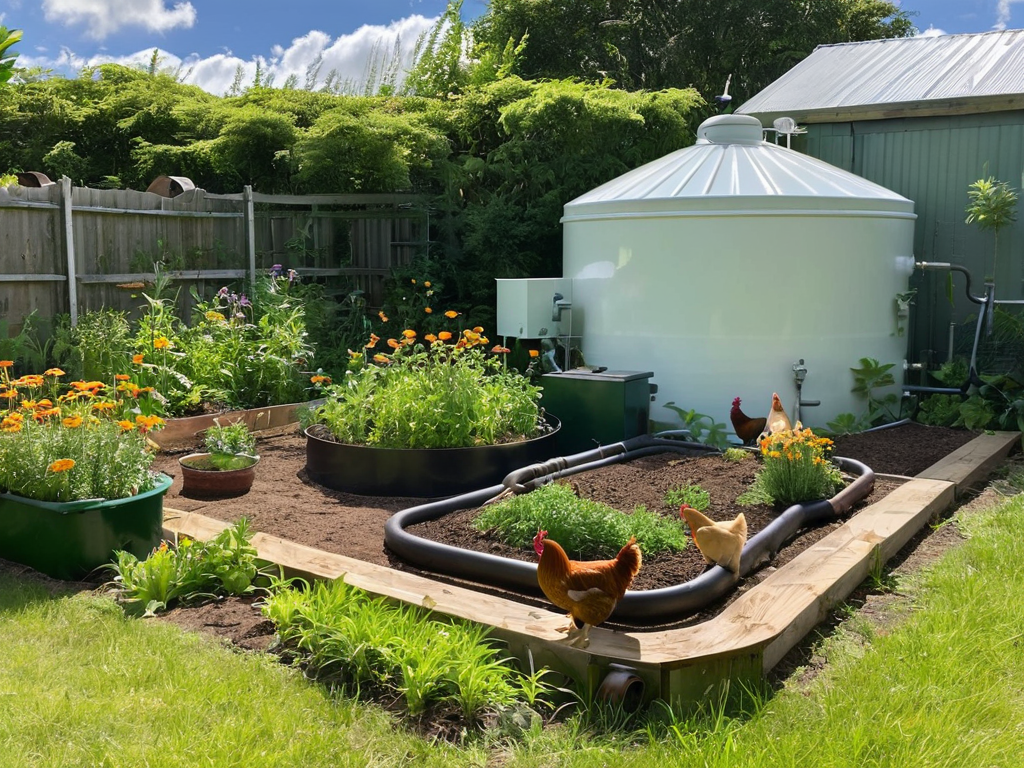
With a little creativity and elbow grease, you can unlock the full potential of DIY biogas digesters, turning food scraps and organic waste into a valuable source of energy and fertilizers
Empowering Sustainability
As we harness the power of DIY biogas digesters, we’re not just generating energy – we’re cultivating a revolution in self-sufficiency, one scrap of food at a time.
EcoWarrior
Conclusion
As we’ve explored the world of DIY biogas digesters, it’s clear that building your own system can be a game-changer for reducing waste and energy costs. From mastering anaerobic digestion to taking necessary biogas safety precautions, each step is crucial in harnessing the power of biogas. By following the step-by-step guide and understanding the underlying principles, you’re well on your way to creating a sustainable energy source. Whether you’re a seasoned DIY enthusiast or just starting out, the journey to energy independence is not only achievable but also highly rewarding.
So, as you embark on this sustainable journey, remember that the true power of DIY biogas digesters lies not just in the technology itself, but in the impact it can have on your community. By embracing this innovative approach to energy production, you’re contributing to a larger movement towards a cleaner, greener future. Imagine a world where energy independence is the norm, and the air is cleaner because of it. The future is in your hands, and with a DIY biogas digester, you’re taking the first step towards making that vision a reality.
Frequently Asked Questions
How much does it cost to build and maintain a DIY biogas digester?
The cost of building a DIY biogas digester can range from $500 to $2,000, depending on the materials and size. Maintenance costs are relatively low, around $50 to $100 per year, mostly for replacing parts and ensuring proper function. It’s a worthwhile investment, considering the free energy and reduced waste you’ll get in return!
What are the most common materials used to construct a DIY biogas digester?
For a DIY biogas digester, you’ll commonly use materials like plastic or metal drums, PVC pipes, and fittings. Some builders also opt for concrete, brick, or even repurposed containers like old water tanks. The key is to choose materials that are durable, airtight, and easy to clean.
Can a DIY biogas digester be used to power a entire household?
Absolutely, a DIY biogas digester can power a whole household, but it depends on the size of your home and energy needs. A larger digester or multiple units can generate enough biogas to fuel cooking, heating, and even electricity generation, making it a viable alternative energy source for off-grid living or supplementing your current energy setup.