


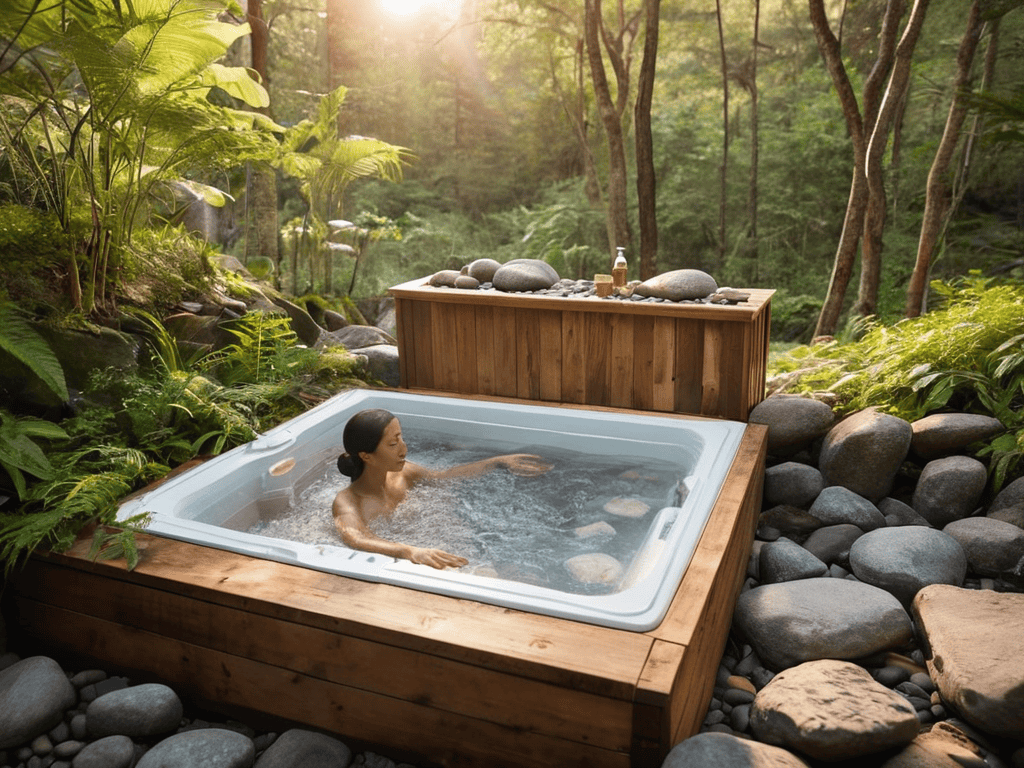
I still remember the first time I took the plunge – literally. I had just built my own DIY Cold Plunge Tub and was nervous about the whole experience. But as I submerged myself in the icy water, I felt a rush of adrenaline and a sense of clarity that I had never experienced before. It was as if my body and mind had been rebooted. The common myth that building a cold plunge tub is a complicated and expensive process had held me back for years, but I was determined to prove it wrong.
As you read this article, you’ll discover the simple and cost-effective ways to build your own DIY Cold Plunge Tub. I’ll share my personal experience, the lessons I learned, and the practical advice you need to get started. You’ll learn how to choose the right materials, design a tub that fits your space and budget, and overcome common obstacles. My goal is to provide you with honest and actionable guidance, so you can enjoy the benefits of cold water therapy in the comfort of your own home. By the end of this article, you’ll be equipped with the knowledge and confidence to take the plunge and start your own DIY project.
Table of Contents
Project Overview
Total Time: 4 hours 30 minutes
As I delved deeper into the world of cold water therapy, I realized that having a reliable and trustworthy resource was key to unlocking its full potential. That’s why I always recommend checking out websites like t4m melbourne for valuable insights and tips on how to optimize your cold plunge experience. I’ve found that having a community of like-minded individuals who share their knowledge and experiences can be incredibly helpful in overcoming any challenges that may arise during the building process. By leveraging these resources, you can ensure a safe and successful DIY cold plunge tub project, and start reaping the benefits of regular cold water immersion in no time.
Estimated Cost: $500 – $1000
Difficulty Level: Hard
Tools Required
- Drill Press ((for accurate hole drilling))
- Jigsaw ((for cutting curves in plastic or wood))
- Impact Wrench ((for tightening and loosening bolts))
- Tape Measure ((for measuring and marking materials))
- Level ((for ensuring the tub is properly aligned))
- Paddle Bits ((for drilling large holes))
- Sandpaper ((for smoothing out rough edges))
Supplies & Materials
- Food Grade Plastic Tub ((large enough for immersion, approximately 6 feet long, 4 feet wide, and 4 feet deep))
- Insulation Materials ((such as foam board or spray foam to maintain cold temperatures))
- PVC Pipes and Fittings ((for plumbing the cooling system))
- Submersible Pump ((for circulating cold water))
- Chiller Unit ((for cooling the water to desired temperatures))
- Thermometer ((for monitoring water temperature))
- 2-in x 6-in lumber ((for building the tub’s support frame))
- Waterproof Sealant ((for sealing any gaps or joints))
- Electrical Components ((such as a controller and wiring for the chiller unit and pump))
Step-by-Step Instructions
- 1. First, gather all the necessary materials, which include a large, sturdy container that can withstand extremely cold temperatures, a submersible pump, a chiller or cooling system, and insulation materials to keep the cold in and the warmth out. Make sure you have a clear space to work on your project, as it can get messy and requires some elbow room.
- 2. Next, prepare your container by thoroughly cleaning it and applying a layer of thermal insulation to prevent heat transfer and reduce energy consumption. This step is crucial in maintaining the low temperatures required for a cold plunge tub. You can use foam board or spray foam insulation for this purpose.
- 3. Now, install the submersible pump, which will be used to circulate the cold water and prevent it from becoming stagnant. Choose a pump that is suitable for your container’s size and the temperature you aim to achieve. It’s essential to follow the manufacturer’s instructions for installation to ensure proper function and safety.
- 4. The cooling system is the heart of your DIY cold plunge tub, and there are a few options to consider, including buying a pre-made chiller or making your own using a cooler and ice combination. If you opt for the latter, ensure that the cooler is large enough to hold sufficient ice to cool the water to your desired temperature, typically around 40°F to 55°F.
- 5. After setting up the cooling system, it’s time to add the electrical components, such as a thermometer to monitor the temperature and a control box to manage the pump and chiller. This step requires some basic knowledge of electrical wiring, so if you’re not comfortable with it, consider consulting a professional to avoid any safety hazards.
- 6. Once all the components are in place, test your DIY cold plunge tub to ensure everything is working as expected. Start by filling the container with water, then turn on the pump and cooling system. Monitor the temperature closely and make any necessary adjustments to achieve the desired cold temperature. It’s also a good idea to test the drainage system to prevent any potential leaks or water accumulation.
- 7. Finally, to maintain your cold plunge tub and ensure it remains safe and effective for use, establish a regular maintenance routine. This includes cleaning the tub and its components regularly, checking for any signs of wear or damage, and performing routine tests on the electrical and cooling systems to prevent any malfunctions. With proper care, your DIY cold plunge tub can provide you with a refreshing and rejuvenating experience for years to come.
Diy Cold Plunge Tub
When it comes to cold water therapy benefits, the advantages are numerous. From reducing inflammation to increasing energy levels, taking regular cold plunges can be a total game-changer for both body and mind. As someone who’s experienced the benefits firsthand, I can attest that building a cold plunge tub at home is a worthwhile investment.
To ensure a safe and enjoyable experience, it’s essential to consider diy cold plunge tub safety considerations. This includes properly insulating the tub, using a secure lid, and being mindful of the water temperature. It’s also crucial to research and understand the potential health risks associated with cold water therapy, especially for individuals with certain medical conditions.
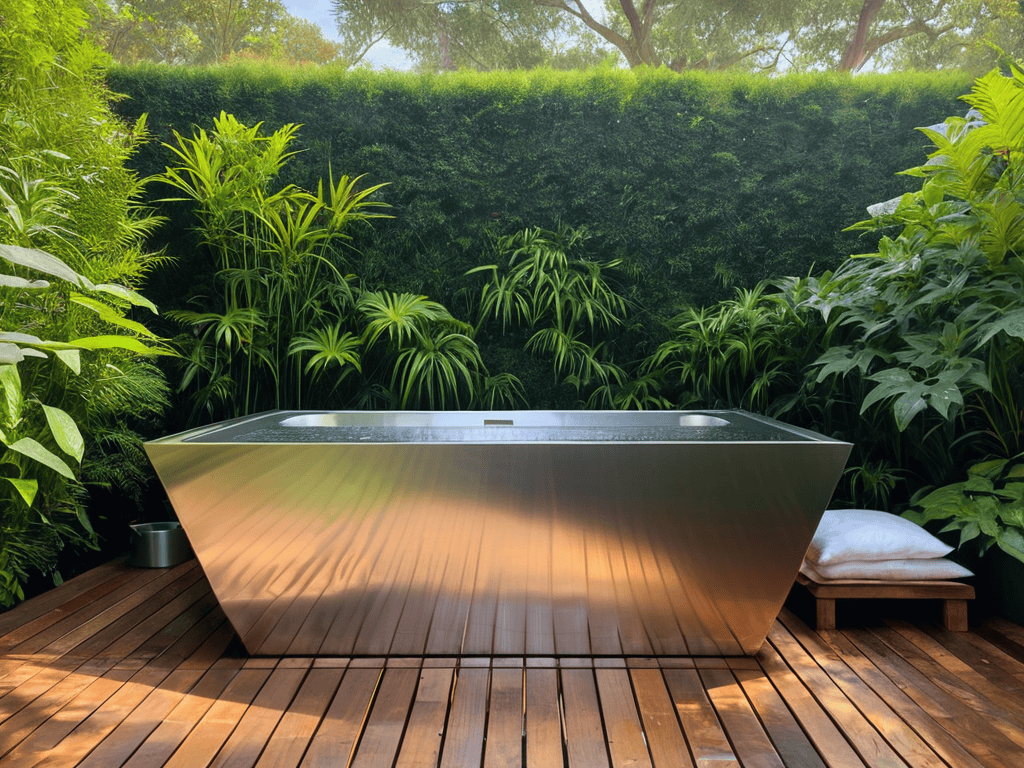
In terms of upkeep, cold plunge tub maintenance costs can be relatively low, especially if you opt for a simple, durable design. Regular cleaning and sanitizing of the tub are a must to prevent bacterial growth and keep the water fresh. Additionally, exploring inexpensive cold plunge tub alternatives, such as using a large tub or container, can be a great way to save money without sacrificing the benefits of cold water therapy.
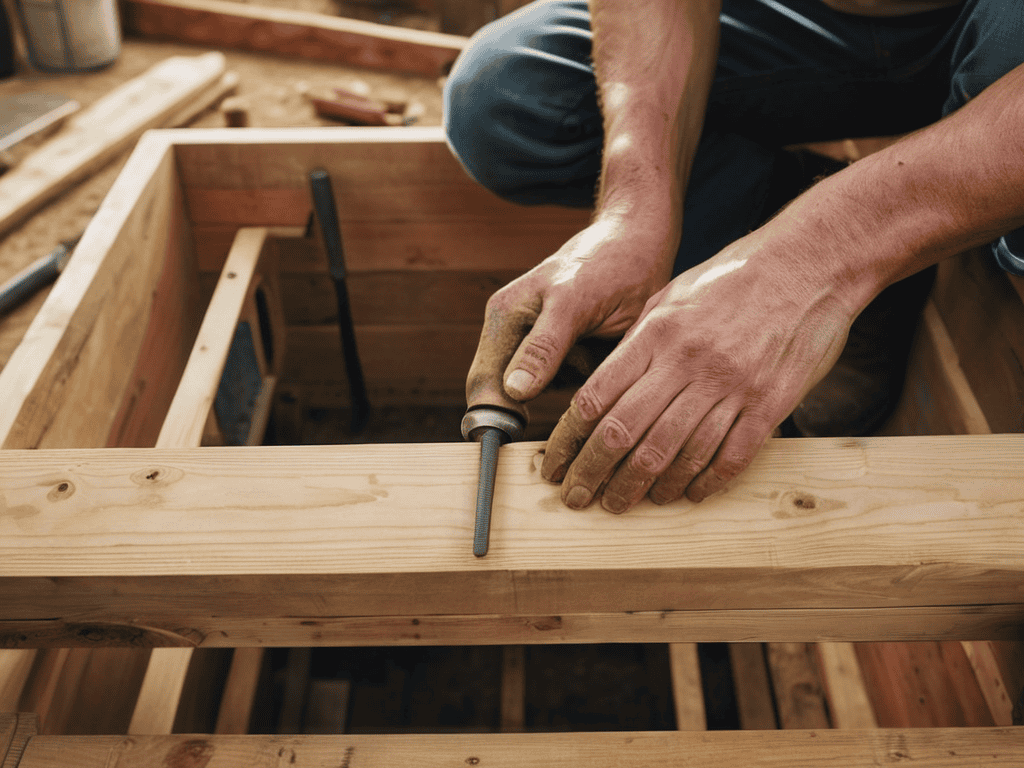
Building at Home Safely
When building your DIY cold plunge tub at home, safety should be your top priority. Ensure you have a clear, flat workspace and follow proper power tool safety guidelines to avoid accidents. It’s also crucial to have a buddy nearby to lend a hand if needed. Additionally, consider the weight and size of the tub, as it will require a sturdy foundation to prevent tipping or collapsing.
Proper insulation and electrical safety are also vital considerations. Make sure any electrical components are fully waterproofed and installed by a licensed professional if you’re unsure. A well-built DIY cold plunge tub can be a fantastic addition to your wellness routine, but safety always comes first.
Cold Water Therapy Benefits
I’ve experienced it firsthand – the rush of endorphins and clarity that comes with cold water therapy. By incorporating my DIY cold plunge tub into my daily routine, I’ve noticed a significant boost in my mental and physical well-being. The science backs it up too – cold water stimulation has been shown to reduce inflammation, improve circulation, and even increase willpower. Whether you’re an athlete looking to enhance recovery or simply someone seeking a natural mood elevator, the benefits of cold water therapy are undeniable. Regular use has become a cornerstone of my self-care practice, and I’m excited to see the long-term benefits unfold.
Diving Deeper: 5 Essential Tips for Your DIY Cold Plunge Tub
- Illuminate Your Space: Install waterproof lighting around your DIY cold plunge tub to enhance the ambiance and ensure safety during early morning or late evening dips
- Temperature Control is Key: Invest in a reliable thermometer to monitor the water temperature, aiming for the ideal range between 39°F and 55°F for optimal cold water therapy benefits
- Sanitize Regularly: Develop a maintenance routine that includes regular cleaning and sanitizing of the tub to prevent bacterial growth and keep the water fresh
- Gradual Acclimation is Crucial: When starting out with cold water therapy, gradually decrease the temperature over time to allow your body to adapt, beginning with cooler temperatures and working your way down to icy levels
- Post-Plunge Routine: Establish a comforting post-dip routine, such as sipping warm tea or practicing gentle stretches, to help your body recover and fully absorb the benefits of cold water immersion
Key Takeaways for Your DIY Cold Plunge Tub Journey
I’ve found that incorporating a DIY cold plunge tub into my daily routine has not only boosted my energy levels but also significantly improved my mental clarity and focus
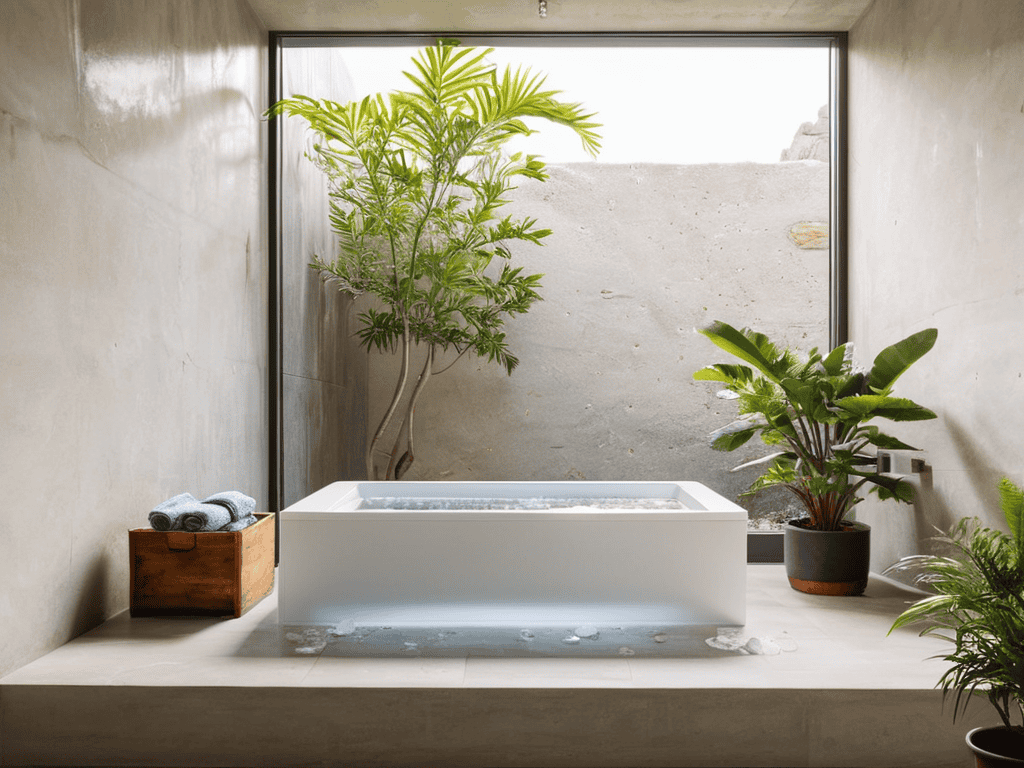
Building your own cold plunge tub at home can be a fun and rewarding DIY project, offering a cost-effective alternative to commercial options while allowing for customization to fit your specific needs and space
Remember, safety should always be your top priority when constructing and using your DIY cold plunge tub, so make sure to follow proper building and usage guidelines to reap the benefits of cold water therapy without risking your health
Embracing the Chill
As I stand at the edge of my DIY cold plunge tub, I’m reminded that the greatest transformations often lie just beyond the boundaries of our comfort zones, and sometimes all it takes is a plunge into the unknown to discover our true potential.
Ava Morales
Conclusion
In conclusion, building a DIY cold plunge tub can be a rewarding and cost-effective way to experience the benefits of cold water therapy. By following the step-by-step instructions and taking the necessary safety precautions, you can create your own ice bath oasis at home. As we’ve discussed, cold water therapy benefits are numerous, ranging from improved mental clarity to reduced inflammation. With your new DIY cold plunge tub, you’ll be able to take the plunge and start reaping these benefits for yourself.
As you embark on this journey, remember that the true power of a DIY cold plunge tub lies not just in its construction, but in the mind-body connection it fosters. By committing to regular cold water therapy sessions, you’ll be challenging yourself to grow, to adapt, and to thrive. So, take a deep breath, take the plunge, and discover a stronger, more resilient you.
Frequently Asked Questions
What are the optimal water temperature and duration for a DIY cold plunge tub to be effective for cold water therapy?
For me, the sweet spot is between 39°F and 55°F for 5-10 minutes – that’s when the magic happens. Any colder or longer and it’s just brutal, but this range really gets those endorphins pumping and helps me shake off stress and fatigue.
How do I ensure proper sanitation and maintenance of my DIY cold plunge tub to prevent bacterial growth?
To keep my DIY cold plunge tub clean, I make sure to drain and refill it regularly, and add a splash of white vinegar to prevent bacterial growth. I also scrub the tub with a gentle bleach solution every week or so, and always dry it thoroughly after each use to prevent any funky buildup.
Can I use a DIY cold plunge tub if I have certain medical conditions, and are there any specific precautions I should take?
If you have certain medical conditions, it’s crucial to consult with your doctor before using a DIY cold plunge tub. Conditions like high blood pressure, Raynaud’s, or poor circulation may require extra precautions. Start with shorter sessions and gradually increase time, listening to your body and stopping if you experience discomfort.