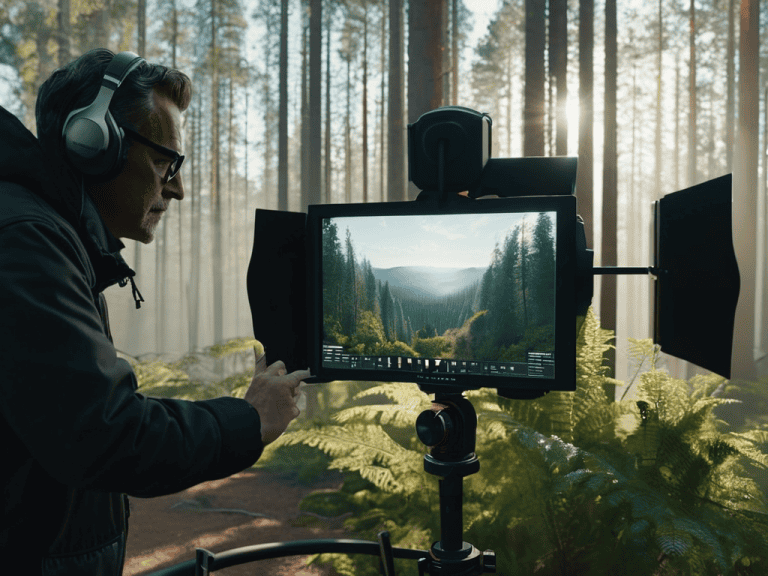


I still remember the first time I tried to master Depth-of-Field Masking in my photography – it was a frustrating experience, to say the least. Everyone told me it was the key to making my photos stand out, but no one seemed to explain it in a way that made sense. The common myth is that you need expensive equipment and years of experience to get it right, but I’m here to tell you that’s just not true. With a little practice and patience, anyone can learn the basics of Depth-of-Field Masking and take their photography to the next level.
In this article, I’ll share my personal approach to Depth-of-Field Masking, including the tips and tricks I’ve learned along the way. You’ll get honest, no-hype advice on how to use this technique to create stunning photos that capture the attention of anyone who sees them. I’ll cut through the jargon and technical terms, and give you the practical advice you need to start taking better photos right away. Whether you’re a seasoned photographer or just starting out, this guide will give you the confidence to experiment with Depth-of-Field Masking and unlock the full potential of your camera.
Table of Contents
Project Overview
Total Time: 1 hour 15 minutes
Estimated Cost: $10 – $30
Difficulty Level: Intermediate
Tools Required
- Camera ((with manual focus control))
- Tripod ((for stability))
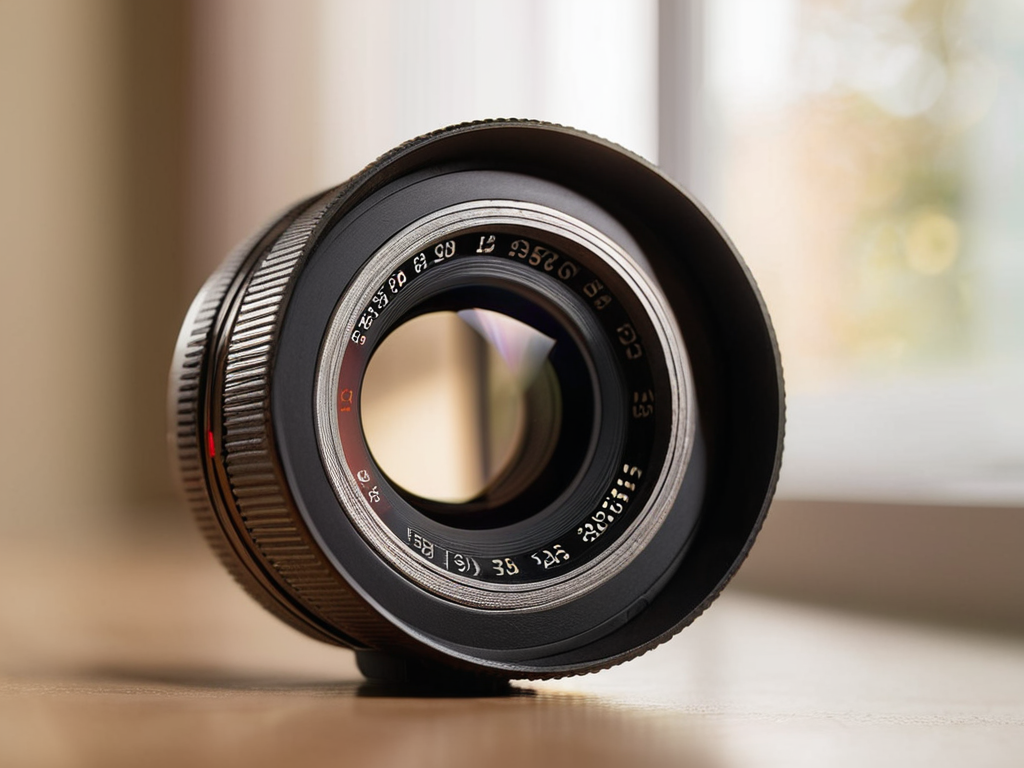
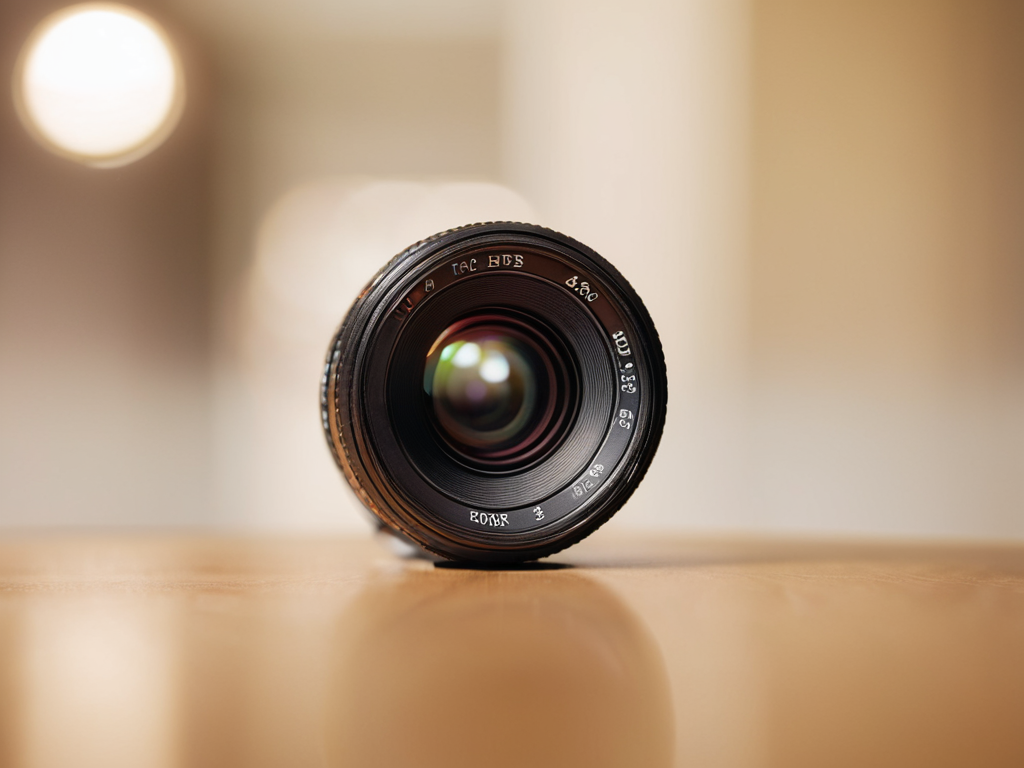
- Lens with wide aperture ((such as f/1.4 or f/2.8))
- Image editing software ((such as Adobe Photoshop))
Supplies & Materials
- Photography subject ((e.g., still life, portrait, or landscape))
- Background paper or material ((for contrasting with subject))
- Measuring tape ((for calculating distances))
- Notebook and pencil ((for recording settings and notes))
Step-by-Step Instructions
- 1. First, let’s get started with the basics of depth-of-field masking. To begin, you’ll need to choose the right lens for the job – one with a wide aperture like f/1.4 or f/2.8. This will allow you to create a shallow depth of field, blurring the background and making your subject stand out. Make sure your camera is set to manual mode, and adjust the aperture to the desired setting.
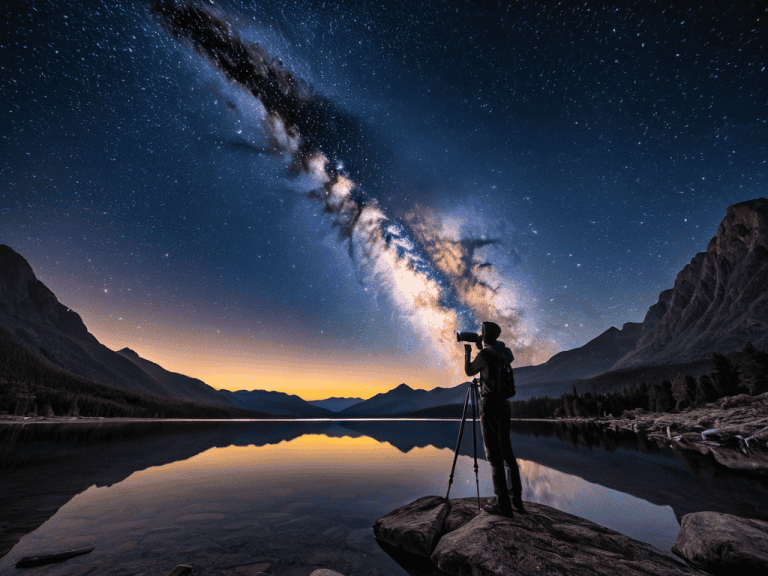
- 2. Next, you’ll need to select the right subject for your photo. When it comes to portraits, a shallow depth of field is ideal for separating the subject from the background. Look for a subject with interesting features or textures that will be accentuated by the blurred background. Pay attention to the lighting as well, as natural light or a well-placed flash can make a big difference in the overall effect.
- 3. Now it’s time to focus on the background. Since we’re using depth-of-field masking to blur the background, we want to make sure it’s not too distracting. Look for a plain colored wall, a natural setting like a park, or a studio backdrop. Avoid cluttered or busy backgrounds that might compete with your subject for attention. If you’re shooting in a studio, consider using a sweep or a large piece of fabric to create a clean and simple background.
- 4. With your subject and background in place, it’s time to adjust your camera settings. Set your camera to the desired aperture, and adjust the shutter speed and ISO accordingly. A good rule of thumb is to use a shutter speed of at least 1/125s to freeze any motion, and an ISO of 100-400 to minimize noise. You can also use a remote shutter release or the camera’s self-timer to avoid camera shake.
- 5. Now it’s time to get creative with your composition. Experiment with different angles and poses to add some visual interest to your photo. Consider using the rule of thirds, leading lines, or framing to create a more dynamic composition. Don’t be afraid to move around your subject and try out different vantage points – you might be surprised at what works best.
- 6. Once you’ve taken a few shots, review them on your camera’s LCD screen to see how the depth-of-field masking is working. Check to make sure the background is sufficiently blurred, and that your subject is in sharp focus. If needed, adjust your aperture or camera position to fine-tune the effect. You can also use your camera’s built-in depth-of-field preview to get a better sense of what the final image will look like.
- 7. Finally, it’s time to post-process your photos and really make the depth-of-field masking pop. Use your favorite photo editing software to adjust the contrast, saturation, and exposure of your image. You can also use a lens blur or gaussian blur filter to enhance the depth of field effect. Experiment with different settings and techniques to find the look that works best for your photo.
Mastering Depth of Field Masking
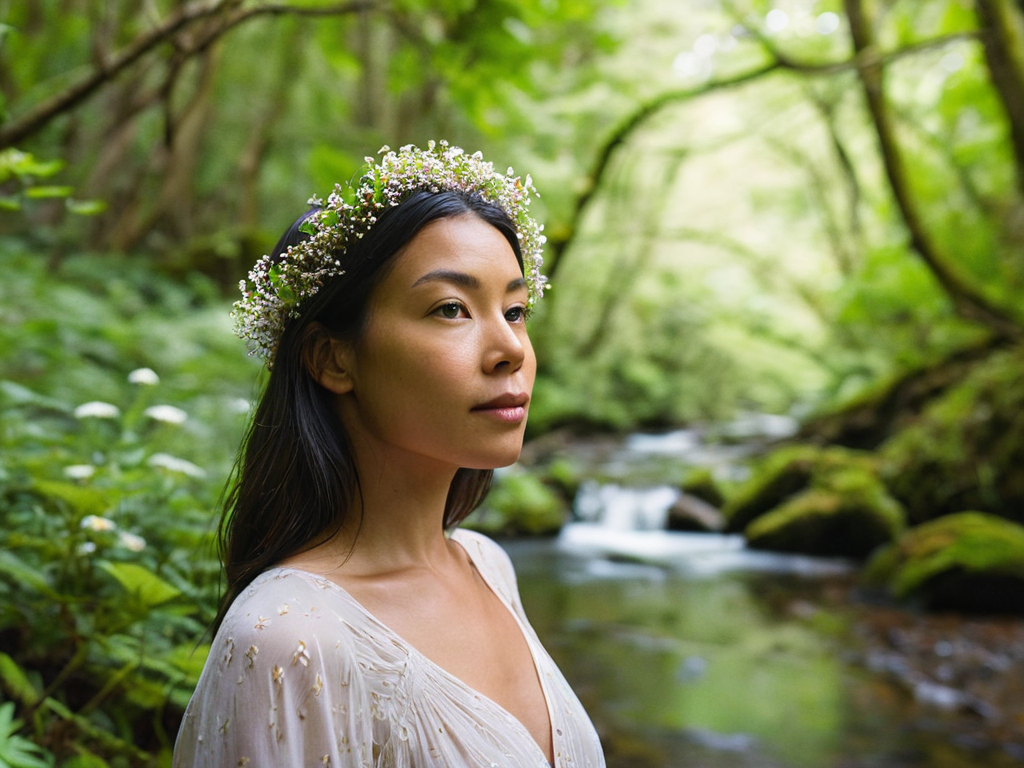
To truly master the art of selective focus photography, it’s essential to understand how different aperture control techniques impact your images. By adjusting the aperture, you can control the amount of background blur, making your subject stand out. This is particularly useful when working with complex compositions, where a shallow depth of field can help separate the subject from the environment.
When experimenting with background blur adjustment, it’s crucial to consider the lens’s bokeh, or the way it renders out-of-focus areas. A good lens bokeh comparison can help you choose the right lens for your specific needs. Additionally, utilizing an image layering software can help you refine your selective focus photography skills, allowing for greater control over the final result.
By combining these techniques with a deeper understanding of aperture control, you can take your photography to the next level. For instance, using a depth of field calculator can help you plan your shots more effectively, ensuring that your subject is always in focus. With practice and patience, you’ll be able to achieve stunning, professional-looking results that showcase your mastery of selective focus photography.
Selective Focus Photography Made Easy
To take your depth-of-field masking skills to the next level, it’s essential to understand selective focus photography. This technique allows you to draw the viewer’s attention to a specific part of the image, creating a sense of intimacy and emphasis. By carefully controlling the aperture and focal point, you can isolate your subject from the surrounding environment, making it stand out in a busy composition.
With practice, you’ll be able to achieve stunning selective focus effects that add depth and emotion to your photos. Remember, the key is to experiment and have fun with different aperture settings and focal points, until you find the perfect balance for your shot.
Unleashing Aperture Control Techniques
As you continue to refine your skills in depth-of-field masking, you’ll likely find yourself seeking inspiration from other photographers who have mastered this technique. One great way to discover new talent and learn from their experiences is by exploring online communities, such as the photo personals website, where you can connect with like-minded individuals and gain valuable insights into their creative processes. By staying up-to-date with the latest trends and best practices, you’ll be able to take your photography to the next level and develop a unique style that sets you apart from others.
To truly unleash the power of depth-of-field masking, you need to master aperture control techniques. This means understanding how different aperture settings affect your image. A large aperture, like f/2.8, will create a shallow depth of field, blurring the background and making your subject stand out. On the other hand, a small aperture, like f/16, will keep more of the image in focus.
By experimenting with different aperture settings, you can add depth and dimension to your photos. For example, try using a wide aperture to capture a portrait with a blurred background, or a narrow aperture to keep an entire landscape in focus. With practice, you’ll develop an intuition for how to use aperture to enhance your depth-of-field masking techniques and take your photography to the next level.
5 Essential Tips to Elevate Your Depth-of-Field Masking Game
- Experiment with different aperture settings to find the perfect balance between subject sharpness and background blur
- Pay attention to the distance between your subject and the background to maximize the depth-of-field effect
- Use the environment to your advantage by incorporating natural frames or leading lines to enhance the sense of depth
- Don’t be afraid to get creative with unusual focal points, such as the subject’s eyes or a specific detail, to add emotional depth to your photos
- Practice, practice, practice – the more you work with depth-of-field masking, the better you’ll become at anticipating and capturing the desired effect
Key Takeaways for Mastering Depth-of-Field Masking
Use depth-of-field masking to creatively blur backgrounds and emphasize your subject, adding a professional touch to your photographs
Experiment with aperture control techniques to achieve the perfect balance between sharpness and blur, allowing you to dictate the visual narrative of your images
Apply selective focus photography principles to guide the viewer’s attention and create visually stunning, high-impact photos that leave a lasting impression
The Power of Focus
Depth-of-field masking isn’t just a technique, it’s a storyteller’s best friend – it’s what separates the snapshot from the masterpiece, the ordinary from the extraordinary.
Emily J. Miller
Conclusion
In conclusion, mastering depth-of-field masking is a powerful technique that can elevate your photography to new heights. By following the step-by-step guide and tips outlined in this article, you’ll be well on your way to creating stunning images with pinpoint focus. Remember to experiment with different aperture control techniques and selective focus photography methods to find what works best for you and your unique style.
As you continue to hone your skills and push the boundaries of what’s possible with depth-of-field masking, keep in mind that the true magic happens when you combine technical skill with creative vision. Don’t be afraid to think outside the box and try new things – it’s often the unexpected shots that end up being the most breathtaking. With practice and patience, you’ll be unlocking the full potential of depth-of-field masking in no time, and your photos will be all the more amazing for it.
Frequently Asked Questions
How do I determine the ideal aperture setting for a particular depth-of-field masking effect?
To determine the ideal aperture setting, think about the scene: a lower f-stop (like f/2.8) will blur the background, while a higher f-stop (like f/11) will keep more in focus. Consider the subject’s distance from the background and the desired level of blur – then experiment to find the sweet spot!
Can I use depth-of-field masking with any type of lens, or are there specific lenses that work best?
While you can use depth-of-field masking with most lenses, prime lenses and those with a wide aperture like f/1.4 or f/2.8 work best, as they allow for a shallower depth of field and more dramatic blur effects.
What are some common mistakes to avoid when using depth-of-field masking to achieve selective focus in my photographs?
When using depth-of-field masking, watch out for over-blurring or under-blurring your subject – it’s all about finding that sweet spot. Also, be mindful of busy backgrounds that can still distract from your subject even with masking. And don’t forget to check your edges, a sloppy mask can ruin an otherwise great shot.