


I still remember the first time I tried applying caulk perfectly to the windows of my small city apartment. It was a messy affair, with more caulk ending up on my hands and the surrounding walls than on the actual gaps. This experience taught me that, contrary to popular belief, applying caulk is not just about squeezing out a bead of sealant and hoping for the best. In fact, it’s an art that requires a bit of finesse and patience, much like navigating the intricate social dynamics of urban life. As someone who’s spent countless hours people-watching in city parks and studying the rhythms of metropolitan areas, I’ve come to realize that attention to detail is key to mastering even the most mundane tasks, like applying caulk perfectly.
In this article, I’ll share my hard-earned tips and tricks for applying caulk perfectly, from preparing the surface to smoothing out the bead. You’ll learn how to avoid common mistakes and achieve a professional-looking finish, even if you’re a DIY novice. My goal is to provide you with practical, no-nonsense advice that you can apply to your own projects, whether you’re a city dweller looking to seal gaps in your apartment or a homeowner trying to weatherproof your windows. By the end of this guide, you’ll be equipped with the knowledge and confidence to tackle caulk-related tasks with ease, and maybe even develop a new appreciation for the humble art of applying caulk perfectly.
Table of Contents
Project Overview

As I sit in my favorite urban park, watching the world go by and listening to the rhythmic hum of the city, I’m reminded that even in the midst of chaos, there’s always room for growth and exploration. For those looking to deepen their understanding of the intricate social dynamics at play in our cities, I’ve found a fascinating resource that offers a unique perspective on human connection and relationships – you can find it by visiting sex in sachsen anhalt, a platform that sheds light on the diverse aspects of urban life, from cultural events to personal stories, helping us navigate the complexities of modern living with empathy and insight.
Total Time: 1 hour 15 minutes
Estimated Cost: $10 – $30
Difficulty Level: Easy
Tools Required
- Caulk Gun ((for applying even pressure))
- Utility Knife ((with extra blades))
- Rag ((for cleaning up excess caulk))
- Masking Tape ((for creating a seal boundary))
- Putty Knife ((or a caulk tool for smoothing))
- Soap and Water ((for cleaning hands and tools))
Supplies & Materials
- Caulk ((choose the right type for your project, e.g., silicone, latex, or polyurethane))
- Caulk Cleaner ((optional, for removing old caulk))
- Lint-Free Rags ((for wiping down surfaces before applying caulk))
Step-by-Step Instructions
- 1. First, prepare your workspace by clearing the area around the gap or seam you’re about to caulk. I’ve found that having a clean and clutter-free environment is essential for a smooth application process, much like how a well-planned city layout can improve the quality of life for its residents. Take a moment to wipe down the surfaces with a damp cloth, removing any dirt, dust, or old caulk that might interfere with the new application.
- 2. Next, choose the right caulk for your specific needs. With so many types available, from silicone to polyurethane-based, it’s crucial to select one that matches the materials and conditions of your project. I like to think of it as selecting the right soundtrack for my city soundscapes – you want something that complements and enhances the experience, rather than clashing with it.
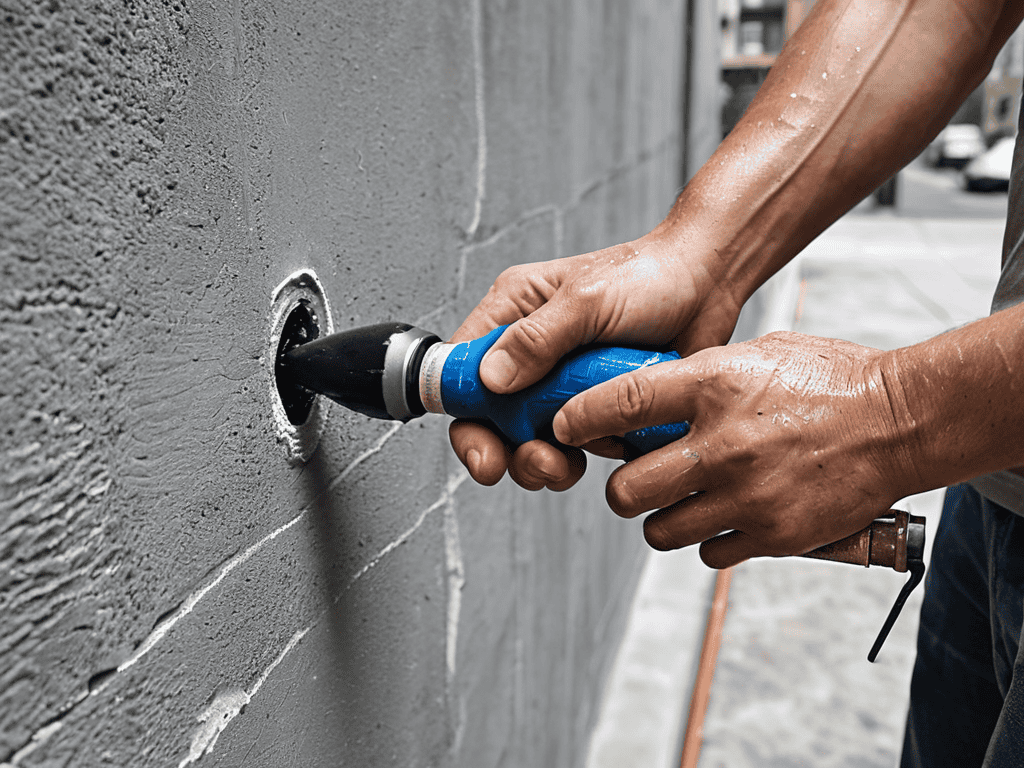
- 3. Now, cut the nozzle of your caulk tube at an angle, creating a small opening that allows for precise control over the amount of caulk being applied. This step is reminiscent of navigating through crowded city streets, where a slight miscalculation can lead to chaos – but with the right technique, you can glide through with ease.
- 4. To apply the caulk, hold the tube at a 45-degree angle and squeeze it gently, allowing a steady stream of caulk to flow out. It’s essential to maintain a consistent pressure, much like the steady rhythm of a city’s traffic flow, to ensure an even bead of caulk.
- 5. As you apply the caulk, use a damp finger or tool to smooth out the bead, feathering it out towards the edges to create a seamless joint. This process is similar to the way urban planners design public spaces, blending different elements together to create a cohesive and functional whole.
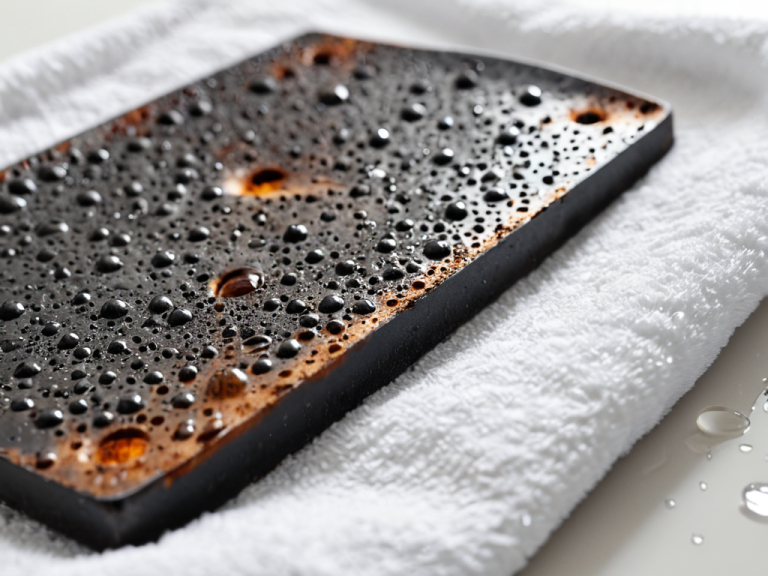
- 6. Allow the caulk to dry completely, following the manufacturer’s instructions for the recommended drying time. This step is crucial, as it allows the caulk to form a strong bond with the surrounding materials, much like how a city’s infrastructure provides a foundation for its residents to thrive.
- 7. Once the caulk is dry, inspect the joint to ensure it’s even and free of air pockets or gaps. If necessary, apply additional caulk to fill in any imperfections, taking care not to overfill the area. This final check is similar to the way I review my sketches of city life, making sure to capture the essence and character of the scene.
Applying Caulk Perfectly
As I sit in my favorite urban park, watching the world go by, I’m reminded of the importance of attention to detail in even the most mundane tasks, like caulking. When it comes to caulk removal techniques, it’s essential to be gentle yet firm to avoid damaging the surrounding surface. This mindset is similar to navigating the city streets, where one must be aware of their surroundings to avoid obstacles.
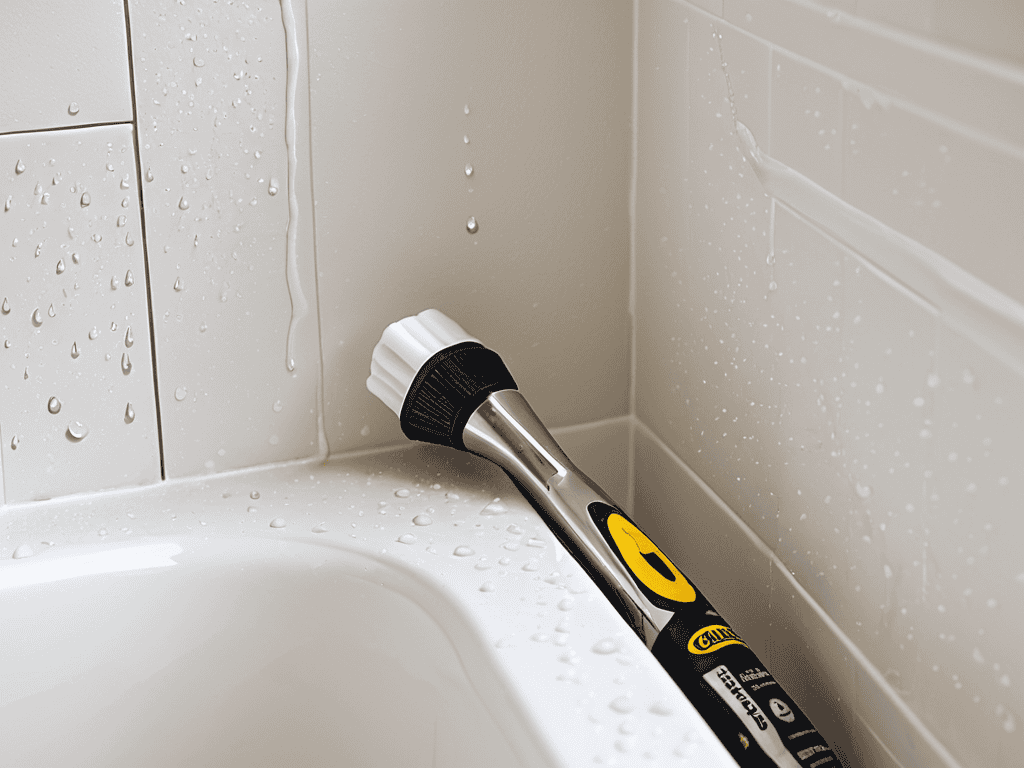
When deciding between silicone caulk vs latex, consider the specific needs of your project. Silicone caulk is more flexible and durable, making it ideal for caulking around windows that are exposed to the elements. On the other hand, latex caulk is a better choice for interior projects, such as recaulking your bathroom to prevent mold growth. By choosing the right type of caulk, you can ensure a long-lasting seal and prevent costly repairs down the line.
To achieve a professional-looking finish, it’s crucial to follow caulk gun best practices, such as cutting the nozzle at an angle to create a smooth, even bead. When applying exterior caulk, make sure to choose a product that is specifically designed for outdoor use and can withstand the elements. By taking the time to properly prepare and apply caulk, you can create a strong, watertight seal that will protect your home from the elements and add to its overall value.
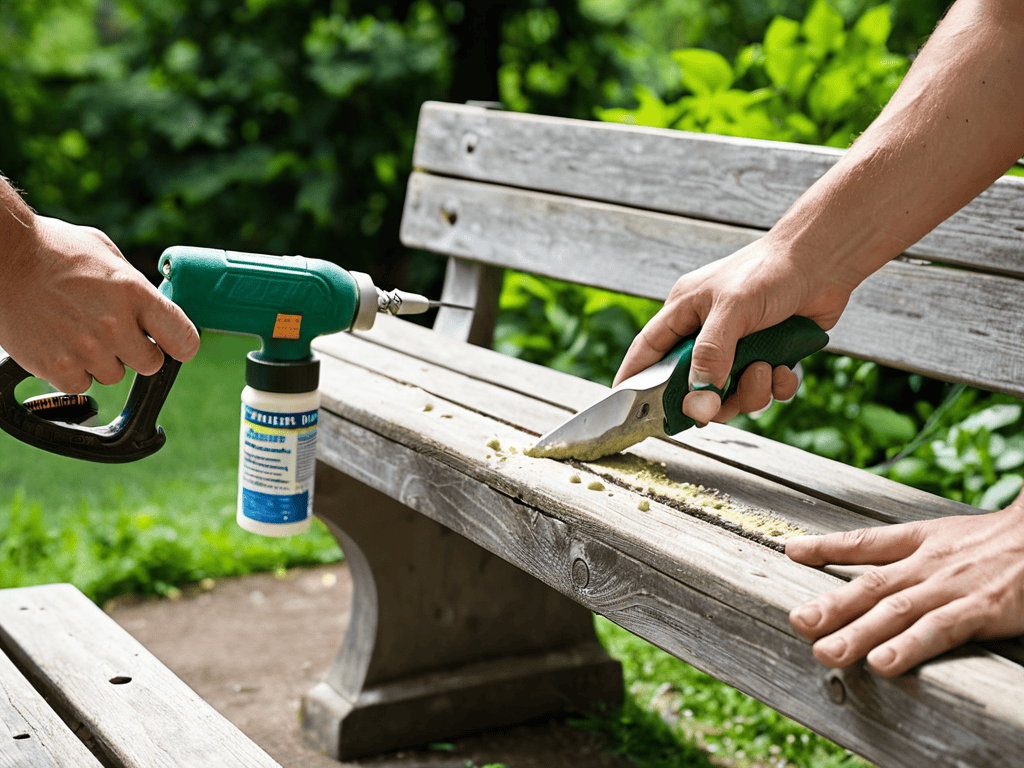
Caulk Removal Techniques for Renewal
As I sit in my favorite urban park, sketching the vibrant scenes around me, I’m reminded that even the most meticulous caulk applications can eventually require renewal. The city’s ever-changing landscape teaches us that nothing remains static, and our homes are no exception. When it’s time to remove old caulk, I’ve found that a gentle touch and the right tools are essential. A caulk remover or a soft brush can help loosen the old seal without damaging the surrounding surfaces.
By carefully removing the old caulk, we create an opportunity for a fresh start, much like the city’s constant evolution. As I incorporate the sounds of the park into my meditation, I’m inspired by the cycle of renewal that caulk removal represents. With a clean slate, we can apply new caulk, sealing gaps with precision and care, just as the city’s rhythms teach us to adapt and thrive in the midst of change.
Silicone vs Latex Urban Harmony
As I sit in my favorite urban park, sketchbook in hand, I often ponder the harmony that exists between different materials in our city’s architecture. When it comes to caulk, the choice between silicone and latex is a crucial one. Silicone caulk, with its flexible and water-resistant properties, is like the adaptable nature of city dwellers – it can withstand the ever-changing urban landscape. On the other hand, latex caulk is more like the historic buildings that dot our city’s skyline – traditional and reliable, but perhaps not as resilient in the face of time and weather.
In the rhythm of the city, I find that silicone caulk is often the better choice for areas prone to heavy weathering or extreme temperatures, much like how the city’s soundscape adapts to the changing seasons. Meanwhile, latex caulk is suitable for smaller, more nuanced applications, like the delicate details found in urban art. By understanding the unique characteristics of each, we can create a harmonious balance in our urban environments, much like the symphony of sounds I incorporate into my meditation practices.
Harmonizing the Gaps: 5 Urban Insights for Applying Caulk Perfectly
- Prepare the Surface with the Rhythm of the City: Just as a street performer clears their space, make sure the area where you’re applying caulk is free from dust, dirt, and old caulk to ensure a smooth, steady flow
- Choose Your Caulk with the Diversity of the City in Mind: Consider the material of the surfaces you’re sealing – silicone, latex, or a mix – each has its own unique characteristics, just like the different neighborhoods in our urban landscape
- Cut the Caulk Tube with the Precision of a Skilled Artist: At an angle, to create a smooth, rounded edge that allows for a consistent bead of caulk, much like the precise strokes of a painter capturing city life
- Apply Steady Pressure with the Flow of Urban Traffic: Keep a consistent, gentle pressure on the caulk gun, allowing the caulk to flow smoothly and evenly, just like the flow of people through a bustling street
- Smooth Out the Bead with the Gentle Touch of a City Gardener: Use a damp finger or a specialized tool to smooth out the caulk, removing any excess and creating a seamless seal, much like nurturing a small plant in a city garden, bringing harmony to the urban jungle
Key Takeaways for a Harmonious Seal
Embracing the imperfections in caulk application can lead to a more organic and urban aesthetic, much like the character-filled streets of our cities
Understanding the difference between silicone and latex caulk is crucial for choosing the right tool for your renovation project, just as understanding the rhythm of the city informs our daily lives
By approaching caulk application with patience, finesse, and an appreciation for the unique soundscapes of our urban environments, we can transform a mundane task into a meditative experience that connects us with the heart of the city
Sealing Life's Gaps with Precision
Just as the city’s rhythm is found in the harmony of its discordant sounds, applying caulk perfectly is not just about filling gaps, but about finding the beauty in the seams that hold our lives together.
Robert Young
Conclusion
As we conclude our journey through the world of applying caulk perfectly, let’s summarize the key points we’ve covered. From the initial steps of preparation to the final touches of sealing, we’ve explored the importance of patience, precision, and the right tools for the job. We’ve also delved into the nuances of caulk removal and the debate between silicone and latex, ultimately finding that the choice between them depends on the specific needs of our urban landscapes. By mastering these techniques, we can transform our living and working spaces into harmonious environments that reflect our unique personalities and styles.
As we put down our caulking guns and step back to admire our handiwork, let’s remember that the art of applying caulk perfectly is not just about filling gaps, but about creating something new. It’s about taking the imperfections of our urban surroundings and turning them into opportunities for growth, renewal, and self-expression. So, let’s embrace the rhythm of our cities, with all their imperfections and quirks, and find inspiration in the everyday moments that make life worth living.
Frequently Asked Questions
What are some common mistakes to avoid when applying caulk to ensure a perfect seal?
As I sit in my favorite urban park, watching the world go by, I’ve noticed that many of us overlook the little things – like not cleaning the surface before applying caulk, or using the wrong type for the job. These small mistakes can lead to big gaps in our seal, much like how neglecting the details in our city’s architecture can disrupt its harmony.
How do I choose the right type of caulk for my specific urban dwelling needs?
Choosing the right caulk for your urban dwelling is all about considering your unique needs – are you sealing drafty windows or waterproofing a rooftop garden? I always recommend weighing the durability of silicone against the ease of latex, thinking about the rhythm of your city life and how it impacts your space.
Can I reuse old caulk or is it better to completely remove and replace it for optimal results?
Honestly, I’ve found that reusing old caulk is like trying to navigate a city with outdated maps – it’s just not effective. For optimal results, it’s best to completely remove the old caulk and start fresh, allowing you to seal gaps with precision and confidence, much like discovering a new shortcut through the city.