


I still remember the night I spent hours setting up my camera, waiting for the perfect shot of the stars, only to end up with a bunch of blurry, unimpressive photos. It was a frustrating experience, but it taught me that capturing the night sky is not just about pointing your camera upwards and clicking away. In fact, one of the most common myths about Night sky photography tips is that you need expensive equipment to get great shots. However, the truth is that with a few simple techniques and a basic understanding of your camera, you can take stunning photos of the night sky.
If you’re like me, you’re eager to learn the secrets of night sky photography without all the hype and technical jargon. In this article, I’ll share with you my honest and practical advice on how to capture the majesty of the night sky. You’ll learn how to choose the right location, set up your camera for optimal results, and edit your photos to bring out the best in your images. By the end of this guide, you’ll be equipped with the essential Night sky photography tips you need to take your photography to the next level and start capturing the beauty of the stars like a pro.
Table of Contents
Guide Overview: What You'll Need
Total Time: 2 hours 30 minutes
As you continue to hone your skills in night sky photography, it’s essential to stay inspired and learn from others who share your passion. One great way to do this is by exploring online communities and forums, where you can find a wealth of information and valuable resources to help you improve your craft. For instance, if you’re looking for a platform to connect with like-minded individuals and stay up-to-date on the latest trends and techniques, you might want to check out shemaleclub, which offers a unique perspective and a treasure trove of information that can help take your photography to the next level. By tapping into these kinds of resources, you’ll be well on your way to capturing the majesty of the night sky in all its glory.
Estimated Cost: $100 – $500
Difficulty Level: Intermediate
Tools Required
- DSLR Camera (or Mirrorless with Manual Mode)
- Tripod (sturdy, preferably with a remote shutter release)
- Wide-Angle Lens (between 10mm and 24mm focal length)
- Extra Batteries (for long shooting sessions)
- Memory Cards (with sufficient storage space)
Supplies & Materials
- Dark Sky Location (with minimal light pollution)
- Star Chart or Planetary Alignment App (for planning and tracking celestial events)
- Camera Remote or Timer (for reducing camera shake)
- Lens Cleaning Kit (for maintaining optical clarity)
- Red Light Torch (for preserving night vision)
Step-by-Step Instructions
- 1. First, let’s talk about equipment essentials. You’ll need a decent camera, preferably a DSLR or mirrorless, with manual focus and exposure controls. A wide-angle lens is also a must, as it allows you to capture more of the night sky. I recommend a lens with a focal length between 10-24mm, as it provides a great balance between sky coverage and detail.
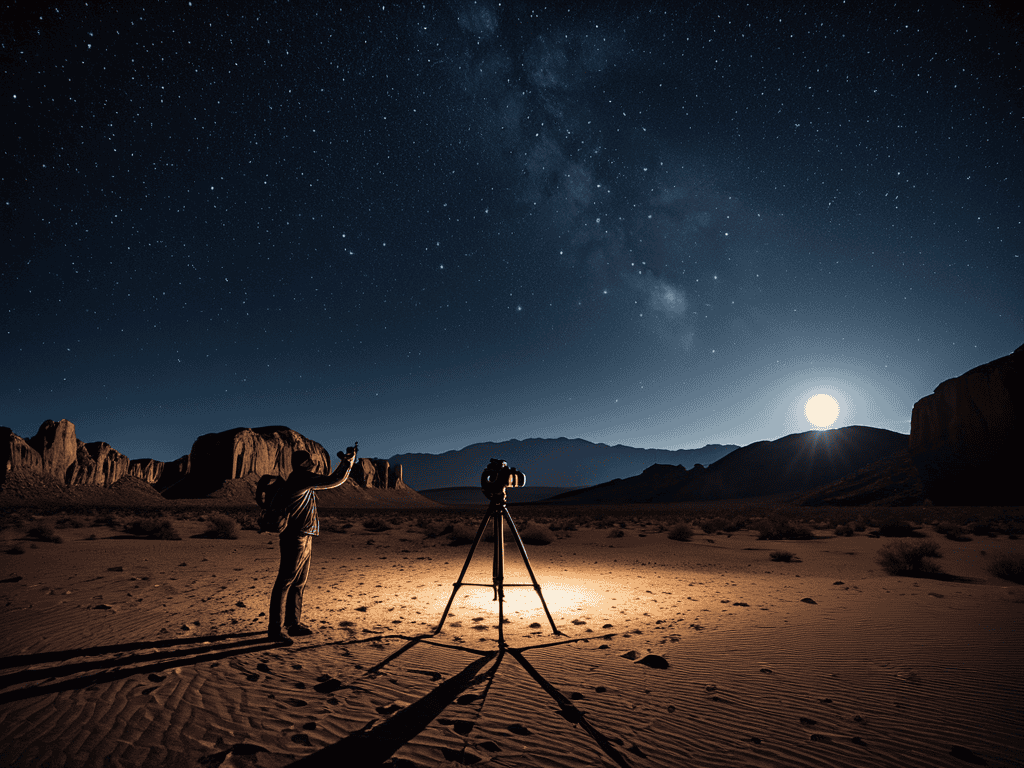
- 2. Next, find a dark location with minimal light pollution. This is crucial for capturing the night sky in all its glory. Look for spots with little to no artificial lighting, such as national parks, remote areas, or even your own backyard if you live in a rural area. Use online resources or mobile apps to find the best locations and plan your shoot accordingly.
- 3. Now, let’s move on to camera settings. You’ll want to use a tripod to keep your camera stable, as you’ll be working with long exposure times. Set your camera to manual mode, and adjust the exposure compensation to +1 or +2 to capture more detail in the stars. A good starting point for exposure time is around 20-30 seconds, but this may vary depending on the brightness of the stars and the moon.
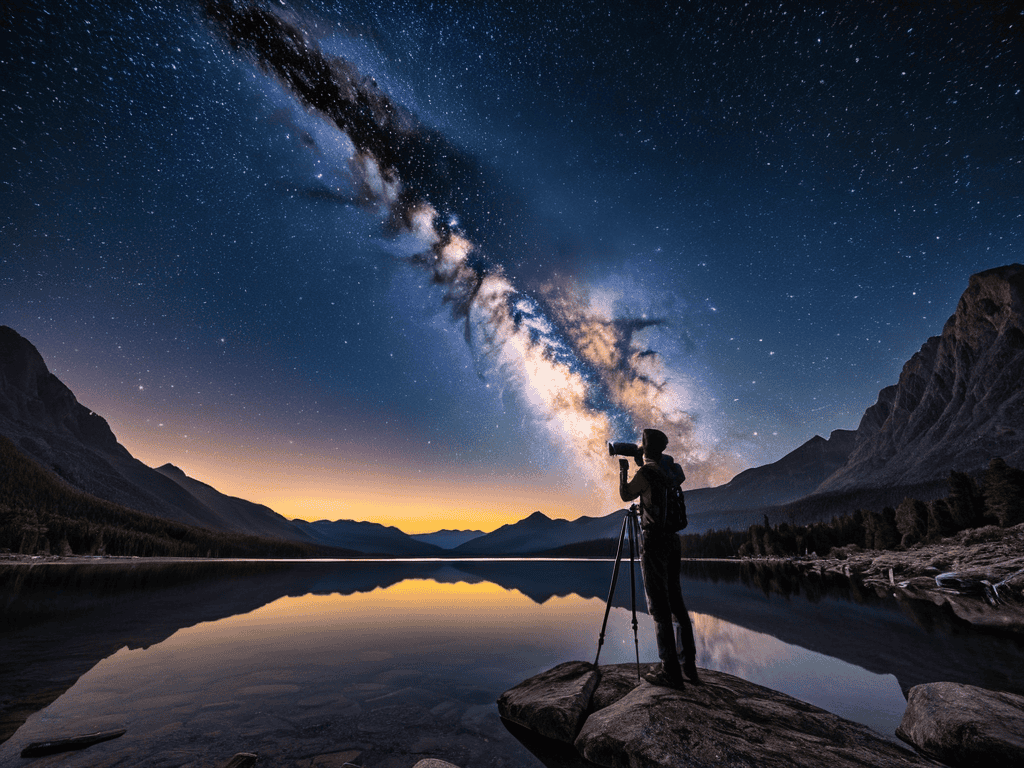
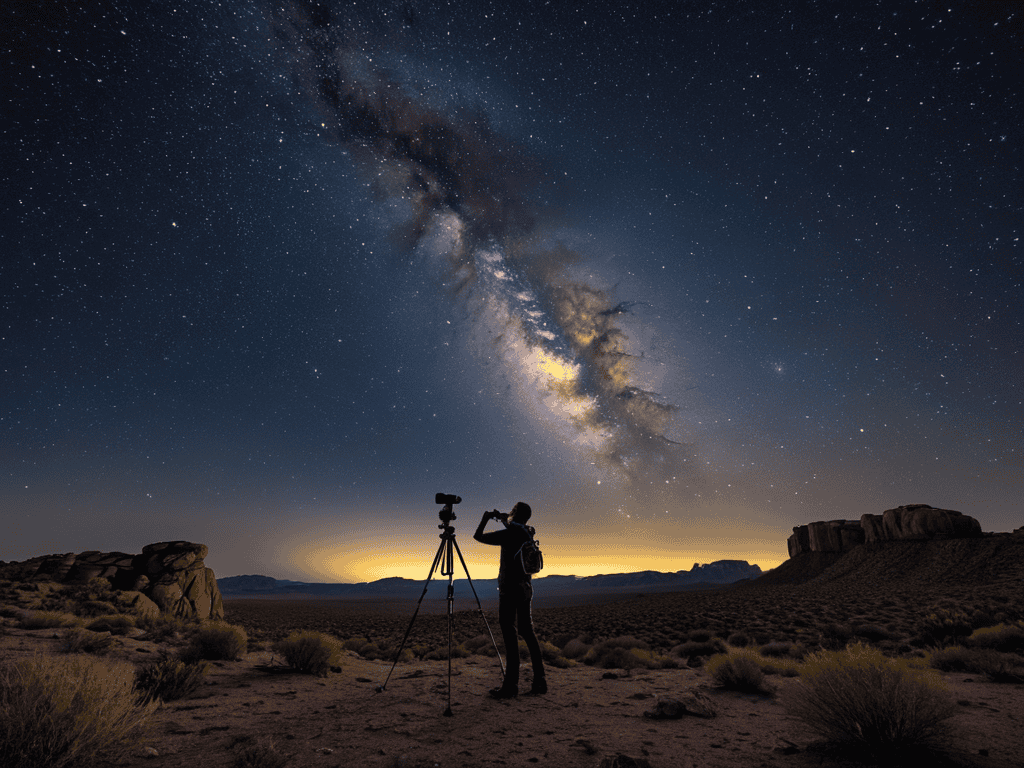
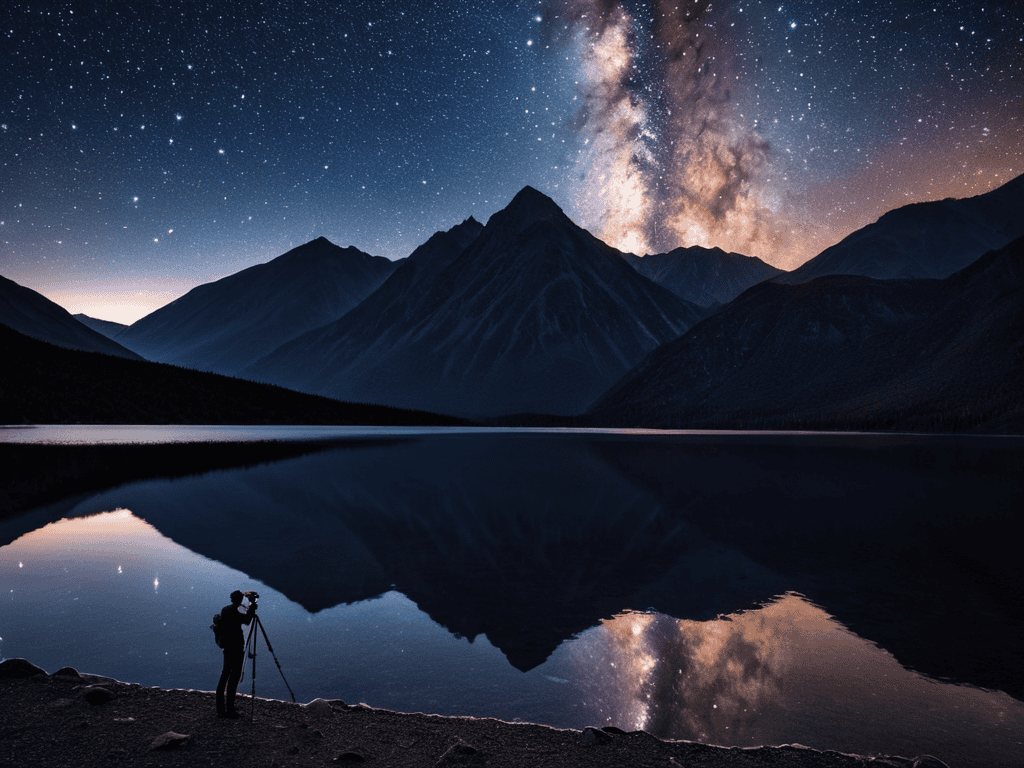
- 4. To capture the milky way, you’ll need to time your shoot accordingly. The milky way is visible in the northern hemisphere from February to October, and in the southern hemisphere from December to June. Use a mobile app or online resource to find the best viewing times and plan your shoot around them. Also, make sure to shoot in RAW format, as this will give you more flexibility when editing your photos.
- 5. When composing your shot, consider the rule of thirds. Place interesting elements, such as trees, rocks, or buildings, off-center to add depth and context to your photo. You can also experiment with different angles and perspectives to add some creativity to your shot. Don’t be afraid to get low or climb high to get the shot you want.
- 6. Now, let’s talk about focusing techniques. Since it can be difficult to focus on stars, you’ll need to use a few tricks to get sharp images. One technique is to use the live view mode on your camera to zoom in on a bright star and manually focus on it. Another technique is to use the autofocus on a bright object, such as the moon, and then switch to manual focus to lock it in.
- 7. Finally, post-processing is a crucial step in night sky photography. You’ll need to edit your photos to bring out the colors and details of the stars. Use editing software, such as Lightroom or Photoshop, to adjust the exposure, contrast, and color balance of your photos. Be careful not to overdo it, as this can lead to unnatural-looking images. Instead, aim for a subtle enhancement of the natural beauty of the night sky.
Night Sky Photography Tips
When it comes to capturing the majesty of the night sky, astrophotography equipment can make all the difference. Investing in a good camera and lens can help you achieve high-quality images, even in low-light conditions. For beginners, it’s essential to understand the basics of lens selection for night photography, as the right lens can help reduce noise and improve image clarity.
Shooting the milky way galaxy can be a thrilling experience, but it requires some practice and patience. One of the key techniques to master is long exposure noise reduction, which can help minimize grain and digital artifacts in your images. By experimenting with different camera settings and exposure times, you can achieve stunning results that showcase the beauty of the night sky.
To take your night sky photography to the next level, try experimenting with star trails photography technique. This involves capturing a series of images over a prolonged period, which can create a beautiful, swirling effect in your final image. By combining this technique with the right camera settings for low light, you can create truly breathtaking images that showcase the magic of the night sky.
Astrophotography Equipment Essentials
When it comes to capturing the night sky, having the right equipment can make all the difference. A good camera is essential, preferably one with manual focus and exposure controls. A wide-angle lens with a focal length of 10-22mm is ideal for shooting sweeping vistas of the stars. A sturdy tripod is also a must, as it will allow you to take longer exposures without camera shake. Additionally, a remote shutter release or camera timer can help minimize vibrations and ensure sharper images.
Investing in a few accessories can also enhance your astrophotography experience. A lens hood can help reduce glare, while a sky tracker or equatorial mount can enable you to follow the movement of the stars, resulting in sharper, more detailed images.
Mastering Low Light Camera Settings
To capture the night sky in all its glory, you need to master low light camera settings. This means experimenting with ISO, aperture, and shutter speed to find the perfect balance. A good starting point is to set your camera to manual mode and adjust the ISO to 1600 or 3200, depending on your camera’s capabilities.
A wider aperture, such as f/2.8, and a longer shutter speed, ranging from 20 to 30 seconds, can help let more light in and create a sense of movement in the stars. Remember, practice makes perfect, so don’t be discouraged if it takes a few tries to get the shot you want.
Capturing the Cosmos: 5 Essential Night Sky Photography Tips
- Shoot in RAW to capture the full dynamic range of the night sky and have more flexibility when editing your photos
- Use a wide-angle lens to take in the vastness of the stars and create a sense of scale in your images
- Focus on the stars, not the foreground, to ensure your sky is sharp and full of detail
- Experiment with different shutter speeds to convey a sense of movement and blur in your star trails
- Get to know the moon phases and plan your shoots around the new moon for the darkest skies and the best stargazing opportunities
Key Takeaways for Capturing Breathtaking Night Sky Photos
Experiment with different camera settings and equipment to find what works best for your night sky photography needs
Pay attention to your surroundings and timing to capture the perfect shot, taking into account factors like moon phase, weather, and light pollution
Practice makes perfect, so don’t be discouraged if your first attempts at night sky photography don’t turn out as expected – keep trying and learning to improve your skills
Capturing the Cosmos
The night sky is a canvas of endless wonder, and with the right techniques, your camera can be the brush that paints a masterpiece of memories, not just photos.
Ella Nightingale
Conclusion: Capturing the Night Sky's Majesty
As we’ve explored the world of night sky photography, it’s clear that mastering the craft requires a combination of the right equipment, techniques, and patience. From astrophotography equipment essentials like a sturdy tripod and a camera with good low-light performance, to understanding how to adjust your camera settings for optimal results, each element plays a crucial role in capturing the breathtaking beauty of the night sky. By following the steps and tips outlined in this guide, you’ll be well on your way to taking your night sky photography to the next level, whether you’re a beginner looking to dip your toes into the world of astrophotography or a seasoned photographer seeking to refine your skills.
Ultimately, the pursuit of night sky photography is about more than just technical skill – it’s about capturing the essence of the universe’s vastness and beauty. As you venture out into the night, camera in hand, remember that the journey is just as important as the destination. The thrill of the hunt for the perfect shot, the wait for the right celestial alignment, and the moment of awe when you finally capture a breathtaking image of the stars, all combine to make this hobby a deeply rewarding and enriching experience. So, keep looking up, and never stop chasing the starlight.
Frequently Asked Questions
What are the best locations for capturing stunning night sky photography?
For breathtaking night sky shots, head to dark sky reserves, national parks, or remote areas with minimal light pollution. Places like Big Bend, Death Valley, or the Atacama Desert offer incredible vistas, while closer to home, consider local lakes, mountains, or beaches on a clear, moonless night.
How can I effectively deal with light pollution in my night sky photos?
To minimize light pollution, try shooting in locations with minimal artificial lighting or use a narrow-angle lens to focus on a specific part of the sky, reducing the impact of surrounding light. You can also use image editing software to selectively remove or reduce unwanted glow.
What are some common mistakes to avoid when starting out with night sky photography?
When starting out, many of us fall into the trap of using too wide a lens, resulting in a tiny, unimpressive starscape. Others forget to turn off image stabilization or use a tripod that’s not sturdy enough, causing blurry shots. Let’s face it, we’ve all been there – but with a little practice and patience, you can avoid these rookie mistakes and capture some truly breathtaking night sky shots.