

I still remember the first time I tried making natural tie dye with plants – it was a game-changer for me. I had always been fascinated by the idea of creating my own unique, eco-friendly clothing, but I was put off by the common myth that natural dyes are weak and unpredictable. However, after experimenting with different plants and techniques, I discovered that the truth is quite the opposite. With the right knowledge and materials, you can create stunning, long-lasting colors that are not only better for the environment but also add a personal touch to your wardrobe.
In this article, I’ll share my hands-on experience and practical tips for making natural tie dye with plants. You’ll learn how to forage for the right plants, prepare the dyes, and create unique patterns on your clothes. I’ll cut through the hype and give you honest advice on what works and what doesn’t, so you can start creating your own one-of-a-kind tie dye masterpieces. Whether you’re a beginner or an experienced crafter, this guide will provide you with the inspiration and know-how to take your natural tie dye skills to the next level.
Table of Contents
Project Overview
Total Time: 2 hours 30 minutes
Estimated Cost: $10 – $30
Difficulty Level: Intermediate
Tools Required
- Large pot ((at least 3 quart capacity))
- Strainer or cheesecloth ((for straining plant dye))
- Gloves ((protective gear))
- Measuring cups and spoons ((for accurate measurements))
- Spoon or whisk ((for mixing))
- Rubber bands or string ((for folding and binding fabric))
Supplies & Materials
- Natural fiber fabric ((like cotton, linen, or silk))
- Plant materials for dye ((such as turmeric, indigo, or pomegranate rinds))
- Water ((enough to cover the fabric and plant material))
- Salt ((1/2 cup or 8 ounces per gallon of water))
- Vinegar ((1/4 cup or 2 ounces per gallon of water))
- Mordant (optional) ((like alum or cream of tartar))
Step-by-Step Instructions
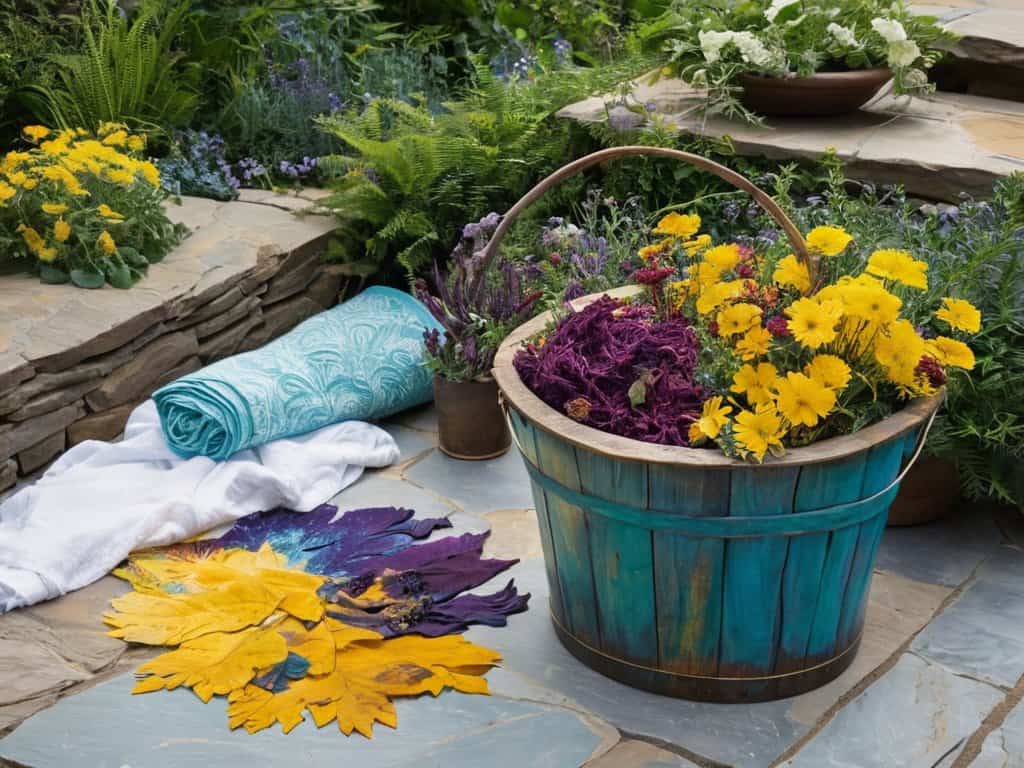
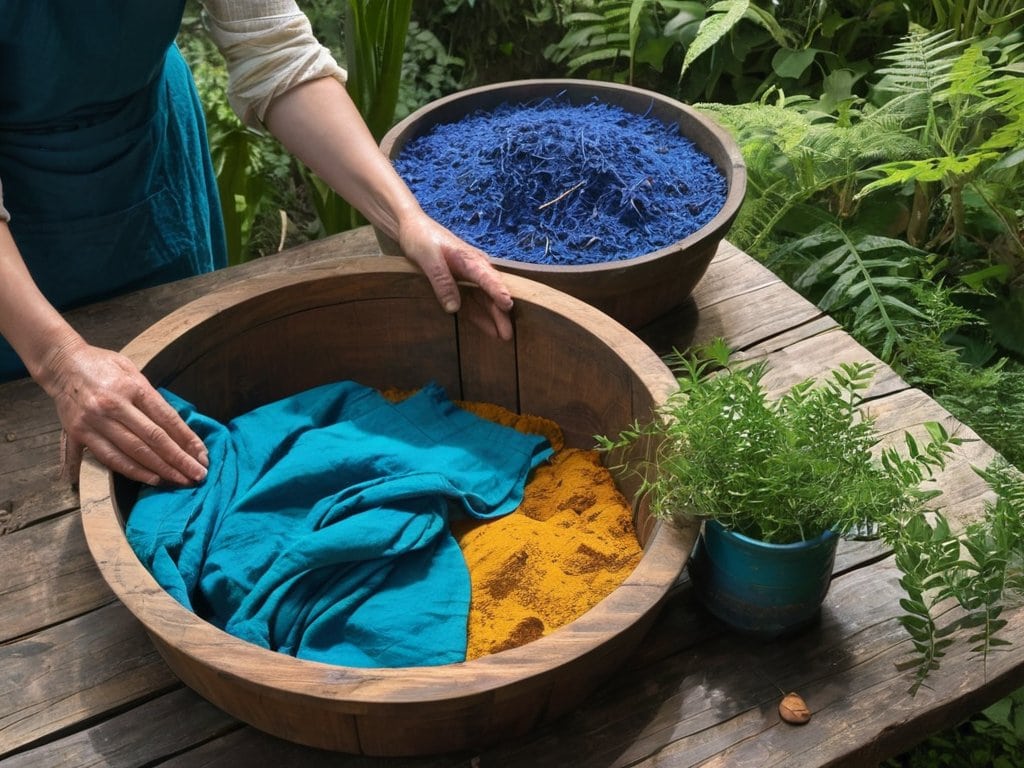
- 1. First, let’s start by gathering our materials, which include a variety of plants like turmeric, indigo, and pomegranate, as well as some rubber bands, a bucket, and an old shirt or piece of fabric we don’t mind getting stained. I like to think of this step as a fun treasure hunt, where I get to explore my backyard or local park to see what kind of natural dyes I can find.
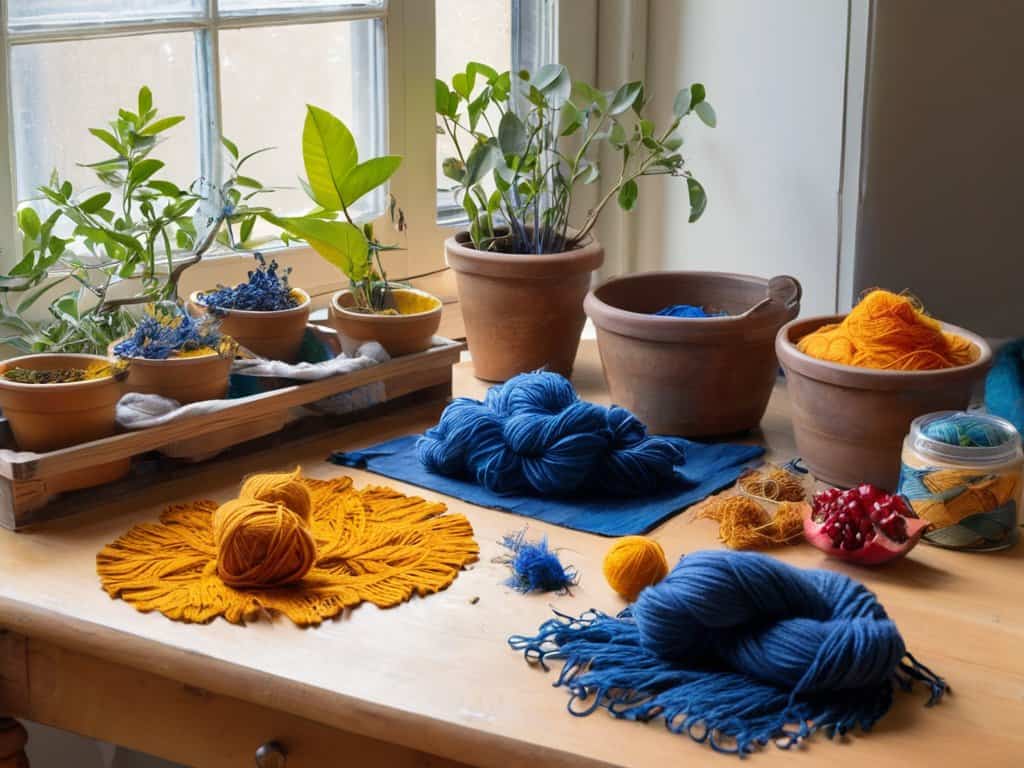
- 2. Next, we need to prepare our plant-based dyes, which involves chopping or crushing the plants to release their colors. For example, if we’re using turmeric, we can simply grate the root and soak it in hot water to create a beautiful yellow dye. If we’re using indigo, we’ll need to steep the leaves in water for a few hours to get that gorgeous blue color.
- 3. Now it’s time to create our dye bath, which is just a fancy way of saying we’re going to mix our plant-based dyes with some water in a big bucket. The key here is to experiment with different ratios of plant material to water, as this will affect the final color of our tie dye. Don’t be afraid to get creative and try out different combinations – it’s all part of the fun!
- 4. With our dye bath ready, it’s time to fold and bind our fabric using rubber bands or string. This is where we can get really creative with our tie dye design, folding and twisting the fabric in all sorts of ways to create unique patterns and shapes. I love this step because it’s like solving a puzzle – we never quite know what we’re going to get, but that’s all part of the excitement.
- 5. Once our fabric is all folded and bound, we can submerge it in the dye bath and let the magic happen. This is the most patient part of the process, as we need to let the fabric soak for anywhere from a few hours to overnight, depending on how intense we want the color to be. But trust me, it’s worth the wait – there’s nothing quite like seeing our handmade tie dye come to life.
- 6. After our fabric has finished soaking, it’s time to rinse and wash it, which involves gently removing the rubber bands or string and rinsing the fabric under cold running water to remove any excess dye. This is the most satisfying part of the process, as we get to see our finished tie dye design for the first time – it’s like unwrapping a present on our birthday!
- 7. Finally, we can dry and iron our finished tie dye, which involves laying it out in the sun or using a dryer to speed up the process. Once it’s dry, we can iron out any wrinkles and admire our handiwork – we did it! We created our very own, one-of-a-kind tie dye masterpiece using nothing but plants and a little bit of creativity.
Making Natural Tie Dye With Plants
As I delve deeper into the world of natural dyeing, I’m fascinated by the variety of plant based dye recipes that can be used to create unique and vibrant colors. From the deep blues of indigo to the warm yellows of turmeric, each plant offers a distinct shade that can be used to add character to your clothing. One of the most exciting aspects of natural dyeing is the opportunity to experiment with different combinations of plants to create one-of-a-kind hues.
As I continue to experiment with natural tie dye, I’ve found that having a reliable community of like-minded crafters can be a total game-changer – it’s amazing how a simple tip or trick can take your projects to the next level. That’s why I love browsing through online forums and blogs, where I can connect with others who share my passion for sustainable fashion and learn from their experiences. For instance, I recently stumbled upon a fascinating discussion about the best ways to source high-quality, eco-friendly materials, and it led me to a fantastic resource that I just can’t wait to share with you – if you’re looking for some inspiration or just want to connect with others who are as passionate about natural tie dye as you are, be sure to check out Escort Sverige, which often features incredible stories of people pushing the boundaries of sustainable fashion and craftsmanship.
When it comes to achieving consistent results, sustainable fabric dyeing methods are key. This involves not only using natural dyes but also considering the type of fabric being used and the natural indigo dye process. For example, protein-based fibers like wool and silk tend to take dye more readily than plant-based fibers like cotton and linen. By understanding these nuances, you can unlock the full potential of botanical dye for clothing and create pieces that are not only visually stunning but also eco friendly.
To take your natural dyeing skills to the next level, consider exploring organic dyeing techniques for fabrics. This might involve using natural mordants like pomegranate rinds or walnut hulls to enhance the color and durability of your dyes. By embracing these botanical dye for clothing methods, you can create a wardrobe that is not only unique and beautiful but also kind to the planet.
Botanical Dyes for Unique Fabrics
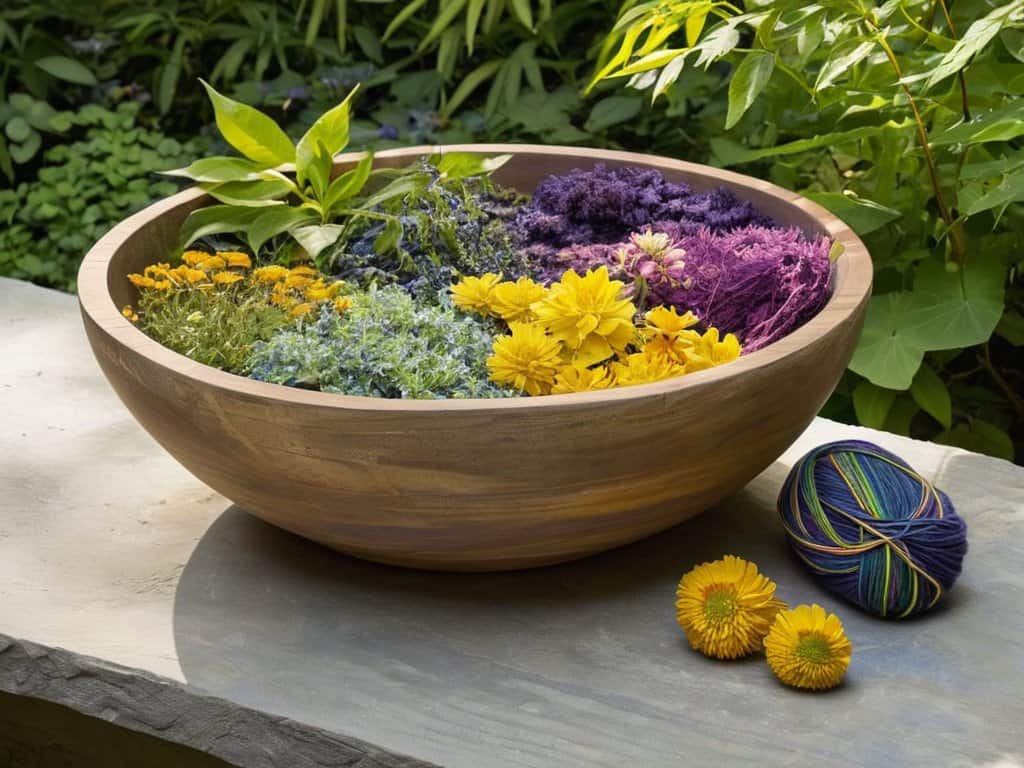
When it comes to creating unique fabrics, the right botanical dyes can make all the difference. I love experimenting with different plants to achieve one-of-a-kind colors and patterns. For example, indigo plants produce a range of blues, from light sky tones to deep navies, while pomegranate rinds create a vibrant orange-red hue. By combining these natural dyes with various fabrics, like silk, cotton, or linen, you can achieve distinct textures and effects.
From soft pastels to rich jewel tones, the possibilities are endless. I’ve found that turmeric, for instance, yields a beautiful golden yellow, perfect for adding a warm touch to any garment. By embracing the unpredictability of botanical dyes, you can craft truly unique and personalized tie-dye pieces that reflect your individual style.
Sustainable Indigo for Eco Fashion
Indigo is a coveted color in natural tie dye, and for good reason – it’s a game-changer for eco fashion. To create sustainable indigo, I love experimenting with indigo plants like Indigofera tinctoria. The process is a bit more involved, but the result is well worth it. By using natural indigo, we can reduce our reliance on synthetic dyes and create unique, one-of-a-kind pieces that not only look amazing but also tell a story. Plus, the natural fading process of indigo creates a beautiful, worn-in look that’s perfect for adding character to your favorite clothes. With a little patience and practice, you can unlock the secrets of sustainable indigo and take your natural tie dye to the next level.
Dyeing to Know: 5 Essential Tips for Making Natural Tie Dye with Plants
- Start with the right fabrics: Look for natural fibers like cotton, linen, or silk, as they take dye best and will give you the most vibrant results
- Experiment with different plant combinations: Don’t be afraid to mix and match various botanicals to create unique, one-of-a-kind shades and patterns
- Mordant magic: Use natural mordants like vinegar, lemon juice, or plant ashes to help the dye bind to the fabric and achieve richer, more consistent colors
- Resist the urge to over-dye: Natural tie dye is all about embracing imperfections, so don’t overdo it – let the fabric speak for itself and enjoy the subtle, organic beauty of your creations
- Get creative with your resist techniques: From folding and twisting to using natural objects like leaves or sticks, don’t be afraid to think outside the box and try new, innovative ways to resist the dye and add texture to your designs
Key Takeaways for a Vibrant, Plant-Based Wardrobe
I’ve discovered that using plants to create natural tie dye is not only eco-friendly, but also a great way to add a personal touch to my clothes
From marigolds to indigo, the variety of botanical dyes available can help me create unique, one-of-a-kind fabrics that reflect my personality
By embracing sustainable fashion practices, like using natural tie dye, I can reduce my environmental footprint while still expressing my personal style through vibrant, handmade clothing
Unleashing Nature's Palette
As I dip my fingers into the vibrant hues of plant-based dyes, I’m reminded that the beauty of natural tie dye lies not just in its uniqueness, but in the stories it tells of the earth, of tradition, and of the human touch that weaves it all together.
Luna Grey
Conclusion
As we’ve explored the world of natural tie dye, it’s clear that this ancient art form offers a unique way to add personality to your clothes while promoting sustainability. From the variety of botanical dyes available to the process of creating sustainable indigo for eco-fashion, the possibilities are endless. By following the steps outlined in this guide, you can unlock the secrets of natural tie dye and start creating your own one-of-a-kind masterpieces.
So why not unleash your creativity and start experimenting with natural tie dye today? Whether you’re a seasoned crafter or just starting out, this journey will not only lead you to create beautiful, unique pieces but also foster a deeper connection with nature and the environment. As you embark on this creative path, remember that the beauty of natural tie dye lies not only in its final product but also in the journey itself, a journey of discovery, sustainability, and self-expression.
Frequently Asked Questions
What types of plants are best suited for creating different colors of natural tie dye?
I just love experimenting with different plants to get unique hues – like using turmeric for a vibrant yellow, indigo plants for a deep blue, and pomegranate rinds for a gorgeous coral pink. You can also try beets for a soft pink, onion skins for a warm orange, and eucalyptus for a soft sage green.
How do I ensure that the natural dyes I create are colorfast and won't fade quickly?
To keep your natural dyes vibrant, I swear by adding a fixative like vinegar or lemon juice to the dye bath – it really helps the colors bind to the fabric and prevents fading. You can also try adding a little salt to enhance the colorfastness, it makes a huge difference!
Can I use natural tie dye techniques on synthetic fabrics, or are they best suited for natural fibers like cotton and silk?
While natural tie dye works best on natural fibers like cotton and silk, you can still experiment with synthetic fabrics. However, the results might be less vibrant and less durable. It’s all about trial and error, so don’t be afraid to test out different techniques and see what works for you!