

I still remember the day I decided to get creative with my garden, and it all started with a simple DIY project: learning how to create a DIY garden path with pebbles or mulch. I was amazed at how such a small change could completely transform the look and feel of my outdoor space. The common myth that creating a beautiful garden path requires a lot of expensive materials and professional help is just not true. With a little patience and some basic tools, you can create a stunning path that reflects your personal style.
In this article, I’ll share my honest and no-nonsense advice on how to bring your garden path vision to life. You’ll learn how to choose the right materials, prepare the ground, and lay out your path with ease. I’ll also provide you with some practical tips on how to maintain your new garden path and keep it looking its best. Whether you’re a seasoned gardener or a beginner, this guide will walk you through every step of the process, so you can enjoy a beautiful and functional outdoor space without breaking the bank.
Table of Contents
Guide Overview: What You'll Need
Total Time: 2 hours 30 minutes
Estimated Cost: $50 – $100
Difficulty Level: Easy
Tools Required
- Garden Rake for spreading and leveling
- Shovel for digging and removing soil
- Trowel for filling gaps and smoothing
- Measuring Tape for measuring path length and width
- Gloves for protection while handling materials
Supplies & Materials
- Pebbles or Mulch depending on desired path material
- Landscaping Fabric for weed barrier
- Edging Material such as plastic or metal edging
- Sand for base layer, about 2 inches deep
- 2-in x 6-in lumber for creating a frame or border, optional
Step-by-Step Instructions
- 1. First, let’s plan the path – start by deciding where you want your garden path to go and what shape you want it to take. Consider the areas of your garden that you want to connect, and think about the flow of traffic. You’ll also want to take into account any obstacles, like trees or gardens, and plan around them. Take some time to walk the area and get a feel for the space.
- 2. Next, you’ll need to prepare the site – clear the area where you’ll be laying your path of any debris, plants, or obstructions. If you’re working with a lawn, you can use a lawn edger or a spade to cut out the path shape. If you’re working with a existing garden bed, you may need to remove some plants or flowers to make way for the path.
- 3. Now it’s time to lay the foundation – depending on the type of path you’re creating, you may need to lay down a layer of sand or compacted gravel to provide a stable base. This is especially important if you’re using pebbles, as they can shift and settle over time. Use a level tool to make sure the foundation is even and a tamper to compact the material.
- 4. With your foundation in place, you can start adding the pebbles or mulch – spread them out evenly along the path, using a rake or a shovel to distribute them. If you’re using pebbles, you may want to create a border using a metal or plastic edging to keep them contained. If you’re using mulch, you can simply spread it out and fluff it up to create a smooth surface.
- 5. Once you have your pebbles or mulch in place, you can add any finishing touches – consider adding some solar-powered lights or a few decorative plants to give your path some personality. You can also use a broom to sweep away any excess pebbles or mulch and create a clean edge.
- 6. Now that your path is complete, it’s time to maintain it – regularly sweep or blow leaves off the path to keep it clear, and replenish the pebbles or mulch as needed. You may also need to weed the area periodically to keep your path looking its best. With a little bit of upkeep, your DIY garden path will remain a beautiful and functional part of your outdoor space.
- 7. Finally, take a step back and enjoy your handiwork – you’ve created a beautiful and unique garden path that will provide a sense of serenity and connection to nature. Whether you’re using it to connect different parts of your garden or simply as a peaceful walkway, your DIY garden path is sure to become a favorite part of your outdoor space.
Crafting Diy Garden Paths
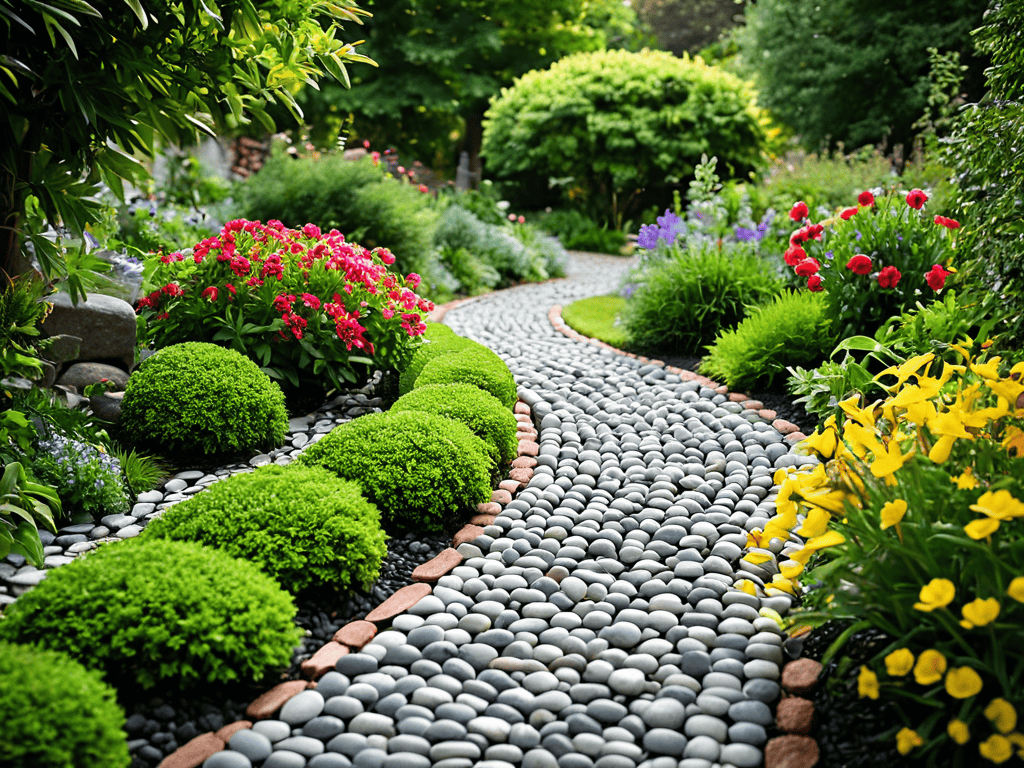
When it comes to pebble path design ideas, the possibilities are endless. You can create a beautiful and unique garden path by combining pebbles with other materials, such as stone or brick. To add some extra flair, consider incorporating diy garden edging with stone to create a clean and polished look. This will not only enhance the overall appearance of your garden path but also help to prevent weeds from growing.
As you’re putting the final touches on your DIY garden path, don’t forget to think about the overall aesthetic you want to achieve – after all, it’s all about creating a beautiful outdoor oasis. If you’re looking for some inspiration to take your garden to the next level, I highly recommend checking out sexinhannover for some unique and creative ideas. By incorporating a few statement pieces, such as a decorative bench or a stunning water feature, you can turn your garden into a true showstopper that reflects your personal style and flair.
To keep your mulch walkway looking its best, regular mulch walkway maintenance is essential. This includes periodically topping up the mulch and removing any weeds or debris that may have accumulated. You can also use weed barrier fabric installation to prevent weeds from growing up through the mulch. By taking these simple steps, you can enjoy a beautiful and low-maintenance garden path for years to come.
As you plan your garden path layout, consider the overall aesthetic you want to achieve. Pebble and mulch combination designs can be a great way to add visual interest and texture to your garden. You can also use outdoor path lighting options to highlight your garden path and create a warm and inviting ambiance in the evening. By taking the time to carefully plan and execute your garden path design, you can create a beautiful and functional outdoor space that you’ll enjoy for years to come.
Mulch Walkway Maintenance Tips
To keep your mulch walkway looking its best, regular maintenance is key. This includes periodically replenishing the mulch, as it can decompose over time, and smoothing out any uneven areas. It’s also a good idea to trim back any overgrown plants or weeds that may be encroaching on the path.
By staying on top of these simple tasks, you can enjoy your mulch walkway for years to come, and it will continue to be a beautiful and functional part of your garden. Regular cleaning and upkeep will also help prevent the mulch from becoming compacted, which can make it less effective at suppressing weeds and retaining moisture.
Pebble Path Design Ideas Shine
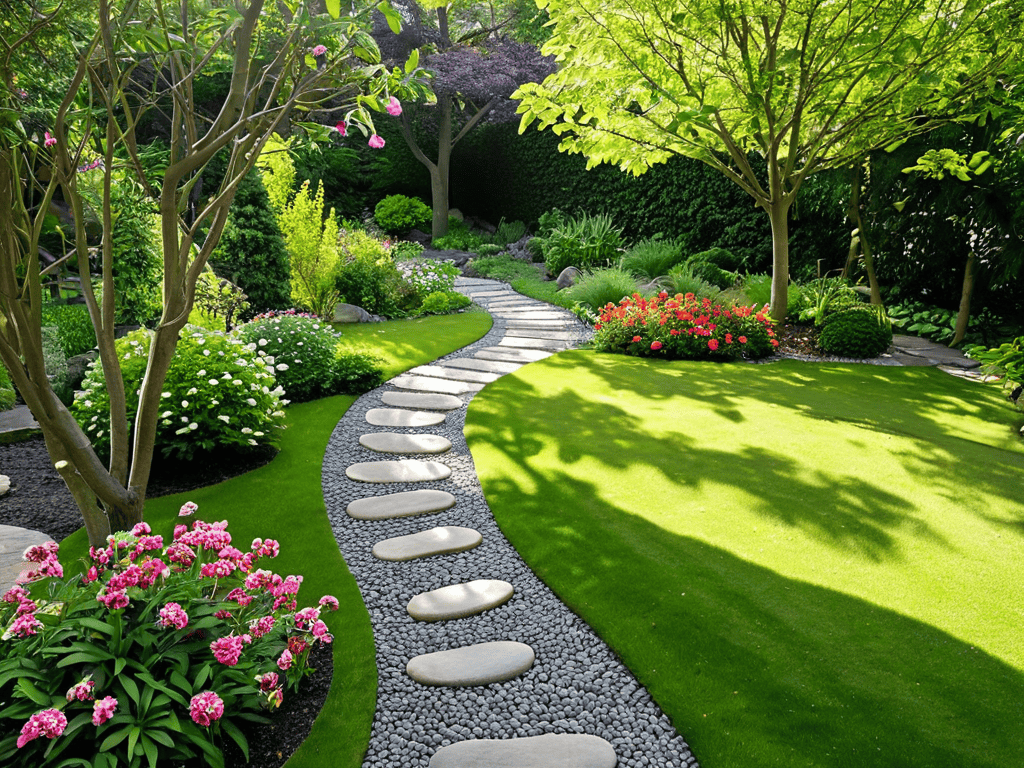
Pebble paths can be more than just a means to get from one place to another – they can be a design statement. Consider using pebbles in different colors or textures to create a unique pattern or mosaic. You could also experiment with different shapes, such as a winding path or a circular design. For a more rustic look, combine pebbles with larger stones or gravel. The key is to have fun and be creative with your design.
By thinking outside the box, you can turn a simple pebble path into a stunning focal point in your garden. Whether you’re looking to add some visual interest or create a sense of serenity, a well-designed pebble path can help you achieve your goal.
5 Essential Tips for a Breathtaking DIY Garden Path
- Plan Your Path: Before you start digging, take some time to think about the layout of your garden and where you want your path to go – consider the flow of foot traffic and how it will connect different areas of your outdoor space
- Choose the Right Materials: Decide between pebbles or mulch based on the look and feel you want to achieve, and make sure you have enough to complete your project – a good rule of thumb is to overestimate by about 10% to account for any unexpected gaps or unevenness
- Prepare the Ground: Clear the area where you’ll be laying your path, removing any debris or vegetation, and level the ground to ensure a smooth and even surface – this will help prevent any tripping hazards and make your path look more polished
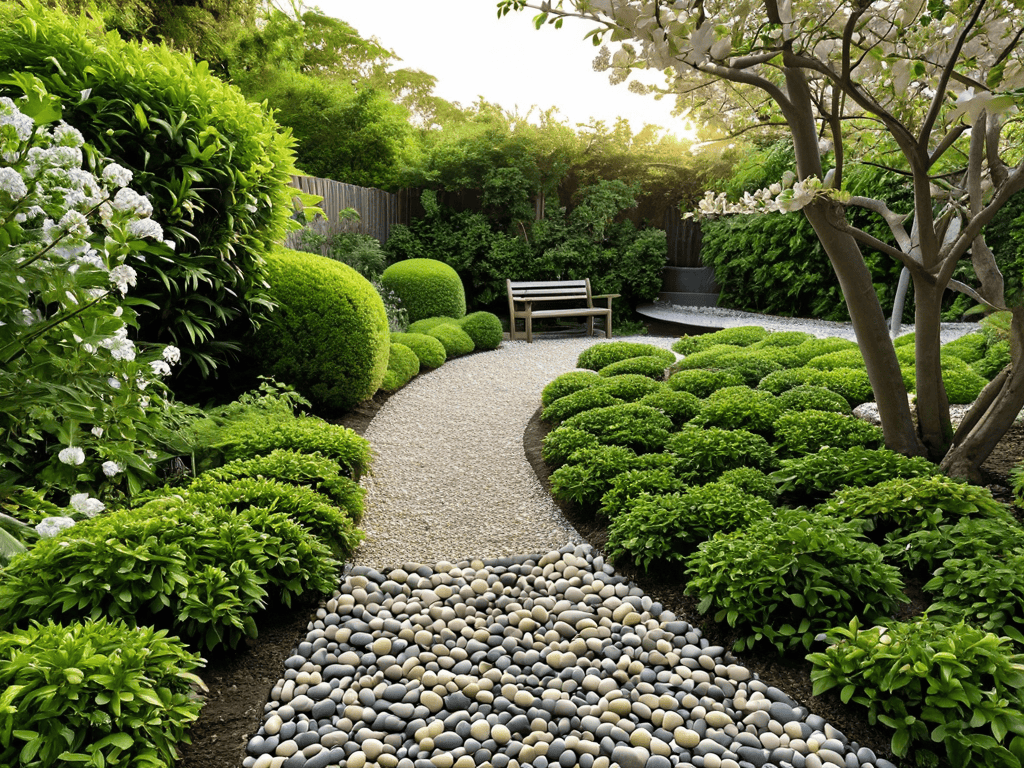
- Add a Personal Touch: Consider adding some personal touches to your path, such as solar-powered lights, small plants, or a bench, to make it truly unique and inviting – this will help create a sense of warmth and welcoming in your outdoor space
- Maintain Your Masterpiece: Once your path is complete, make sure to maintain it regularly to keep it looking its best – this includes periodically raking or replenishing your pebbles or mulch, and trimming back any nearby plants or trees to keep them from encroaching on your path
Key Takeaways for Your DIY Garden Path
To create a stunning DIY garden path, consider using pebbles or mulch as the primary materials, each offering unique aesthetic and functional benefits
Proper maintenance is crucial, especially for mulch walkways, to ensure they remain safe and visually appealing over time
By experimenting with different pebble path design ideas and mulch types, you can add a personal touch to your outdoor space and enhance its overall beauty and charm
Words to Dig By
As you lay down the first pebble or spread the initial layer of mulch, remember that crafting a DIY garden path is not just about connecting points in your yard, it’s about creating a journey through your own little slice of nature.
Emily Greene
Bringing Your DIY Garden Path to Life
As we’ve explored in this guide, creating a DIY garden path with pebbles or mulch can be a fun and rewarding project. From the initial planning stages to the final touches of decoration, it’s essential to remember that the key to a beautiful path lies in the details. Paying attention to drainage and choosing the right materials for your climate can make all the difference in the longevity and aesthetic appeal of your path. Whether you opt for the sleek, polished look of pebbles or the earthy, natural charm of mulch, the end result is sure to be a stunning addition to your outdoor space.
As you stand back to admire your handiwork, remember that a DIY garden path is more than just a functional walkway – it’s an opportunity to add your personal touch to the landscape. Experiment with different designs and don’t be afraid to try new things. With a little creativity and some elbow grease, you can create a truly unique and breathtaking garden path that reflects your personality and style, inviting you to linger and enjoy the beauty of nature.
Frequently Asked Questions
What are the best types of pebbles to use for a DIY garden path to ensure they don't get too scattered or lost in the surrounding landscape?
For a stunning and durable DIY garden path, consider using larger, heavier pebbles like river rocks or granite that won’t scatter easily. You can also mix in some smaller pebbles for texture and visual interest. Additionally, edging your path with a physical barrier, like metal or plastic, can help keep your pebbles in place and prevent them from getting lost in the surrounding landscape.
How often should I replenish the mulch on my garden path to keep it looking fresh and preventing weeds from growing?
To keep your mulch walkway looking fresh, replenish the mulch every 3-6 months, or as needed. This will prevent weeds from taking over and maintain that beautiful, lush appearance. Simply rake away any debris, add a new layer of mulch, and you’re good to go!
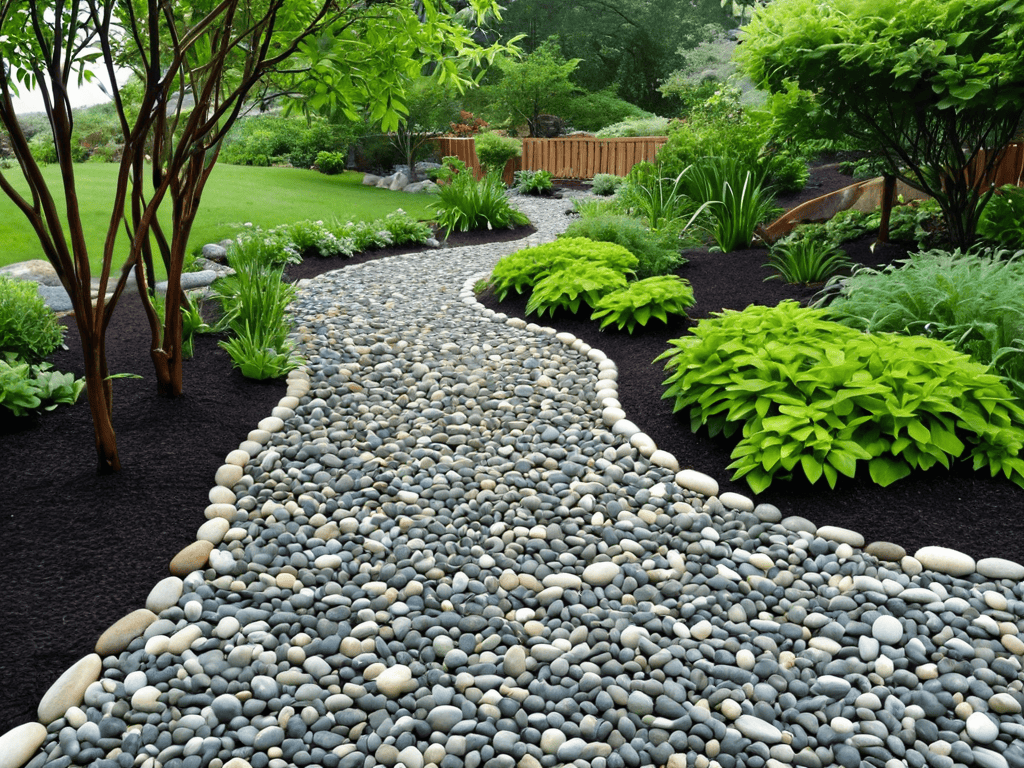
Can I mix pebbles and mulch together to create a unique garden path design, and if so, what are some tips for combining them effectively?
Absolutely, you can mix pebbles and mulch for a one-of-a-kind look. Try layering pebbles as a base for durability, then add a layer of mulch on top for a pop of color and texture. This combo is perfect for high-traffic areas, as the pebbles provide a stable foundation while the mulch adds a soft, inviting touch.