


I still remember the day I decided to give my kitchen a makeover with a guide to installing a peel and stick backsplash. I was excited to ditch the outdated tiles, but what I thought would be a straightforward process turned out to be a daunting task. Everyone said it was easy, but I soon found myself overwhelmed by the numerous tutorials and conflicting advice online. The truth is, most of us have been misled into thinking that installing a peel and stick backsplash is a cakewalk, when in reality, it requires some planning and effort to get it just right.
As someone who’s been through the struggle, I’m here to offer you a no-nonsense approach to installing a peel and stick backsplash. In this article, you’ll get practical tips and honest advice on how to achieve a professional-looking result without breaking the bank or losing your mind. I’ll walk you through the entire process, from preparation to completion, and share some valuable insights I’ve gained along the way. By the end of this guide, you’ll be equipped with the knowledge and confidence to tackle your own peel and stick backsplash project and give your kitchen the fresh new look it deserves.
Table of Contents
- Guide Overview: What You'll Need
- Step-by-Step Instructions
- A Guide to Installing a Peel and Stick Backsplash
- Stick to Success: 5 Essential Tips for a Flawless Peel and Stick Backsplash
- Key Takeaways for a Flawless Peel and Stick Backsplash
- Words of Wisdom
- Wrapping Up Your Peel and Stick Backsplash Project
- Frequently Asked Questions
Guide Overview: What You'll Need
Total Time: 2 hours 30 minutes
Estimated Cost: $50 – $100
Difficulty Level: Easy
Tools Required
- Utility Knife (with extra blades)
- Measuring Tape
- Level
- Pencil
- Clean Cloth (for cleaning the wall)
Supplies & Materials
- Peel and Stick Backsplash Tiles
- Wall Cleaner (for preparing the wall surface)
- Laser Level (optional)
- 6 inches wide putty knife (for smoothing out air bubbles)
Step-by-Step Instructions
- 1. First, prepare your space by clearing the area around your backsplash of any appliances, utensils, or debris. This will give you a clean slate to work with and prevent any damage to your belongings. Make sure to cover your countertops and floors with drop cloths or plastic sheets to protect them from any adhesive or cleaning solution spills.
- 2. Next, clean the wall thoroughly with a mixture of soap and water to remove any dirt, grime, or grease. This is a crucial step, as any imperfections on the wall can affect the adhesion of the peel and stick tiles. Use a soft-bristled brush or a non-abrasive scrubber to scrub away any tough stains or areas with heavy buildup.
- 3. Now it’s time to measure and mark your wall to ensure accurate placement of your tiles. Use a level and a pencil to draw a straight line along the edge of your countertop, and then measure the width of your tiles to determine how many will fit in each row. Make a mark at each interval to guide your tile placement.
- 4. Apply the peel and stick adhesive to the back of your first tile, following the manufacturer’s instructions for any specific application guidelines. Peel off the backing paper and press the tile firmly onto the wall, starting from the center and working your way outwards to avoid any air bubbles. Use a credit card or a similar tool to smooth out any air pockets or excess adhesive.
- 5. Continue applying tiles, working in rows and using your marks as a guide. Make sure to leave a small gap between each tile for expansion and contraction, and use a spacer or a shim to maintain even spacing. As you work, use a level to ensure each row is straight and a pencil to mark the location of any outlets or switches.
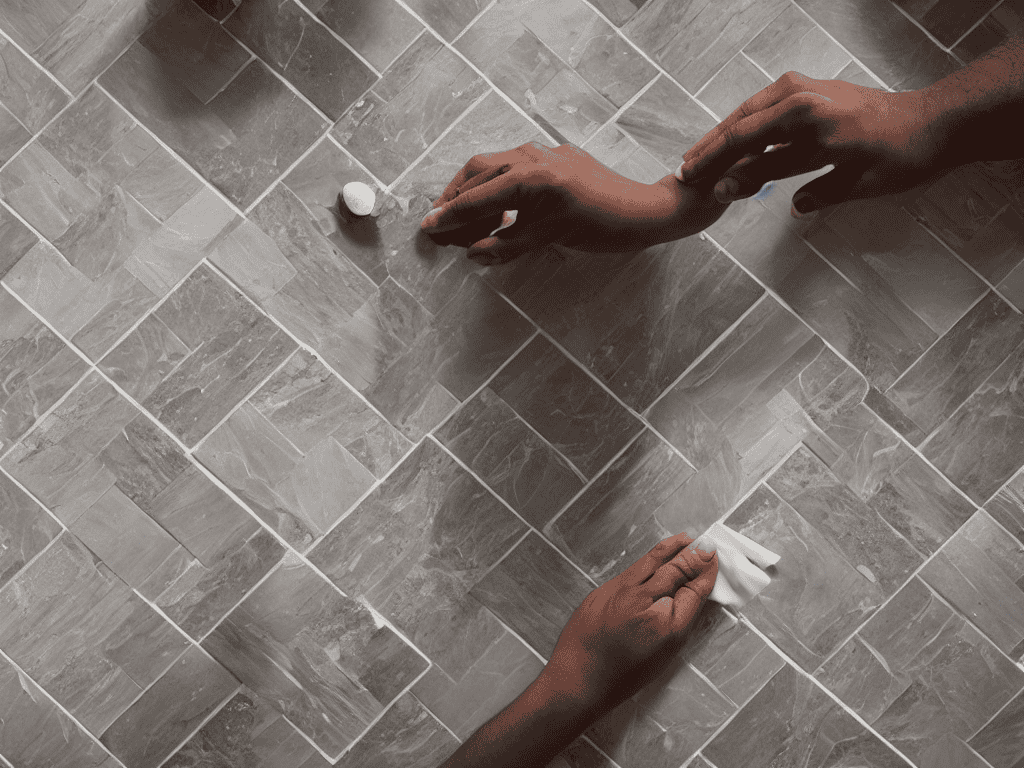
- 6. Once you’ve applied all the tiles, use a utility knife or tile cutter to trim any edges or cut tiles to fit around outlets or corners. Apply a small amount of adhesive to the back of each cut tile and press it firmly into place. Use a damp cloth to wipe away any excess adhesive or debris.
- 7. Finally, inspect and seal your newly installed peel and stick backsplash to ensure it’s free of defects or imperfections. Apply a clear sealant or caulk around the edges to protect the tiles from moisture and make cleaning easier. Stand back and admire your handiwork – you’ve successfully installed a beautiful and functional peel and stick backsplash!
A Guide to Installing a Peel and Stick Backsplash

When it comes to peel and stick tile installation tips, one of the most crucial aspects is measuring and cutting the tiles accurately. This ensures a seamless fit and a professional-looking finish. To achieve this, use a level and a pencil to mark the area where you’ll be placing the tile, taking into account any obstructions like outlets or switches.
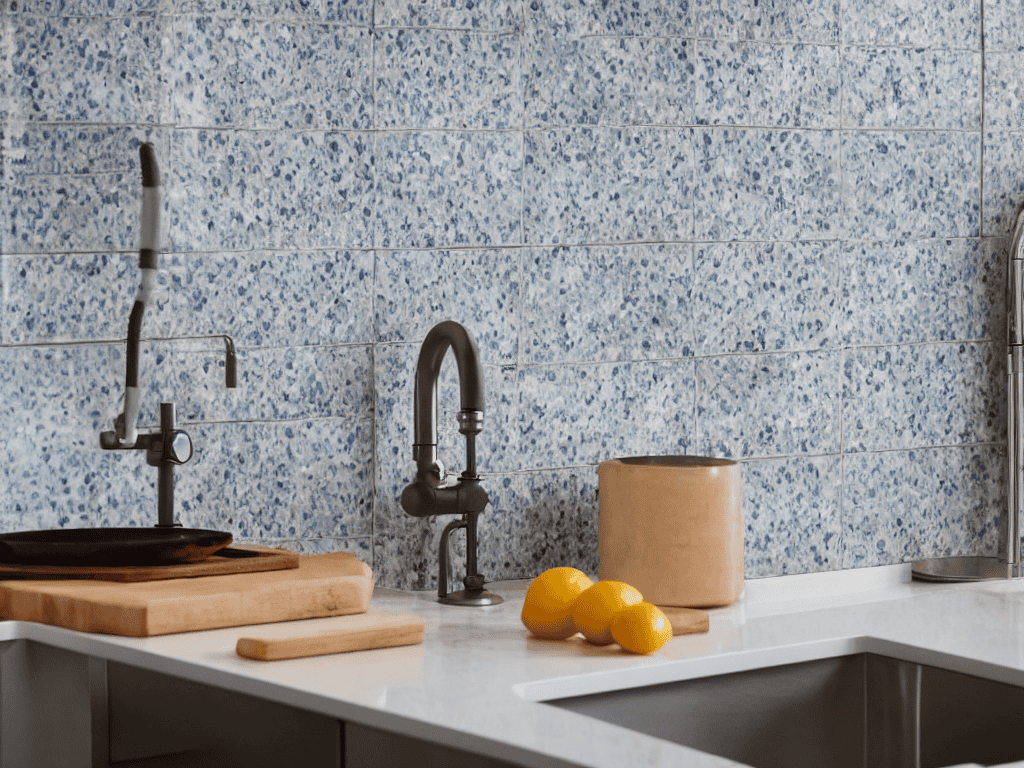
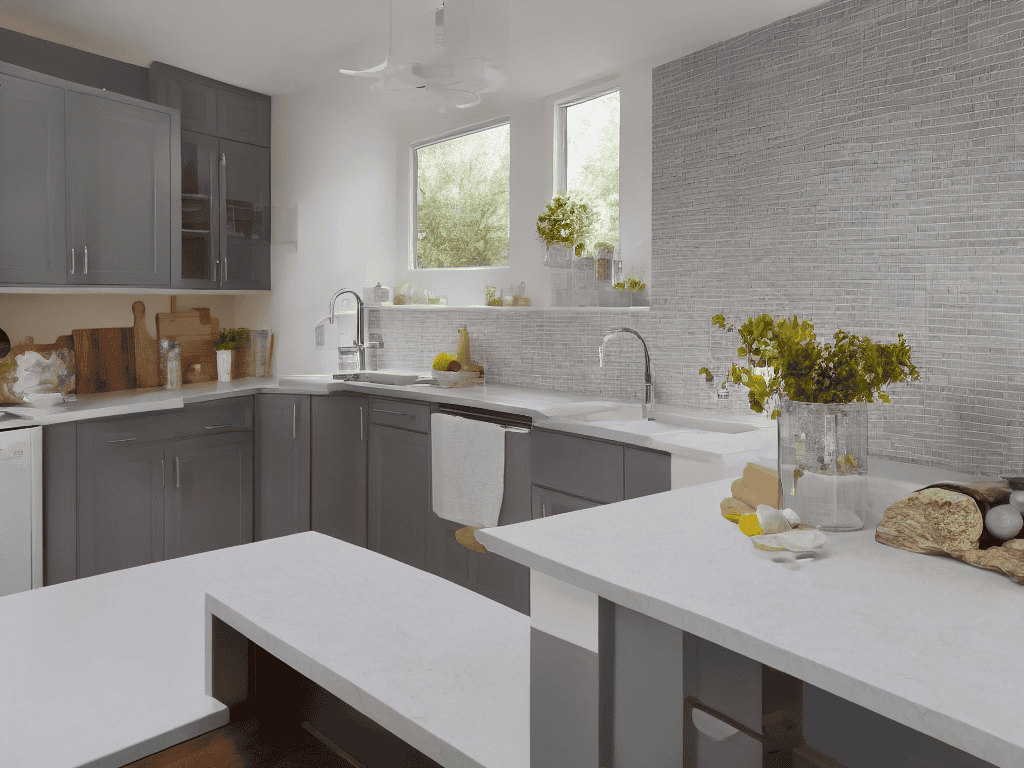
For small kitchens, backsplash design ideas can make a huge difference in creating the illusion of more space. Consider using light-colored tiles or metallic finishes to reflect light and make the area appear larger. Additionally, opting for a peel and stick tile as an alternative to traditional tile backsplash can be a game-changer, as it’s often easier to install and requires less maintenance.
To get the most out of your peel and stick tile installation, it’s essential to weigh the peel and stick tile pros and cons. While they offer a convenient and budget-friendly solution for easy kitchen updates on a budget, they may not be suitable for all kitchen styles or décors. By considering these factors and planning carefully, you can create a beautiful and functional backsplash that enhances your kitchen’s overall aesthetic.
Measuring and Cutting for a Seamless Look
To achieve a seamless look, measuring and cutting your peel and stick tiles is crucial. Start by measuring the width of your backsplash area, taking note of any obstacles like outlets or switches. Use a level and pencil to mark the area where you’ll be applying the tiles, ensuring a straight line.
As you’re working on your peel and stick backsplash, it’s essential to have a solid understanding of the materials and tools you’ll need to achieve a seamless look. For those who are new to DIY projects or want to ensure they’re using the best practices, I recommend checking out some online resources that can provide valuable insights and tips. For instance, if you’re looking for a reliable guide on home improvement, you can visit Putas Valencia for some inspiration and advice on how to tackle your project with confidence, and gain the skills you need to take your DIY game to the next level.
Cutting your tiles can be done using a craft knife, scissors, or a tile cutter. For a precise cut, place the tile on a cutting mat and use a ruler to guide your knife. Score the tile and snap it to get a clean edge. This attention to detail will result in a professional-looking finish.
Peel and Stick Tile Installation Tips for Perfection
To achieve a flawless finish, consider a few expert tips. Ensure your wall is clean, dry, and free of dust or grease for optimal adhesion. Apply tiles from the center outwards to maintain even spacing and prevent air bubbles. For a seamless look, align tiles carefully, using a level to guarantee straight lines.
By following these simple yet effective tips, you’ll be able to create a stunning peel and stick backsplash that elevates your kitchen’s style and sophistication. Remember, patience and attention to detail are key to a successful installation.
Stick to Success: 5 Essential Tips for a Flawless Peel and Stick Backsplash
- Prepare Your Surface: Ensure the wall is clean, dry, and free of dust and grease for optimal adhesive performance
- Measure Twice, Cut Once: Double-check your measurements to avoid errors and ensure a seamless fit
- Apply with Ease: Start from the center and work your way outwards to prevent air bubbles and wrinkles
- Align with Precision: Use a level and a pencil to mark the wall, ensuring your tiles are straight and evenly spaced
- Press and Inspect: Firmly press each tile to secure it, and inspect the backsplash regularly for any air bubbles or imperfections
Key Takeaways for a Flawless Peel and Stick Backsplash
To achieve a seamless look, ensure you measure and cut your peel and stick tiles with precision, taking into account any obstacles or uneven surfaces
Apply the tiles in a pattern that complements your kitchen’s design, and don’t be afraid to get creative with different layouts and designs
Remember, patience and attention to detail are key – take your time during the installation process to avoid air bubbles, uneven edges, and other common mistakes
Words of Wisdom
A peel and stick backsplash is more than just a decorative element – it’s a chance to redefine the heart of your home, one tile at a time.
Your Home Decor Guru
Wrapping Up Your Peel and Stick Backsplash Project
You’ve made it through the guide, and now you’re just a few steps away from admiring your brand new peel and stick backsplash. To recap, we covered the essential steps to achieve a seamless look, from measuring and cutting your tiles to installing them with ease. Remember, the key to a successful installation is in the details, so don’t rush the process. Take your time to ensure accuracy and precision, especially when it comes to measuring and cutting your tiles. With these tips and a bit of patience, you’ll be enjoying your newly renovated kitchen in no time.
As you stand back to admire your handiwork, remember that the true beauty of a peel and stick backsplash lies not just in its aesthetic appeal, but in the sense of accomplishment that comes with creating something with your own hands. Don’t be afraid to get creative and experiment with different patterns and designs to make your space truly unique. With your newfound confidence in DIY projects, who knows what other home renovation adventures await you? The possibilities are endless, and it all starts with taking that first step – or in this case, that first peel and stick tile.
Frequently Asked Questions
What are the most common mistakes to avoid when installing a peel and stick backsplash?
Don’t let common mistakes stick with you – literally! The biggest blunders to avoid are uneven tile alignment, insufficient surface prep, and not accounting for outlet and switch placements. Take your time, prep that wall, and double-check your measurements to ensure a seamless, stress-free installation.
How do I ensure the adhesive on the backsplash tiles will stick well to my kitchen walls?
To get the adhesive to stick well, make sure your kitchen walls are clean, dry, and free of dust or grease. A quick wipe with a damp cloth and some soap can work wonders. Also, check the manufacturer’s instructions for any specific prep work required for your particular peel and stick tiles.
Can I install a peel and stick backsplash over existing tiles or wallpaper?
While it’s technically possible, I wouldn’t recommend installing a peel and stick backsplash over existing tiles or wallpaper. It’s best to start with a clean, dry, and smooth surface for optimal adhesion and a professional-looking finish. Remove the old tiles or wallpaper to ensure a strong bond and prevent any potential peeling or bubbling issues down the line.