


I still remember the first time I stumbled upon a simple yet elegant DIY sewing project that sparked my passion for creating something from scratch. It was a transformative experience that made me realize the joy of bringing my own ideas to life, and I’ve been hooked on DIY sewing projects ever since. For years, I’ve heard people say that DIY sewing projects are only for those with years of experience or a natural talent for sewing, but I’m here to tell you that’s just not true. With the right guidance and a willingness to learn, anyone can dive into the world of DIY sewing projects and create something truly unique.
In this article, I’ll be sharing my personal favorite tips and tricks for getting started with DIY sewing projects, from choosing the right fabric to mastering the perfect stitch. You’ll learn how to overcome common obstacles and bring your own vision to life, without any overwhelming technical jargon. My goal is to provide you with honest, practical advice that will help you navigate the world of DIY sewing projects with confidence, and maybe even discover a new passion along the way. Whether you’re a complete beginner or just looking to refresh your skills, this guide is designed to be your go-to resource for all things DIY sewing projects.
Table of Contents
Guide Overview: What You'll Need
Total Time: 1 hour 30 minutes to 3 hours
Estimated Cost: $10 – $50
Difficulty Level: Easy / Intermediate
Tools Required
- Sewing Machine (with basic stitch settings)
- Measuring Tape (for measuring fabric and patterns)
- Scissors (dedicated for cutting fabric)
- Sewing Needles (assorted sizes)
- Thread (to match fabric color)
Supplies & Materials
- Fabric (cotton or polyester, 1 yard or more)
- Sewing Patterns (optional, for guided projects)
- Interfacing (for added stability in certain projects)
- Ribbons or Buttons (for decorative purposes)
- Zipper or Velcro (depending on the project’s requirements)
Step-by-Step Instructions
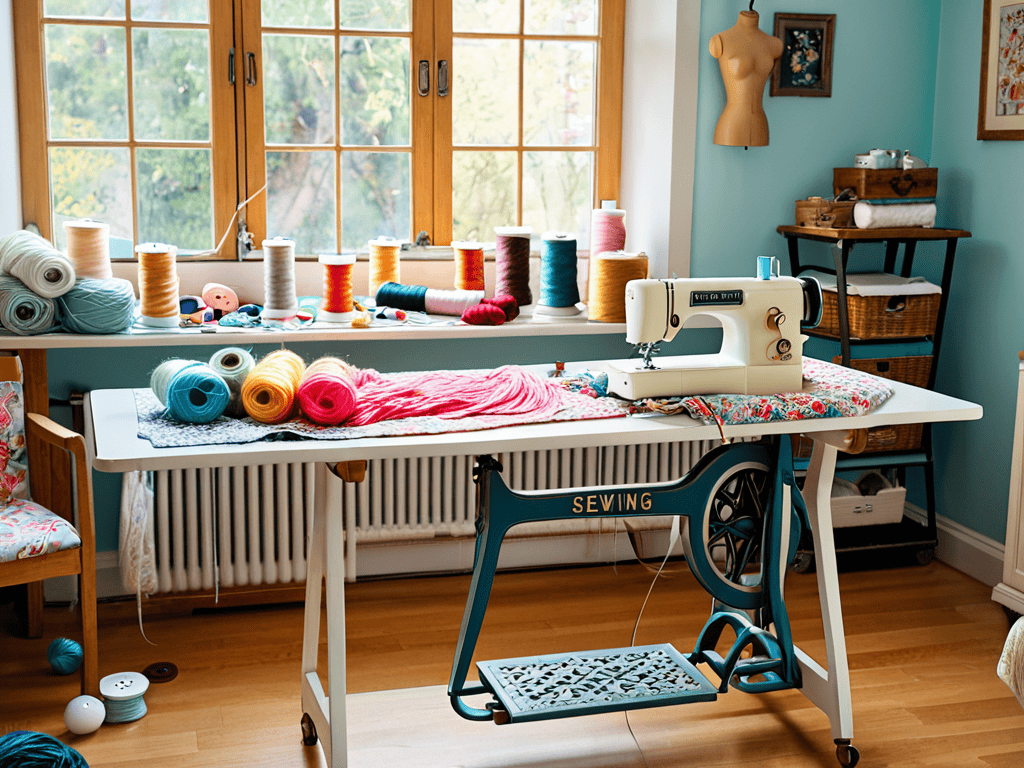
- 1. First, let’s start with the basics – gathering our materials. This includes our fabric of choice, a sewing machine, threads, scissors, and any other notions we might need for our project. I like to lay everything out on a large table or workspace to get a sense of what I’m working with and to make sure I don’t forget anything crucial.
- 2. Next, we need to prepare our pattern. Whether we’re using a pre-made pattern or creating our own, it’s essential to read through the instructions carefully and understand what we’re aiming to achieve. This step is all about visualizing the end result and making any necessary adjustments to ensure a good fit.
- 3. Now, it’s time to cut out our fabric. This can be one of the most intimidating steps for beginners, but don’t worry, it gets easier with practice. Remember to use your rotary cutter and mat to get clean, precise cuts, and always cut on the grain to avoid distortion.
- 4. With our pieces cut, we can start constructing our garment. This usually involves sewing together the main components, like the bodice and skirt of a dress, or the front and back of a top. It’s crucial to follow our pattern’s instructions for seam allowances and to press our seams as we go to avoid bulk and ensure a professional finish.
- 5. Once we have the basic structure of our garment together, it’s time to add any finishing touches. This might include sewing on buttons, adding a zipper, or topstitching seams for a decorative touch. These details can really make or break the overall look of our project, so it’s worth taking the time to get them just right.
- 6. Now that our garment is essentially complete, we need to try it on and make any necessary adjustments. This is the moment of truth – will it fit perfectly, or will we need to make some tweaks? Don’t be discouraged if it’s not quite right at first; alterations are a normal part of the process, and it’s all part of learning and improving our skills.
- 7. Finally, the last step is to enjoy the fruits of our labor. We’ve worked hard to create something unique and personalized, so let’s take pride in our handmade garment and show it off. Whether we’re wearing it out on the town or just lounging around the house, the sense of satisfaction that comes from wearing something we made ourselves is unbeatable.
Diy Sewing Projects
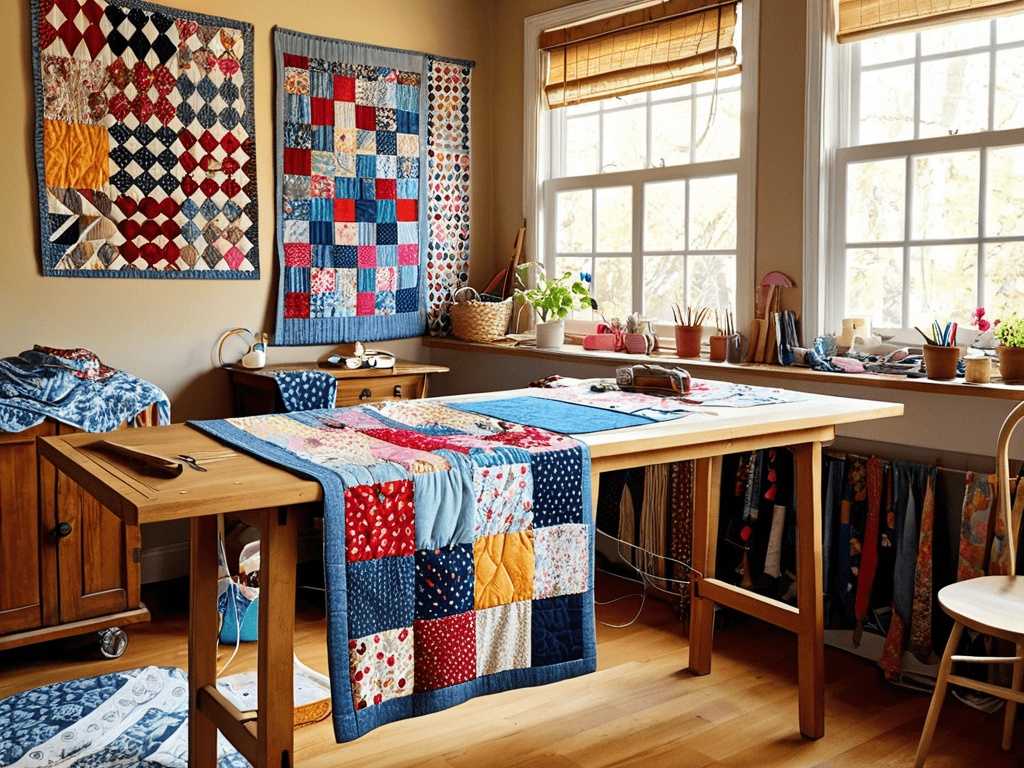
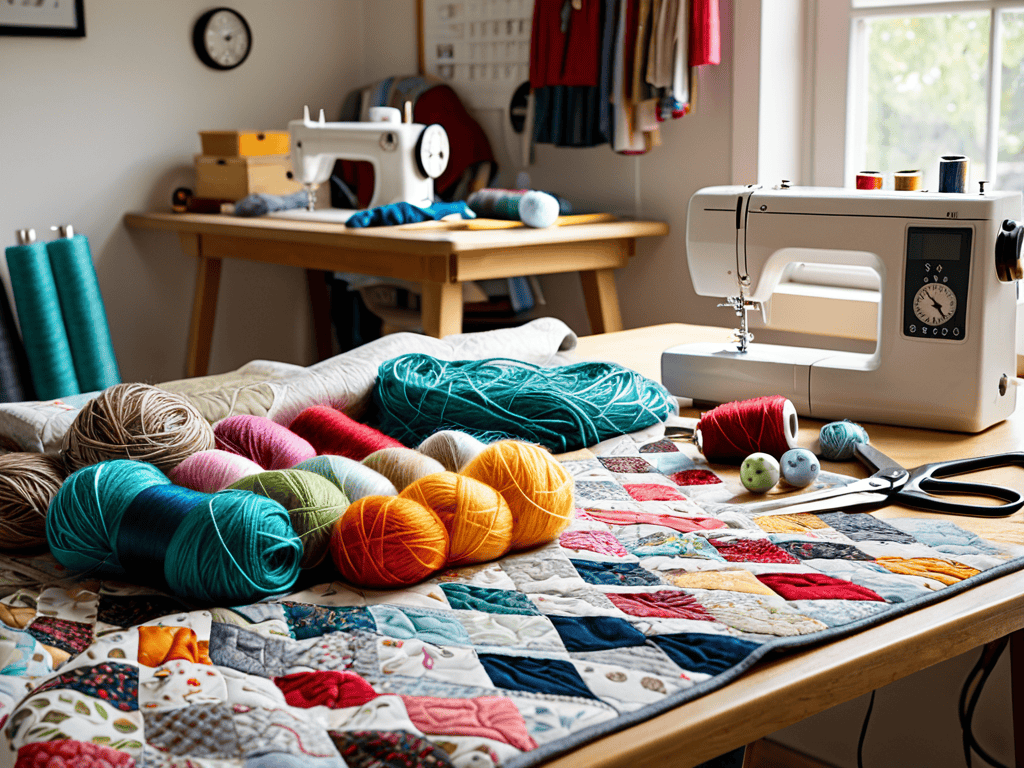
As I delve deeper into the world of sewing, I’ve discovered that upcycled clothing ideas can be a game-changer. Not only does it reduce waste, but it also allows me to create unique and personalized pieces. I’ve started collecting old fabric scraps and repurposing them into new items, like quilts or patchwork bags. It’s amazing how a little creativity can breathe new life into discarded materials.
When working on a new project, I always make sure to have my trusty sewing machine manual nearby for sewing machine troubleshooting. It’s incredible how often a simple tweak or adjustment can resolve an issue. For beginners, I recommend starting with easy sewing patterns and gradually moving on to more complex designs. This will help build confidence and skills, making the sewing process more enjoyable.
To add a personal touch to my creations, I’ve been experimenting with custom embroidery designs. It’s a great way to make a piece truly special and meaningful. Whether it’s a name, a quote, or a simple motif, embroidery can elevate a handmade item from ordinary to extraordinary. By combining these techniques with handmade sewing accessories, I feel like I’m able to create something truly unique and reflective of my personal style.
Easy Sewing Patterns for Beginners
For those just starting out, easy sewing patterns are a great way to build confidence and skills. Simple projects like tote bags, pillowcases, and scarves are perfect for beginners. These projects require minimal pieces and straightforward stitching, making them ideal for practicing basic sewing techniques. Plus, they’re quick to complete, giving you a sense of accomplishment and motivation to take on more complex projects.
As you continue to explore the world of DIY sewing projects, you’ll inevitably come across moments where you need a little extra inspiration or guidance. That’s why I always recommend having a few trusted resources up your sleeve, like a favorite blog or community forum. For instance, I’ve found that websites like nzgirls can be a great place to discover new ideas and connect with like-minded crafty folks. By staying curious and seeking out new sources of inspiration, you’ll be able to take your sewing skills to the next level and tackle even the most ambitious projects with confidence, and maybe even pick up some valuable tips along the way.
Look for patterns labeled “beginner-friendly” or “easy” to get started. Many online resources and sewing books also offer tutorials and guides specifically designed for new sewists. With a little patience and practice, you’ll be sewing like a pro in no time, and can move on to more challenging and rewarding DIY sewing projects.
Upcycled Clothing Ideas Unleashed
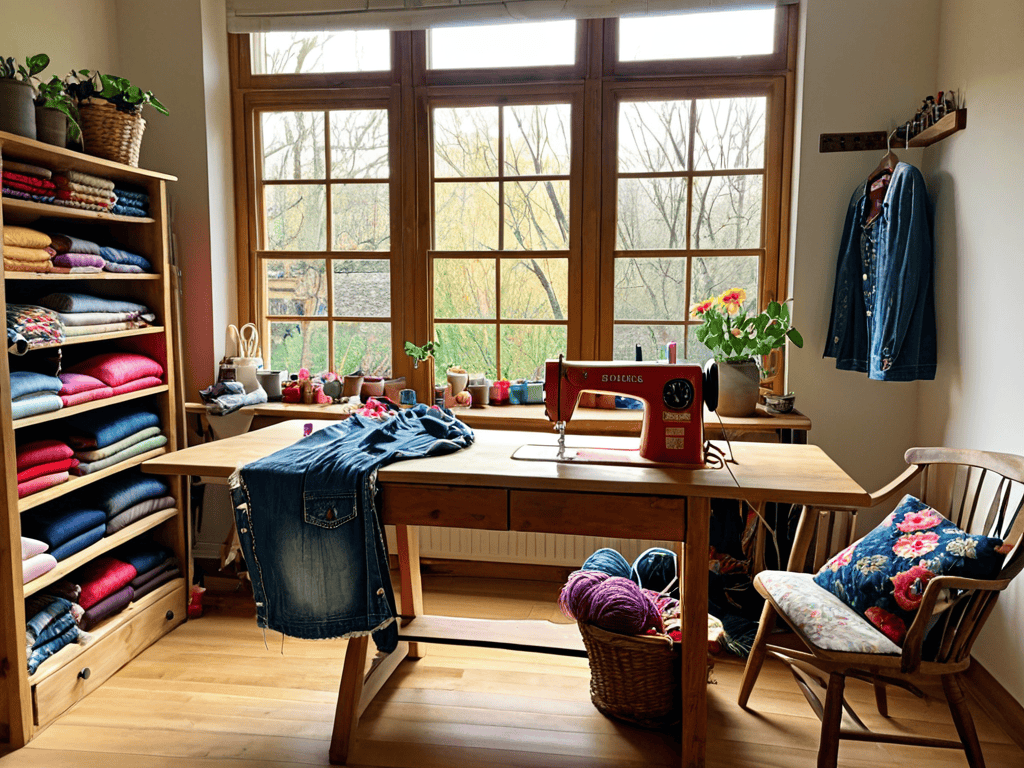
Upcycled clothing is where DIY sewing gets really creative. I love taking old, worn-out pieces and turning them into something entirely new. Like that faded t-shirt you just can’t bear to part with – turn it into a reusable bag or a quirky quilt patch. The possibilities are endless, and it’s amazing how a little bit of stitching can breathe new life into old favorites.
This approach not only reduces waste but also adds a personal touch to your creations. You can mix and match different textures, patterns, and colors to create unique pieces that reflect your style. Whether it’s a denim jacket revamped into a skirt or a sweater transformed into a pair of cozy mittens, upcycled clothing is a fun and sustainable way to express your creativity through DIY sewing.
Sewing Like a Pro: 5 Essential Tips for DIY Enthusiasts
- Start with the basics: invest in a good sewing machine and a set of sharp scissors to make your projects easier and more enjoyable
- Choose the right fabric for your project, considering factors like texture, color, and durability to ensure your creation turns out as envisioned
- Don’t be afraid to experiment and try new things – DIY sewing is all about creativity and self-expression, so don’t be too hard on yourself if mistakes happen
- Press your seams as you go to avoid wrinkles and bulges, making the finishing process much smoother and giving your project a professional touch
- Practice, practice, practice: the more you sew, the better you’ll become at understanding patterns, working with different fabrics, and bringing your unique ideas to life
Key Takeaways to Revitalize Your Sewing Journey
I’ve discovered that upcycling old clothes is not only eco-friendly, but it also allows me to breathe new life into forgotten favorites, giving my wardrobe a unique twist
Starting with easy sewing patterns has been a game-changer for me as a beginner – it’s amazing how a simple project can boost your confidence and motivate you to take on more complex designs
By embracing DIY sewing projects, I’ve learned to appreciate the value of handmade items and the joy of creating something from scratch, which has truly unleashed my inner sewing guru
Sewing Wisdom
With every stitch, I weave a piece of myself into the fabric, and that’s what makes DIY sewing projects so incredibly rewarding – it’s not just about creating something, it’s about crafting a part of your story.
Emily
Sewing Your Own Story
As we’ve explored the world of DIY sewing projects, it’s clear that this hobby offers so much more than just a creative outlet. From upcycling old clothes to creating something entirely new with easy sewing patterns, the possibilities are endless. We’ve delved into the basics of getting started, and I hope you’ve felt inspired to pick up that needle and thread. Whether you’re a seasoned pro or a beginner, DIY sewing projects have the power to transform not just your wardrobe, but your perspective on sustainability and self-expression.
Now, as you embark on your own DIY sewing journey, remember that it’s okay to make mistakes – they’re an integral part of the learning process. The most important thing is to have fun and enjoy the process of creating something with your own hands. So, go ahead, experiment with new fabrics, and don’t be afraid to try out bold new designs. With every stitch, you’re not just sewing clothes, you’re sewing your own story, one that’s unique, personal, and filled with the joy of creation.
Frequently Asked Questions
What are some essential tools and materials I need to get started with DIY sewing projects?
To get started, you’ll need some basics like a sewing machine, sharp scissors, and a variety of fabrics. I also swear by my trusty seam ripper, tape measure, and iron – they’re total lifesavers!
How can I choose the right fabric for my DIY sewing project to ensure it turns out as expected?
Choosing the right fabric can make or break your DIY sewing project. I always consider the season, my personal style, and the garment’s purpose when selecting fabric. For example, cotton is perfect for casual summer dresses, while wool is better suited for cozy winter coats. Trust your instincts and don’t be afraid to touch and feel the fabric before making a decision.
What are some common mistakes to avoid as a beginner in DIY sewing to achieve professional-looking results?
Honestly, I’ve learned the hard way – common mistakes to avoid as a beginner include uneven seams, incorrect fabric selection, and not pressing your work as you go. These simple oversights can make your project look homemade instead of handmade, if you know what I mean!