


I still remember the day I decided to replace a dated light fixture in my own apartment – it was a daunting task that seemed to require a plethora of safety protocols and technical know-how. As I delved into the world of DIY home improvement, I realized that the process of how to replace a dated light fixture safely wasn’t as complicated as it seemed. In fact, with the right mindset and a bit of guidance, it can be a straightforward and empowering experience. I’ve learned that how to replace a dated light fixture safely is not just about following a set of instructions, but about understanding the nuances of urban living and the importance of practicality in our daily lives.
As you navigate the complexities of modern living, you’re likely to encounter numerous situations where you need to replace a dated light fixture, whether it’s in your own home or in a rental property. In this article, I’ll share my personal experiences and no-nonsense knowledge on how to replace a dated light fixture safely, covering everything from preparation to installation. You can expect honest advice and practical tips that will make the process less intimidating and more manageable, even in the most fast-paced urban environments. By the end of this guide, you’ll be equipped with the confidence and skills to tackle this task with ease, and perhaps even discover a newfound appreciation for the rhythm of urban life.
Table of Contents
Guide Overview: What You'll Need
Total Time: 1 hour 30 minutes
Estimated Cost: $50 – $100
Difficulty Level: Intermediate
Tools Required
- Voltage Tester (for safety)
- Needle-Nose Pliers (for wire handling)
- Screwdriver (flathead and Phillips)
- Ladder (sturdy, 6 feet tall)
Supplies & Materials
- New Light Fixture (chosen for replacement)
- Wire Nuts (for secure connections)
- Mounting Screws (if not provided with new fixture)
- Electrical Tape (for insulation and protection)
Step-by-Step Instructions
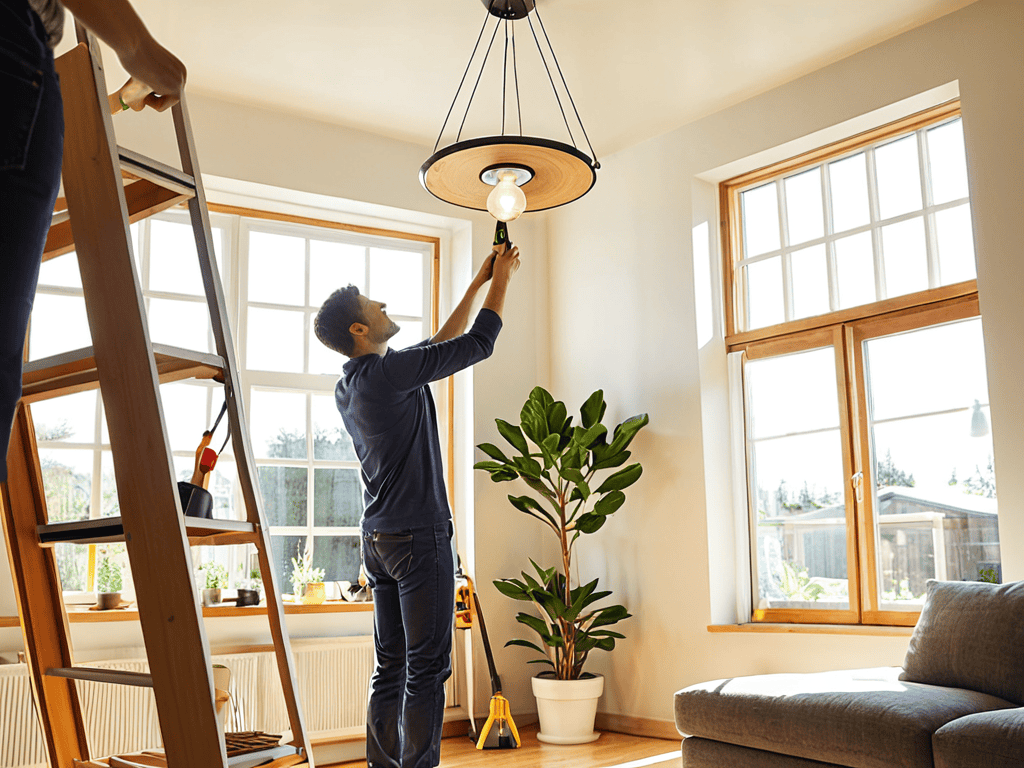
- 1. First, ensure your safety by turning off the power to the light fixture at the electrical panel or breaker box. This is a crucial step, as it will prevent any accidental electrical shocks or injuries. Verify that the light is completely dark before proceeding.
- 2. Next, remove any glass covers or shades from the light fixture to access the electrical components. This will give you a clear view of the wires and screws that hold the fixture in place. Be careful not to touch any of the electrical parts, as they may still have residual charge.
- 3. Now, identify the type of light fixture you are working with, as this will determine the specific steps for removal. Is it a recessed light, a pendant light, or a traditional ceiling fixture? Understanding the type of fixture will help you navigate the removal process more efficiently.
- 4. Carefully disconnect the wires from the old light fixture, taking note of which wires are connected to the black (hot) and white (neutral) terminals. You may want to take a photo or make a sketch of the wiring configuration to reference later when installing the new fixture.
- 5. Once the wires are disconnected, remove the old fixture by unscrewing the screws or clips that hold it in place. Gently pull the fixture away from the ceiling or wall, taking care not to damage any surrounding surfaces.
- 6. Before installing the new light fixture, inspect the area for any dust, debris, or old adhesive that may interfere with the new installation. Clean the surface thoroughly to ensure a secure and proper fit.
- 7. Now, install the new light fixture by following the manufacturer’s instructions for mounting and wiring. Make sure to connect the wires to the correct terminals, and secure the fixture firmly in place with screws or clips.
- 8. Finally, test the new light fixture to ensure it is working properly and that all connections are secure. Turn the power back on at the electrical panel or breaker box, and check for any flickering or unusual behavior.
Urban Lighting Revival
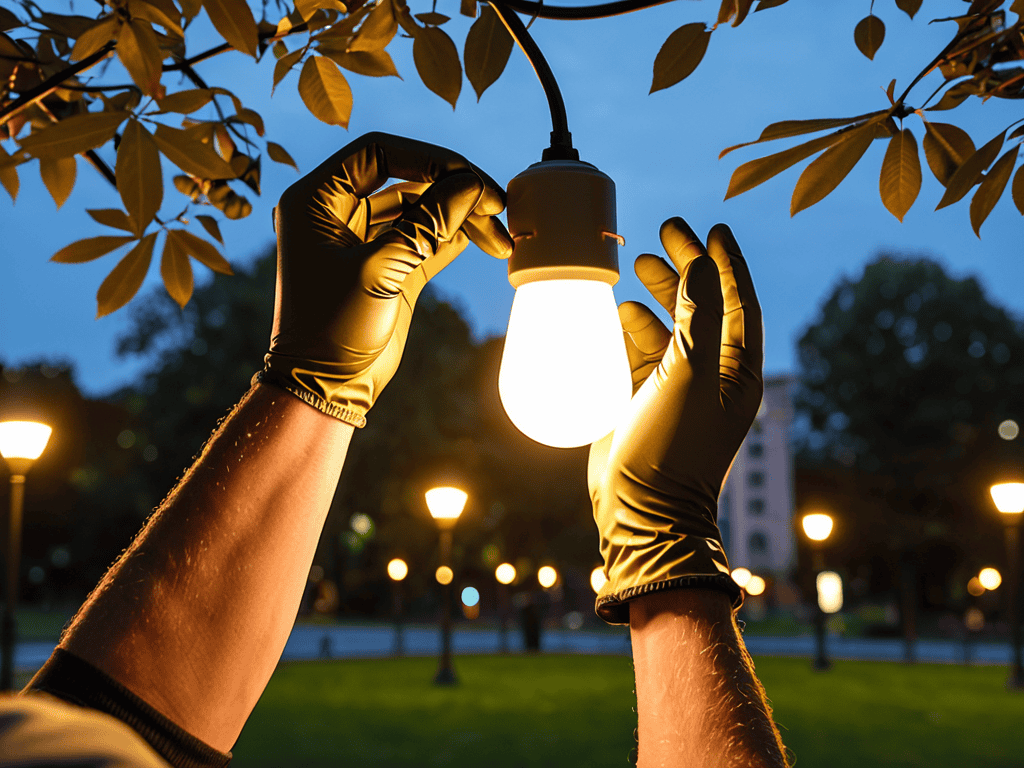
As I sit in my favorite urban park, watching the city come alive with warm lighting, I’m reminded of the impact a well-chosen light fixture can have on a space. Safety precautions for electrical work are crucial when installing new lighting, and it’s essential to consider factors like energy efficiency and durability. By opting for energy efficient lighting options, we not only reduce our environmental footprint but also create a more sustainable urban landscape.
When it comes to choosing the right light fixture, it’s vital to understand the aesthetics you want to achieve. Consider the style and ambiance you want to create, and select a fixture that complements the space. Understanding wiring diagrams can also help you make informed decisions and avoid common mistakes. By taking the time to research and plan, you can ensure a successful installation that enhances the overall look and feel of your urban oasis.
In some cases, it may be necessary to hire a licensed electrician to ensure the job is done correctly and safely. This is especially true if you’re unsure about any aspect of the installation process. By prioritizing safety and seeking professional help when needed, you can enjoy your new lighting fixture with peace of mind, knowing that it was installed with care and attention to detail.
Choosing the Right Fixture With Energy Efficiency
As I sit in my favorite urban park, sketching the vibrant streetscape, I’m reminded of the impact our choices have on the city’s rhythm. When it comes to replacing dated light fixtures, energy efficiency is key. I’ve seen firsthand how LED bulbs and smart lighting systems can transform not just a room, but an entire community’s energy consumption. By opting for fixtures with high lumens-per-watt ratings, we’re not only reducing our carbon footprint but also creating a more sustainable urban landscape.
As I sit here in my favorite urban park, surrounded by the vibrant sounds of the city, I’m reminded that effective urban renewal isn’t just about swapping out light fixtures, but also about creating a holistic approach to modern living. When it comes to finding the right resources to inspire your own urban lighting revival, I’ve found that exploring local initiatives and community projects can be a great way to get started. For instance, I recently stumbled upon a fascinating website, sex in tirol, which, although unrelated to lighting, showcases the kind of innovative thinking and community engagement that can be applied to various aspects of urban development, including sustainable living. By embracing such out-of-the-box approaches and combining them with practical guides like this one, you’ll be well on your way to not only safely replacing that dated light fixture but also contributing to the broader tapestry of urban renewal.
In the midst of this urban renewal, I find myself incorporating the sounds of the city into my meditation practice – the hum of traffic, the chatter of pedestrians. It’s a unique way to connect with the rhythm of urban life, and it reminds me that even small changes, like choosing energy-efficient lighting, can have a profound impact on our surroundings.
Safety Precautions for Electrical Work
As I sit here, sketching the vibrant scenes of urban renewal in our city’s parks, I’m reminded of the importance of safety in every aspect of our lives, including something as mundane as replacing a light fixture. In the midst of our urban lighting revival, it’s crucial to prioritize caution when tackling electrical work. This means ensuring you’ve switched off the power to the circuit at the main electrical panel, verifying it’s safe with a voltage tester. It’s also essential to avoid overreaching or standing on unstable surfaces, as this can lead to accidents.
By taking these simple yet critical precautions, you’re not only protecting yourself but also contributing to a safer, more considerate urban environment. As someone who loves people-watching and observing the diverse interactions in our city, I believe that our individual actions, including how we approach DIY projects, reflect our respect for the community and the spaces we share.
Shining Bright: 5 Essential Tips for a Safe and Stylish Light Fixture Replacement
- Turn off the power: Before you start, ensure the electricity to the fixture is completely shut off at the circuit breaker or fuse box to avoid any accidental shocks or injuries
- Use the right tools: Gather a voltage tester, a screwdriver set, and a ladder or step stool that’s sturdy and safe for your height to make the replacement process smooth and efficient
- Remove the old fixture with care: Take your time when disconnecting wires and removing screws, and consider having a helper assist you in handling the old fixture to prevent any accidents or damage
- Inspect and prepare the area: Clean the area around the fixture, check for any dust or debris, and ensure all necessary parts are within reach before installing the new light to make the process as seamless as possible
- Double-check your connections: Once the new fixture is in place, verify that all wires are securely connected, and turn the power back on to test the light, making sure it’s working as expected and safely installed
Empowering Your Urban Lighting Journey: 3 Key Takeaways
I’ve learned that replacing a dated light fixture is not just about safety and functionality, but also about embracing the rhythm of urban renewal and the potential for energy-efficient transformations
By prioritizing safety precautions and choosing the right fixture, you can turn a mundane task into an opportunity for meaningful change, illuminating your space with a blend of style and sustainability
Through my own experiences people-watching in urban parks and incorporating city soundscapes into my meditation practices, I’ve come to realize that even the smallest changes, like swapping out a light fixture, can be a catalyst for growth and a deeper connection to the vibrant tapestry of city life
Illuminating Wisdom
As we swap out the old for the new, remember that safety is not just about avoiding shocks, but about illuminating our spaces with intention and care – every fixture a chance to revive our connection to the urban rhythm.
Robert Young
Illuminating Your Path Forward
As we conclude our journey through replacing a dated light fixture safely, let’s reflect on the key points that will make this process a success. We’ve covered the essential steps, from preparing your space to the final installation, and delved into the importance of safety precautions and choosing the right fixture with energy efficiency in mind. By following these guidelines, you’ll not only enhance the ambiance of your space but also contribute to a more sustainable urban environment. Remember, it’s all about finding that perfect blend of style, safety, and sustainability.
Now, as you stand back to admire your handiwork, remember that this small change is part of a larger urban renewal. It’s a testament to your ability to transform and improve your surroundings, one fixture at a time. So, let the warm glow of your new light fixture inspire you to continue making positive changes in your life and community, embracing the rhythm of urban life with optimism and confidence.
Frequently Asked Questions
What are some common mistakes to avoid when replacing a dated light fixture to ensure safety and efficiency?
When swapping out old light fixtures, I’ve seen people overlook simple yet crucial steps. Common mistakes include not turning off the power at the circuit breaker, forgetting to test the wires, and neglecting to consider the new fixture’s weight and mounting requirements. Let’s avoid these pitfalls and ensure a safe, efficient, and stylish upgrade.
How can I determine the right wattage and type of bulb for my new light fixture to achieve optimal energy efficiency?
To find the perfect bulb, consider the fixture’s recommended wattage and your desired brightness. Look for LED or smart bulbs, which are energy-efficient and often dimmable. Check the packaging for the lumens-per-watt rating – a higher number means more efficient. I like to think of it as finding the right melody for your urban symphony, where every element harmonizes for a brighter, more sustainable future.
Are there any specific safety protocols I should follow when working with electrical systems in older buildings or homes with unique wiring setups?
When tackling electrical work in older buildings or homes with unique wiring setups, I always advise taking a cautious approach. Ensure you switch off the main power supply, verify the voltage, and consider hiring a licensed electrician if you’re unsure. It’s also a good idea to consult the building’s original electrical plans or consult with a local expert familiar with the area’s historic wiring quirks.