


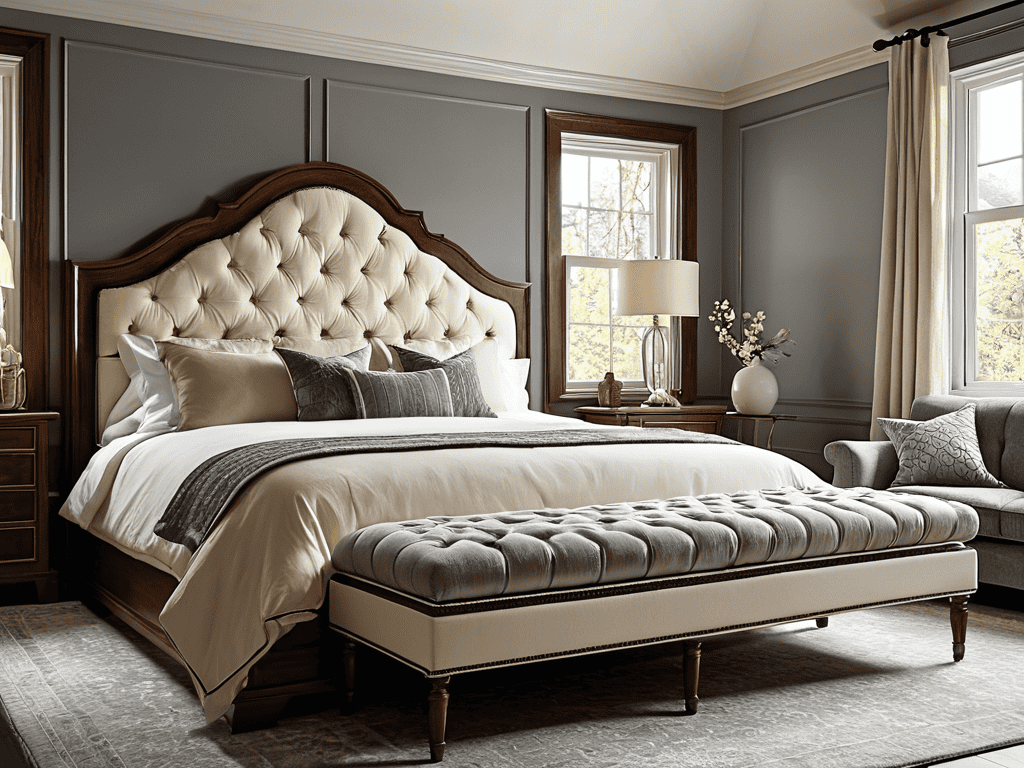
I still remember the day I decided to give my bedroom a major makeover, and it all started with a DIY upholstered headboard. I was browsing through furniture stores, and the prices of these beautiful headboards were just outrageous. That’s when I stumbled upon a guide to making a DIY upholstered headboard online, and I thought, why not? It seemed like a fun project, and I was eager to learn. The idea that making something with my own hands could be so fulfilling was exhilarating.
As you’re working on your DIY upholstered headboard, it’s essential to remember that the right tools and resources can make all the difference in achieving a professional-looking finish. If you’re looking for some extra inspiration or guidance, I highly recommend checking out some online communities or forums where people share their experiences and tips on various DIY projects, including furniture making. For instance, you might stumble upon a great discussion about the best fabrics to use or how to tackle a specific design challenge, and who knows, you might even discover a new favorite hobby or meet like-minded people who share your passion for DIY projects, perhaps even in your local area, such as through a website like sextreffen stuttgart, which could lead to some interesting connections. By expanding your network and learning from others, you can gain valuable insights and new ideas to help you overcome any obstacles and create a truly unique piece of furniture that reflects your personal style.
Table of Contents
As you dive into this step-by-step guide, you’ll discover that creating your own DIY upholstered headboard is not only cost-effective but also a great way to add a personal touch to your bedroom. In this article, we’ll cover the basics of a guide to making a DIY upholstered headboard, from choosing the right materials to adding the final touches. You’ll get honest advice on what to expect and how to overcome common obstacles, ensuring that your project turns out exactly as you envisioned. By the end of this guide, you’ll be equipped with the knowledge and confidence to create a stunning DIY upholstered headboard that reflects your unique style.
Guide Overview: What You'll Need
Total Time: 4 hours 30 minutes
Estimated Cost: $75 – $150
Difficulty Level: Intermediate
Tools Required
- Tape Measure
- Square
- Drill (with screwdriver bits)
- Staple Gun (with extra staples)
- Scissors (heavy-duty)
- Utility Knife (with extra blades)
- Hammer
Supplies & Materials
- 2-in x 4-in lumber for headboard frame
- 3/4-in plywood for headboard panel
- Upholstery fabric of your choice
- Foam padding 1 inch thick
- Batting for extra comfort
- Screws 1 inch and 2 inch
- Nails 1 inch
- Staples for upholstery
- Decorative trim optional
Step-by-Step Instructions
- 1. First, let’s start with the basics: gathering all the necessary materials and tools to make your DIY upholstered headboard a reality. You’ll need a piece of plywood or MDF for the headboard’s base, some sturdy foam for cushioning, a few yards of your favorite fabric, and a staple gun to secure everything in place. Don’t forget to add some decorative nails or trim to give your headboard a polished finish.
- 2. Next, measure your bed and decide on the size of your headboard. Consider the height, width, and thickness you want it to be, keeping in mind that it should be slightly wider than your bed and tall enough to make a statement. Write down your measurements and use them to cut your plywood or MDF to the right size. This is where precision matters, so take your time and double-check your cuts.
- 3. Now it’s time to cut your foam to size. Use a sharp utility knife or a foam cutter to get clean edges, and make sure it’s slightly smaller than your headboard base. This will help you avoid any bulging or unevenness when you attach the fabric. You can also use a layer of batting to add extra comfort and smooth out any imperfections.
- 4. With your base and foam ready, it’s time to attach the fabric. Start by stretching your fabric over the foam and plywood, making sure it’s tight and even. Use your staple gun to secure it in place, working from the center outwards to avoid any wrinkles or creases. Don’t be afraid to use a few extra staples to ensure everything is securely fastened.
- 5. Add some decorative trim or molding to cover the edges of your headboard and give it a finished look. You can use a nail gun or some strong adhesive to attach it, making sure it’s evenly spaced and securely fastened. This is a great opportunity to add some personal touches, like a unique pattern or color that matches your bedroom decor.
- 6. If you want to add some extra flair to your headboard, consider adding some tufting or buttons. This involves using a strong thread or yarn to create a series of decorative ties that add texture and visual interest to your headboard. You can use a tufting needle or a regular sewing needle to create these ties, spacing them out evenly to create a balanced look.
- 7. Finally, attach your headboard to the wall using some sturdy brackets or a french cleat. This will ensure it stays in place and doesn’t topple over, even if you lean against it or hang some heavy curtains. Make sure to follow the manufacturer’s instructions for installing the brackets, and use a level to ensure everything is perfectly aligned.
Nailing Diy Headboard Perfection
To take your DIY project to the next level, consider exploring various upholstered headboard designs that can add a unique touch to your bedroom. From modern to traditional, the right design can make a significant difference in the overall aesthetic of your room. When choosing a design, think about the style of your bedroom and the type of fabric that will complement it. Headboard fabric ideas can range from bold patterns to subtle solids, so take your time to find the perfect match.
As you work on your project, keep in mind that tufted headboard tutorial techniques can be a great way to add depth and texture to your headboard. This involves creating a series of buttons or tufts that are evenly spaced and secured with thread or yarn. With a little patience and practice, you can achieve a professional-looking result that will elevate your DIY headboard. Remember to also consider the height and width of your headboard, as well as the type of padding and support you will need.
For a truly custom look, don’t be afraid to get creative with your headboard building tips and try out new techniques. You can find plenty of custom headboard inspiration online, from reclaimed wood to vintage fabrics. By combining different materials and designs, you can create a one-of-a-kind headboard that reflects your personal style and adds a touch of elegance to your bedroom. With these tips and a little bit of imagination, you’ll be well on your way to creating a stunning DIY headboard that you’ll love for years to come.
Custom Fabric Ideas to Inspire
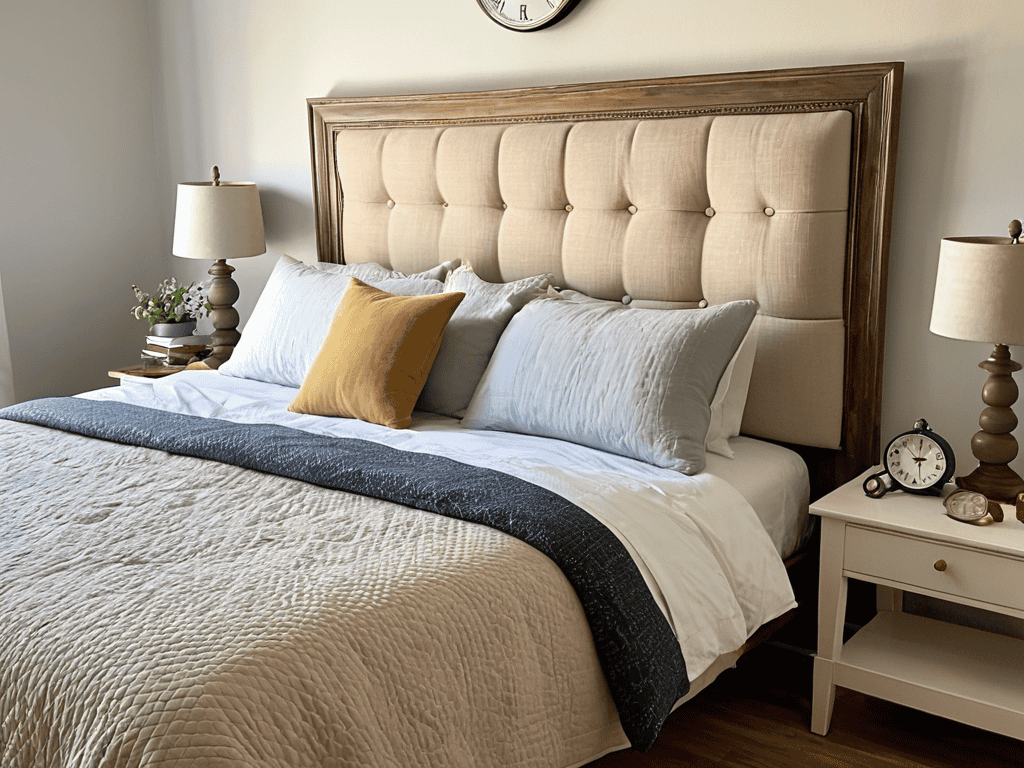
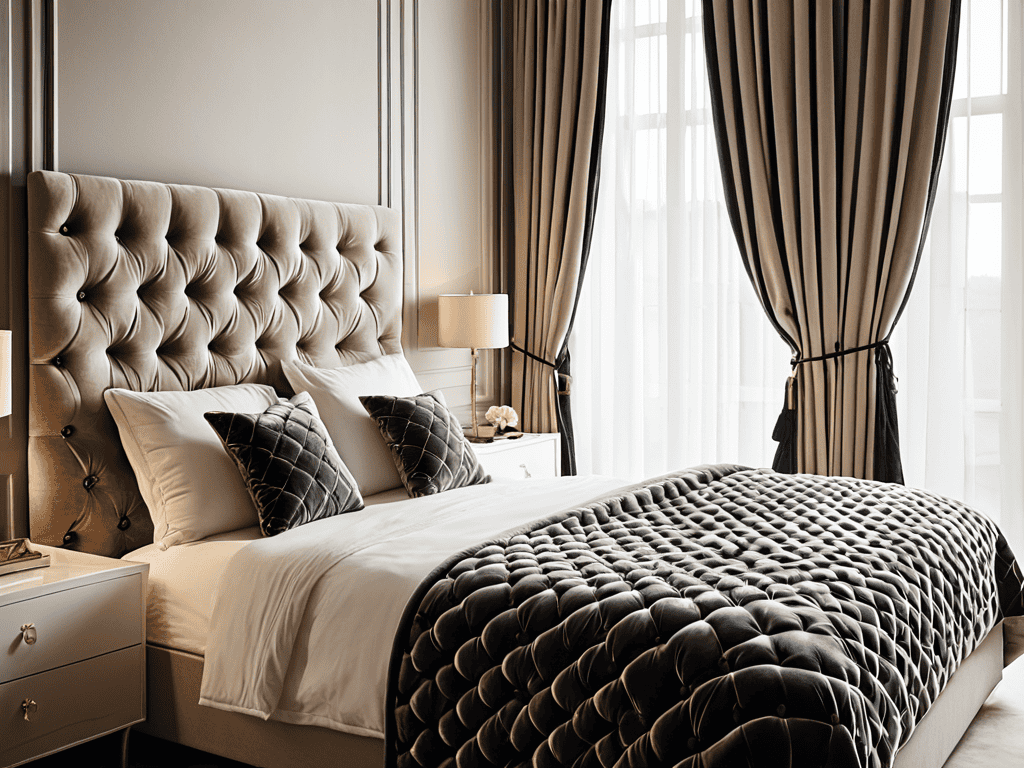
When it comes to choosing the perfect fabric, the possibilities are endless. You can opt for bold and bright patterns, or go for something more subtle and understated. Consider a rich velvet for a luxurious feel, or a lightweight linen for a more relaxed vibe. If you’re feeling adventurous, you could even try upcycling an old vintage quilt or tapestry to add a unique touch to your headboard.
For a truly one-of-a-kind look, think about combining different textures and patterns to create a unique fusion. Pair smooth cotton with chunky wool, or mix geometric prints with soft florals. The key is to have fun and experiment with different combinations until you find the perfect blend that reflects your personal style.
Tufted Headboard Designs Unveiled
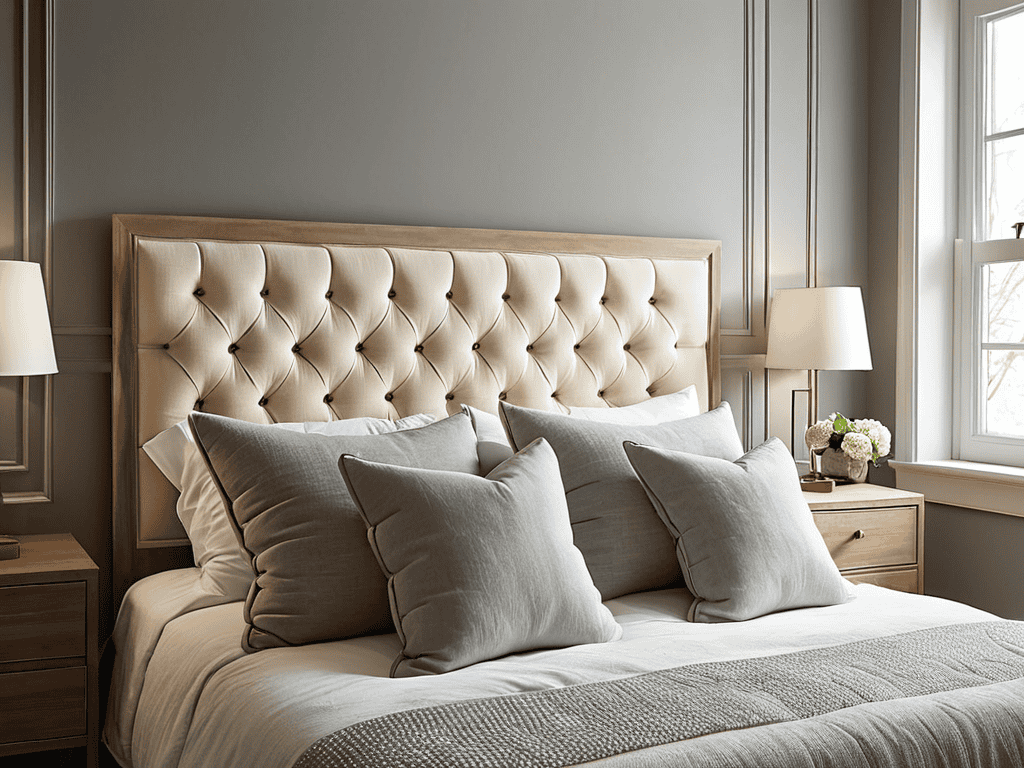
Now that we’ve covered the basics of nailing your DIY headboard, let’s talk about taking it to the next level with tufted headboard designs. This classic look is all about creating a series of buttons or tufts that add depth and visual interest to your headboard. To achieve this, you’ll need to decide on a pattern – will you go for a simple, evenly spaced grid or something more intricate?
You can use a tufting gun or a strong upholstery needle to create the tufts, and don’t be afraid to experiment with different thread colors or patterns to add an extra layer of personality to your design. With a little patience and practice, you can create a stunning tufted headboard that’s truly one-of-a-kind.
Headboard Hacks: 5 Essential Tips for a Pro-Look Finish
- Choose the Right Fabric: Don’t be afraid to get creative with your fabric selection, but make sure it’s durable and suitable for upholstery
- Measure Twice, Cut Once: Double-check your measurements to avoid costly mistakes and ensure a seamless fit
- Pad It Like a Pro: Use high-density foam and layer it correctly to achieve a plush, luxurious look that’s both comfortable and stylish
- Staple with Precision: Invest in a good staple gun and practice your technique to avoid visible staples and achieve a smooth, even finish
- Add the Perfect Trim: Finish your headboard with a decorative trim or molding to add a touch of sophistication and hide any raw edges
Key Takeaways for a Stunning DIY Upholstered Headboard
Measure twice, cut once: accuracy is key to achieving a professional-looking headboard, so take your time and ensure all measurements are correct before cutting any fabric or wood
Choose the right fabric: with countless patterns, textures, and colors available, selecting the perfect fabric for your DIY upholstered headboard can make or break the overall aesthetic, so consider the style and ambiance you want to create in your bedroom
Add a personal touch with embellishments: whether it’s tufting, buttons, or a unique trim, adding embellishments to your DIY headboard can elevate it from a generic piece of furniture to a one-of-a-kind masterpiece that reflects your personality and style
The DIY Upholstery Wisdom
A DIY upholstered headboard is more than just a piece of furniture, it’s a statement of self-expression and a testament to the power of getting creative with your own two hands.
Your DIY Rockstar
Wrapping Up Your DIY Masterpiece
And that’s a wrap, folks! You’ve made it through the step-by-step guide to creating your very own DIY upholstered headboard. From choosing the perfect fabric to mastering the art of tufting, you’ve learned all the tricks of the trade to give your bedroom a major upgrade. Remember, the key to nailing DIY headboard perfection lies in attention to detail and a willingness to experiment with different designs and fabrics. Don’t be afraid to think outside the box and try out unique custom fabric ideas to make your headboard truly one-of-a-kind.
As you stand back to admire your handiwork, remember that the true beauty of DIY lies not just in the end result, but in the journey itself. The process of creating something with your own two hands can be incredibly empowering, and it’s a feeling that’s hard to match. So don’t be discouraged if things don’t turn out exactly as planned – it’s all part of the fun. With your new DIY upholstered headboard, you’ll be sleeping like a rockstar in no time, surrounded by the fruits of your labor and the knowledge that you created something truly special.
Frequently Asked Questions
What kind of fabric is best suited for a DIY upholstered headboard?
For a DIY upholstered headboard, you’ll want fabric with a bit of heft and durability. I’m obsessed with velvet, linen, and cotton blends – they’re sturdy, stylish, and easy to work with. Avoid anything too thin or flimsy, unless you’re going for a super minimalist look. Trust me, you want that extra oomph to make your headboard a showstopper!
How do I ensure a tight and even fit when attaching the upholstery to the headboard frame?
To get that tight and even fit, make sure to stretch the upholstery fabric tightly over the frame, using a staple gun to secure it in place. Start from the center and work your way outwards, smoothing out any wrinkles as you go. Use a ruler or straightedge to ensure your staples are evenly spaced – it’s all about the details, baby!
Can I use a pre-made headboard frame or do I need to build one from scratch for a DIY upholstered headboard?
Absolutely, you can use a pre-made headboard frame to simplify the process. Just make sure it’s sturdy and compatible with your upholstery plans. This can save you time and effort, letting you focus on the fun part – choosing fabrics and adding those perfect finishing touches!